Next-Generation Firewall
Configure the Auxiliary Interface Settings
Table of Contents
Configure the Auxiliary Interface Settings
Configure the connection settings, allowed services, and administrative access
settings for the auxiliary interfaces.
| Where Can I Use This? | What Do I Need? |
|---|---|
| One of these licenses:
|
PA-5200 Series firewalls include two multipurpose auxiliary (Aux1 and Aux2) SFP+
ports that can be configured for high availability (HA) and management functions.
You can configure the auxiliary interfaces settings to establish the connection
settings, allowed services, and administrative access settings permitted over the
Aux1 and Aux2 interfaces.
- Log in to Strata Cloud Manager.Select and select the Configuration Scope where you want to configure the auxiliary interface settings.You can select a folder or firewall from your Folders or select Snippets to configure the auxiliary interface settings in a snippet.Click the cog wheel to edit the Aux Interface Settings and Customize.Configure the auxiliary interface settings.
- Enable Interface.Assign an IPv4 or IPv6 IP Address to the interface.Enter the Netmask.Enter the Default Gateway IP address.The gateway must be on the same subnet as the interface IP address.Enter the MTU (maximum transmission unit) in bytes for packets sent on this interface.Range is 576 to 1,500. Default is 1,500.Select which Administrative Management Services that you want to enable on the interface in order to access the firewall web interface and CLI.HTTP and HTTPS are the supported protocols to access the firewall web interface.Telnet and SSH are supported protocols to access the firewall CLI.Palo Alto Networks recommends enabling HTTPS and SSH for management traffic on the interface rather than HTTP and Telnet. HTTP and Telnet both use plaintext, which isn’t as secure as HTTPS and SSH.Select the Network Services that you want to enable on the interface.
- HTTP OCSP—Configure the firewall as an Online Certificate Status Protocol (OCSP) responder.
- Ping—Test connectivity with external services. For example, you can ping the interface to verify it can receive PAN-OS software and content updates from the Palo Alto Networks Update Server.In a high availability (HA) deployment, HA peers use ping to exchange heartbeat backup information.
- SNMP—Process firewall statistics queries from an SNMP manager.
- User-ID—Enable data redistribution of user mappings among firewalls.
- User-ID Syslog Listener-SSL—Enable the PAN-OS integrated User-ID™ agent to collect syslog messages over SSL.
- User-ID Syslog Listener-UDP—Enable the PAN-OS integrated User-ID agent to collect syslog messages over UDP.
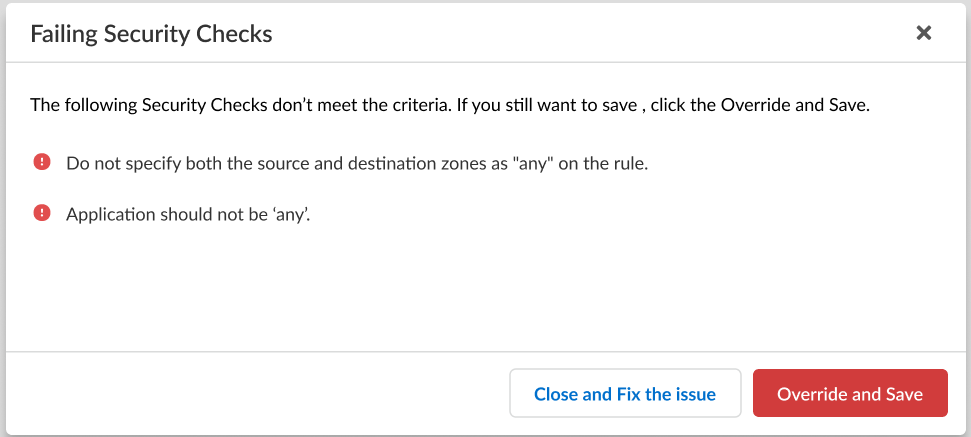
Add Permitted IP Addresses from which administrators can access the firewall through the interface.The list is empty by default. An empty Permitted IP Address list specifies that access is available from an IP address.To prevent unauthorized access, Palo Alto Networks recommends specifying IP addresses that are allowed to access the firewall through the auxiliary interface rather than leaving the Permitted IP Addresses empty.Save.If the configuration you're trying to save doesn't meet the criteria to pass the compliance check, you'll have the option to remediate the issue or override the warning and save the configuration anyway.![]() Push Config to push your configuration changes.
Push Config to push your configuration changes.