Import Multiple Firewalls to a Panorama Node
Table of Contents
Expand all | Collapse all
-
- Obtain the CA Certificate for the Panorama Controller
- Generate the Panorama Node Certificate
- Create a Certificate Profile for Authenticating Panorama Nodes
- Set Up the Panorama Interconnect Plugin
- View Panorama Interconnect Tasks
- Upgrade the Panorama Interconnect Plugin
- Uninstall the Panorama Interconnect Plugin
Import Multiple Firewalls to a Panorama Node
Bulk import firewall to be managed by a Panorama™ Node
on Panorama Interconnect.
You can import multiple firewall to be managed
by a Panorama™ Node using a CSV template provided to you during
the import procedure. Importing multiple firewalls at once allows
you to quickly add multiple firewalls to Panorama Nodes, and assign them
to a template stack and device group to centralize its configuration
management.
When importing multiple firewalls, you can add
firewalls to different Panorama Nodes, and different template stacks
and device groups. For example, you have deployed Panorama Node
A and Panorama Node B, each with two template stacks and two device
groups. If you are importing 100 firewalls, they can be imported
in the following way:
- Add 50 firewalls to Panorama Node A:
- Assign 25 firewalls to template stack A1 and device group A1.
- Assign 25 firewalls to template stack A2 and device group A2.
- Add 50 firewalls to Panorama Node B:
- Assign 30 firewalls to template stack B1 and device group B1.
- Assign 20 firewalls to template stack B2 and device group B2.
To add a single firewall, see Add a Firewall to a Panorama Node.
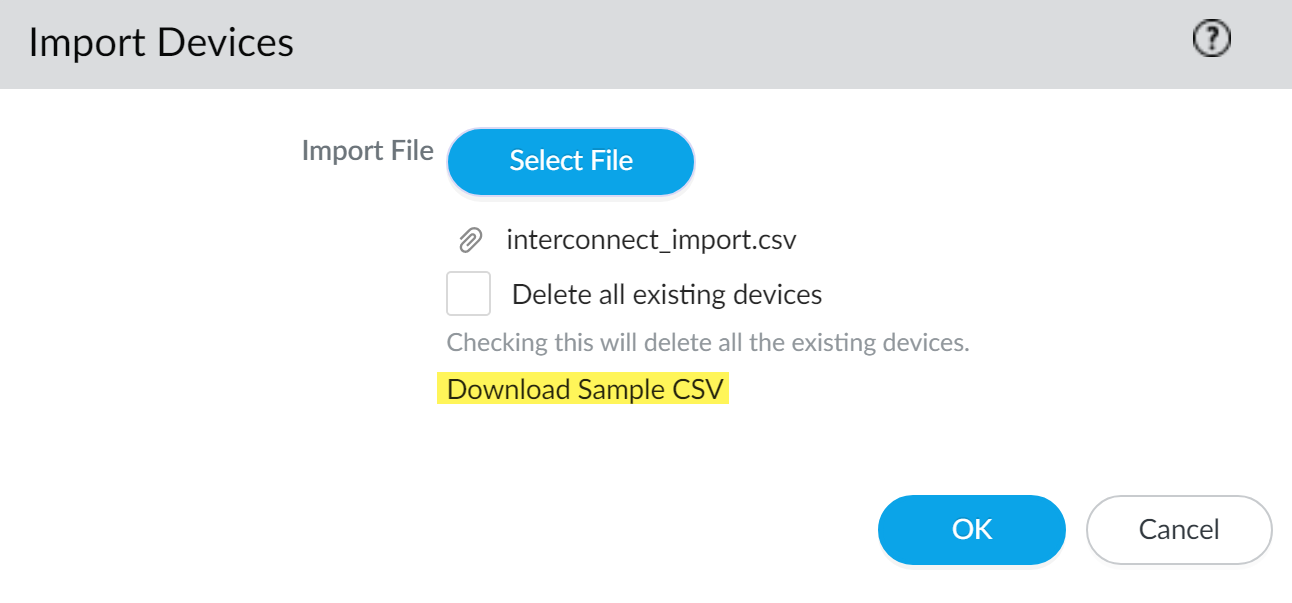
- Perform initial configuration on the firewall so that it is accessible and can communicate with Panorama over the network.Repeat this step for all firewalls to be managed by a Panorama using the Interconnect plugin.Log in to the Panorama web interface of the Panorama Controller.Click Commit and Commit to Panorama any pending configurations changes on the Panorama Controller. Importing multiple firewalls requires that there be no pending changes to the Panorama Controller or the import fails.Select PanoramaInterconnectDevices and Import the firewalls.Click Download Sample CSV to download a template of the CSV file with the correct format to upload multiple firewalls.Fill out the downloaded CSV. Enter the appropriate values in the serial, panorama, device-group, and template-stack fields. The Panorama Node, device group, and template stack must already be added and created on the Panorama Controller before importing the firewalls and are required to successfully add the firewall. Once you have finished entering the firewall information, Save the file.You also have the ability to assign the firewalls to content schedules. These are not required for the firewall import.Changing the CSV column order is not supported. The firewall import fails if the column order re-ordered.Back in the Panorama web interface, Select File to browse and select the CSV file containing the firewall information.A firewall with required information missing in the bulk import causes the entire import to fail. You are prompted with an error message indicating the location of issues in the import file if an error is encountered.(Optional) Check (enable) Delete all existing devices to delete all managed firewalls added to the Panorama Node and replace them with the managed firewalls in the import CSV. By default, imported firewalls are appended to the end of the list of Devices managed by the Panorama Node.All imported firewalls must be new firewalls that are not currently managed by the Panorama Node. The import fails if any of the imported firewalls being imported are part of the running configuration on the Panorama Controller or Panorama Node.Skip this step if the imported firewalls are not currently part of the Panorama Controller or Panorama Node configuration and you do not want to delete the existing managed firewalls.Click OK to add the firewalls as managed devices.
![]() Click Commit and Commit to Panorama to finish adding the firewalls.Select PanoramaInterconnectPanorama Nodes and Synchronize Config.(Required for firewalls running PAN-OS 10.1 and later releases) Obtain the device registration authentication key required for onboarding new firewalls.
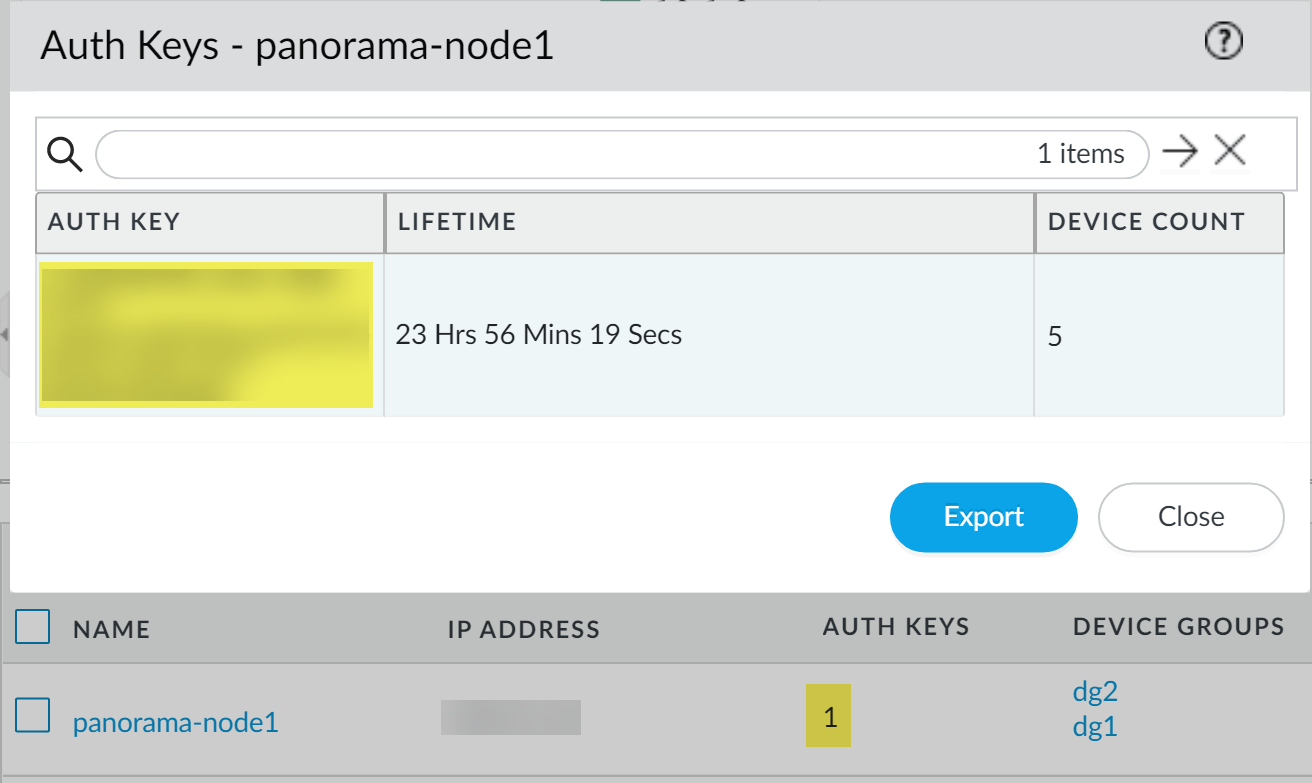
Click Commit and Commit to Panorama to finish adding the firewalls.Select PanoramaInterconnectPanorama Nodes and Synchronize Config.(Required for firewalls running PAN-OS 10.1 and later releases) Obtain the device registration authentication key required for onboarding new firewalls.- Select PanoramaInterconnectPanorama Nodes and locate the Panorama Node you added firewalls to.Click the value in the Auth Keys column to display the device registration authentication key.The device registration authentication key is automatically generated for the Panorama Node.Copy the Auth Key.
![]() Configure the firewall to communicate with the Panorama Node.Repeat this step for each firewall you imported.
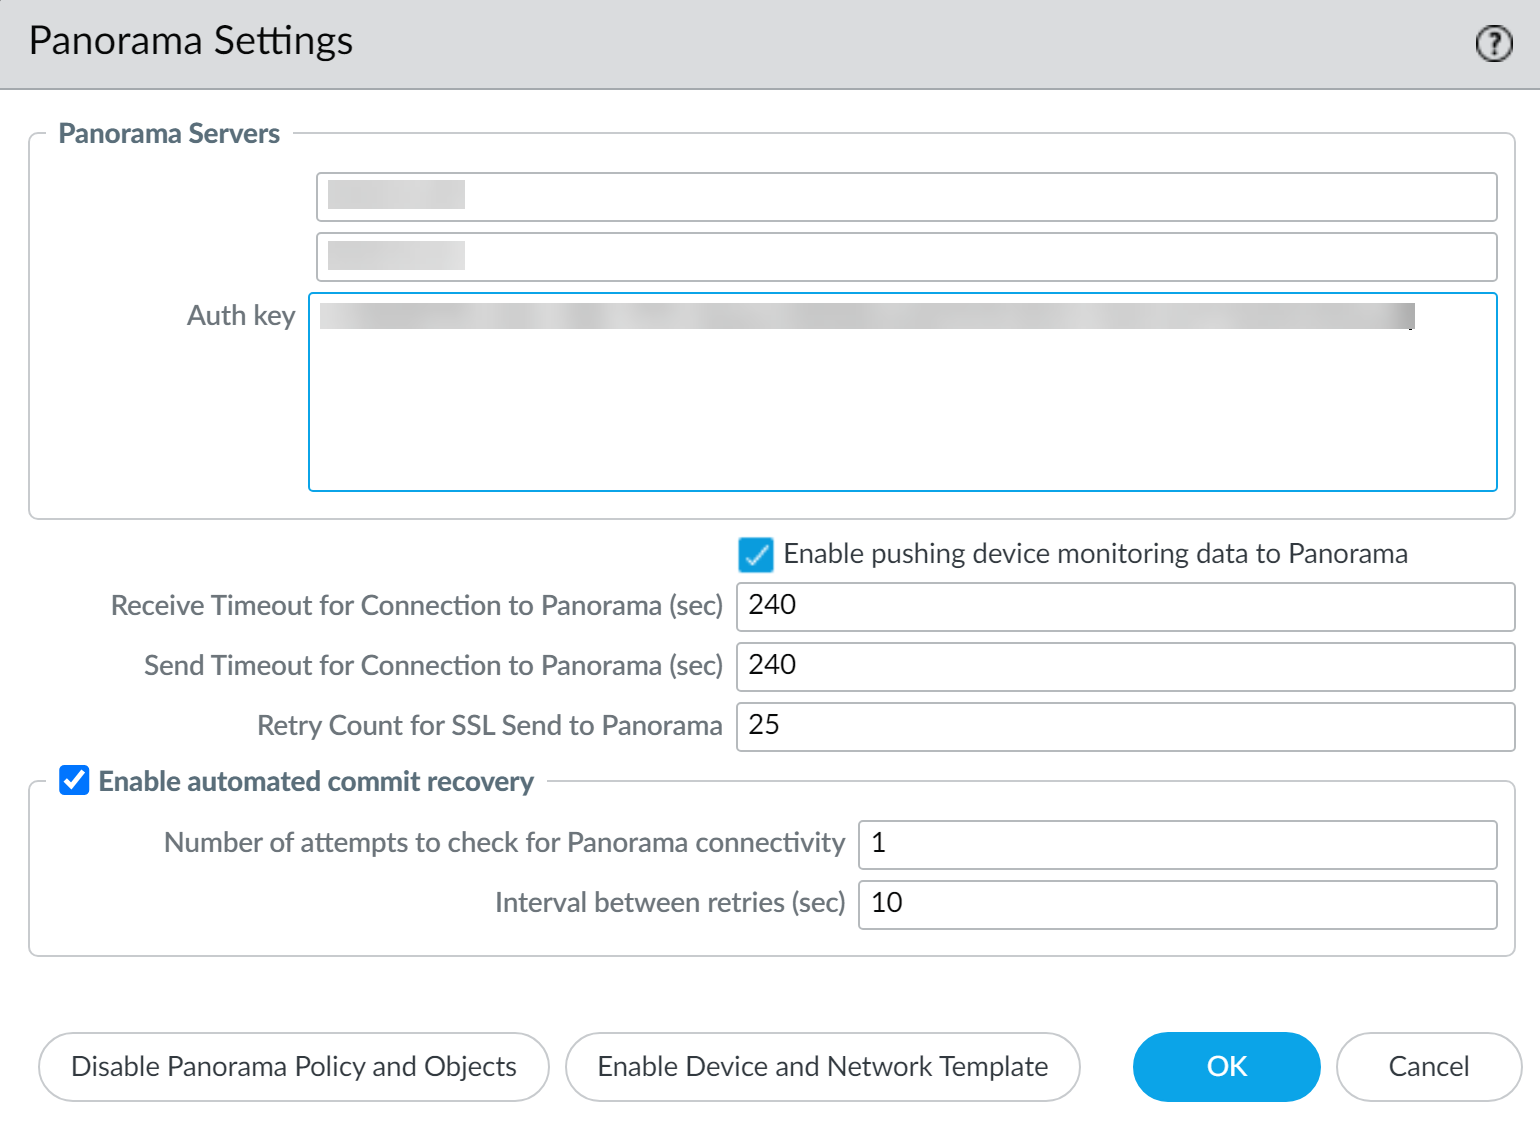
Configure the firewall to communicate with the Panorama Node.Repeat this step for each firewall you imported.- Log in to the firewall web interface.Select DeviceSetupManagement and edit the Panorama Settings.Enter the Panorama Node IP address in the first field(Optional) If the Panorama Node is in an HA configuration, enter the IP address of the secondary Panorama Node in the second field.Enter the device registration Auth Key you copied in the previous step.Click OK.Select Commit and Commit your changes.
![]() Verify that the newly imported firewalls are Connected.
Verify that the newly imported firewalls are Connected.- Select PanoramaInterconnectDevices.Find the firewalls you imported and verify that the Connection Status column displays Connected.
![]() (HA only) Copy the managed firewalls added to the primary Panorama Node to the secondary Panorama Node.This step is required to successfully push the Panorama Node configuration to managed firewalls for a Panorama Node in an HA configuration.
(HA only) Copy the managed firewalls added to the primary Panorama Node to the secondary Panorama Node.This step is required to successfully push the Panorama Node configuration to managed firewalls for a Panorama Node in an HA configuration.- Select PanoramaInterconnectPanorama Nodes and select the primary Panorama Node you added managed firewalls to.Select Copy Devices.Click OK when prompted to copy the managed firewalls from the primary Panorama Node to the secondary Panorama node.


