SaaS Agent Security
Onboard Microsoft Copilot Studio to SaaS Agent Security
Table of Contents
Expand All
|
Collapse All
SaaS Agent Security Docs
Onboard Microsoft Copilot Studio to SaaS Agent Security
Onboard Microsoft Copilot Studio to SaaS Agent Security to gain deep
visibility and security for your AI-powered Microsoft copilots and apps.
| Where Can I Use This? | What Do I Need? |
|---|---|
|
Or any of the following licenses that include the SaaS Agent Security license:
|
Onboard Microsoft Copilot Studio to SaaS Agent Security to gain deep visibility and
security for your AI-powered copilots and apps.
Optional: If you want SaaS Agent Security to show user identity,
onboard the Microsoft Copilot Studio SaaS Security Posture Management connector before onboarding Microsoft Copilot Studio to SaaS Agent Security.
Prerequisites
- To access Microsoft Copilot Studio and start building custom agents, your organization must have a Microsoft Copilot Studio license. If you would like to explore these capabilities, coordinate with your IT Administrator or Microsoft Sales representative to ensure the proper licensing is in place. Copilot Studio is a Microsoft-native product, not a feature developed or managed by Palo Alto Networks.
- Ensure you have Administrative privileges in the Microsoft Azure portal to register apps and grant API permissions. To perform onboarding, you should have an Application Administrator role. This role manages application settings and permissions within the Azure Active Directory. It has the ability to restart provisioning of an enterprise application.
- Ensure you have System Administrator or Power Platform Administrator role to add app users to the relevant environment.
Onboarding Microsoft Copilot Studio to SaaS Agent Security consists of the
following two main steps:
- Configure Permissions in Microsoft Azure—Create an app registration in your Microsoft Azure Portal to grant Palo Alto Networks® secure, read-only access to your Microsoft Copilot Studio environment.
- Onboard Microsoft Copilot Studio to SaaS Agent Security—Use the credentials generated during the configuration process to establish the connection the Palo Alto Networks SaaS Agent Security platform and your Microsoft Copilot Studio environment.
- Register a new app in Microsoft Azure.
- Log in to Microsoft Azure Portal.Navigate to or search for App registrations.Click + New Registrations.Enter a descriptive Name for the app. For example, PaloAltoNetworks_Agent_Security_Connector.Register.Configure API permissions for the new app.
- From the new app details page, select ManageAPI permissions.Click + Add a permission.Add the following Microsoft Graph permissions:
- Application.Read.All
- AuditLog.Read.All
- AuditLogsQuery-CRM.Read.All
- AuditLogsQuery.Read.All
Click Add permissions to save the app API permissions.The permissions you added require admin consent. On the Configured permissions page, Grant admin consent for <your-organization>.In the confirmation page, select Yes to grant admin consent for your organization.Create a Client Secret for the new app.- From the new app details page, select Managecertificates & secrets.Add a + New client secret.Enter a description (for example, SaaS_Security_Key) and select an expiration period.Add the Client Secret.Copy the Client Secret Value and store it in a secure location.Grant the app access in the Microsoft Power Platform admin center.
- Log in to Microsoft Power Platform Admin Center.Select ManageEnvironments and select your Copilot Studio environment.Select SettingsUsers + permissionsApplication users and click + New app user.Click + Add an app and search for the app you created in the previous step.Select the correct Business unit from the drop-down.Click the pencil icon next to Security roles and then assign the Service Reader role.Click Create to save the app access privileges.Gather the required information to onboard Microsoft Copilot Studio to SaaS Agent Security.
- Environment URL—Found on the environment's main page in the Microsoft Power Platform Admin Center. See STEP 7 for more information.
- Application (Client) ID—Displayed in the app Overview in the Microsoft Azure Portal.
- Directory (Tenant) ID—Displayed in the app Overview in the Microsoft Azure Portal.
- Client Secret Value—The Client Secret you copied and stored in a secure location when creating the Client Secret for the app.
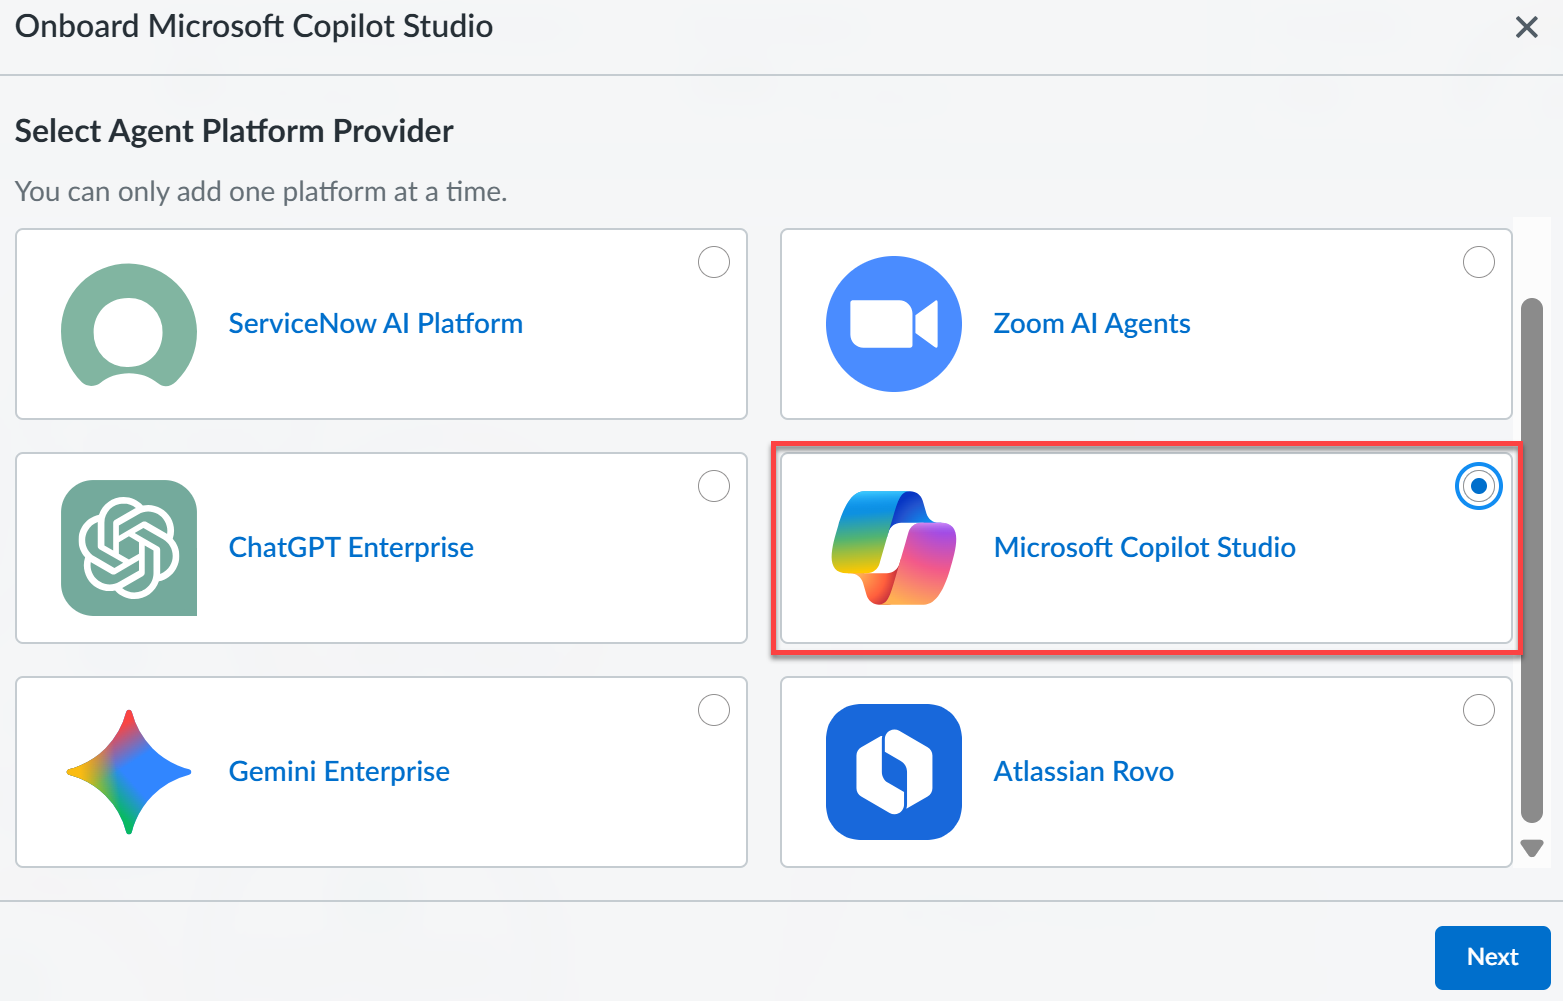
Onboard Microsoft Copilot Studio to SaaS Agent Security.- To start onboarding Microsoft Copilot Studio to SaaS Agent Security, log in to Strata Cloud Manager.Select AI SecuritySaaS AgentsAgent Platform OnboardingOnboard Agent PlatformMicrosoft Copilot Studio and click Next.
![]() Ensure you have completed all the three steps mentioned in the following onboarding wizard and then Get Started.Set up your Microsoft Copilot Studio environment if you have not already done so.
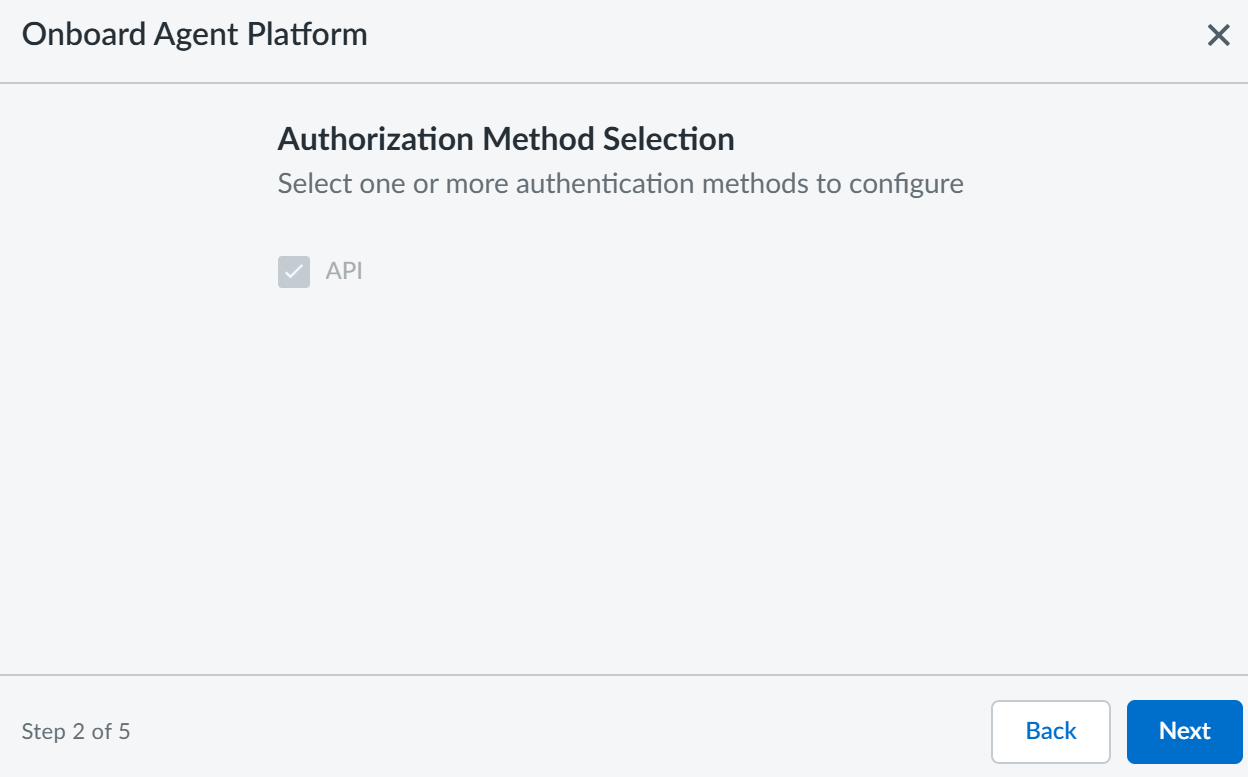
Ensure you have completed all the three steps mentioned in the following onboarding wizard and then Get Started.Set up your Microsoft Copilot Studio environment if you have not already done so.![]() On the Authorization Method Selection page, the API authentication method is selected by default. Click Next.
On the Authorization Method Selection page, the API authentication method is selected by default. Click Next.![]() On the Onboard Agent Platform page, enter the following information (that you gathered in STEP 5) and click Next.
On the Onboard Agent Platform page, enter the following information (that you gathered in STEP 5) and click Next.- Tenant ID
- Client ID
- Client Secret
![]() Configure Service Principal - Step 2.
Configure Service Principal - Step 2.- To get your Dynamic CRM Environment URLs, go to Power Platform admin center.A list of environments are displayed.
![]() Click on the environment you need.On the Details pane, right click on the Environment URL and Copy link address.
Click on the environment you need.On the Details pane, right click on the Environment URL and Copy link address.![]() Copy additional environment URLs as needed and specify them on the Configure Service Principal - Step 2 page and Complete.
Copy additional environment URLs as needed and specify them on the Configure Service Principal - Step 2 page and Complete.![]() SaaS Agent Security notifies you when Microsoft Copilot Studio successfully onboards. SaaS Agent Security returns one of the following errors if Microsoft Copilot Studio fails to onboard:
SaaS Agent Security notifies you when Microsoft Copilot Studio successfully onboards. SaaS Agent Security returns one of the following errors if Microsoft Copilot Studio fails to onboard:- Permission Errors during Scan— Verify you entered all credentials correctly and that you granted Admin Consent when you configured the Azure API Permissions.
- Connection Test Fails— Confirm you assigned the Service Reader role in the Power Platform Admin Center.
SaaS Agent Security immediately begins to scan your onboarded agentic platform after a successful validation.The amount of time SaaS Agent Security takes to scan varies based on the amount of data it is required to scan. At a minimum, it takes at least one hour to scan and display data in the SaaS Agent Security dashboard.


