Identity
Install the Cloud Identity Agent
Table of Contents
Install the Cloud Identity Agent
Learn how to download the Cloud Identity agent and install
it on a supported Active Directory or OpenLDAP-based directory server.
| Where Can I Use This? | What Do I Need? |
|---|---|
| The Cloud Identity Engine service is free; however, the enforcement points utilizing directory data may require specific licenses. Click here for more information. |
Before installing the Cloud Identity agent,
verify that the time on the agent host is correct and synced to
a valid NTP server. If the time on the server host is incorrect,
the Cloud Identity Engine may not be able to sync your directory
attributes successfully.
After you activate your Cloud Identity Engine
tenant, download the Cloud Identity agent from the Cloud Identity Engine app on the
hub and install it on a supported directory server. Palo Alto Networks strongly
recommends using TLS 1.3. If TLS 1.2 is not already enabled on the Windows server that will
host the agent, install the update to enable TLS 1.2 before you
install the agent.
Because the User-ID agent and the
Cloud Identity agent require the same port, you must use a dedicated
host for each agent type. Do not install both agent types on the
same host.
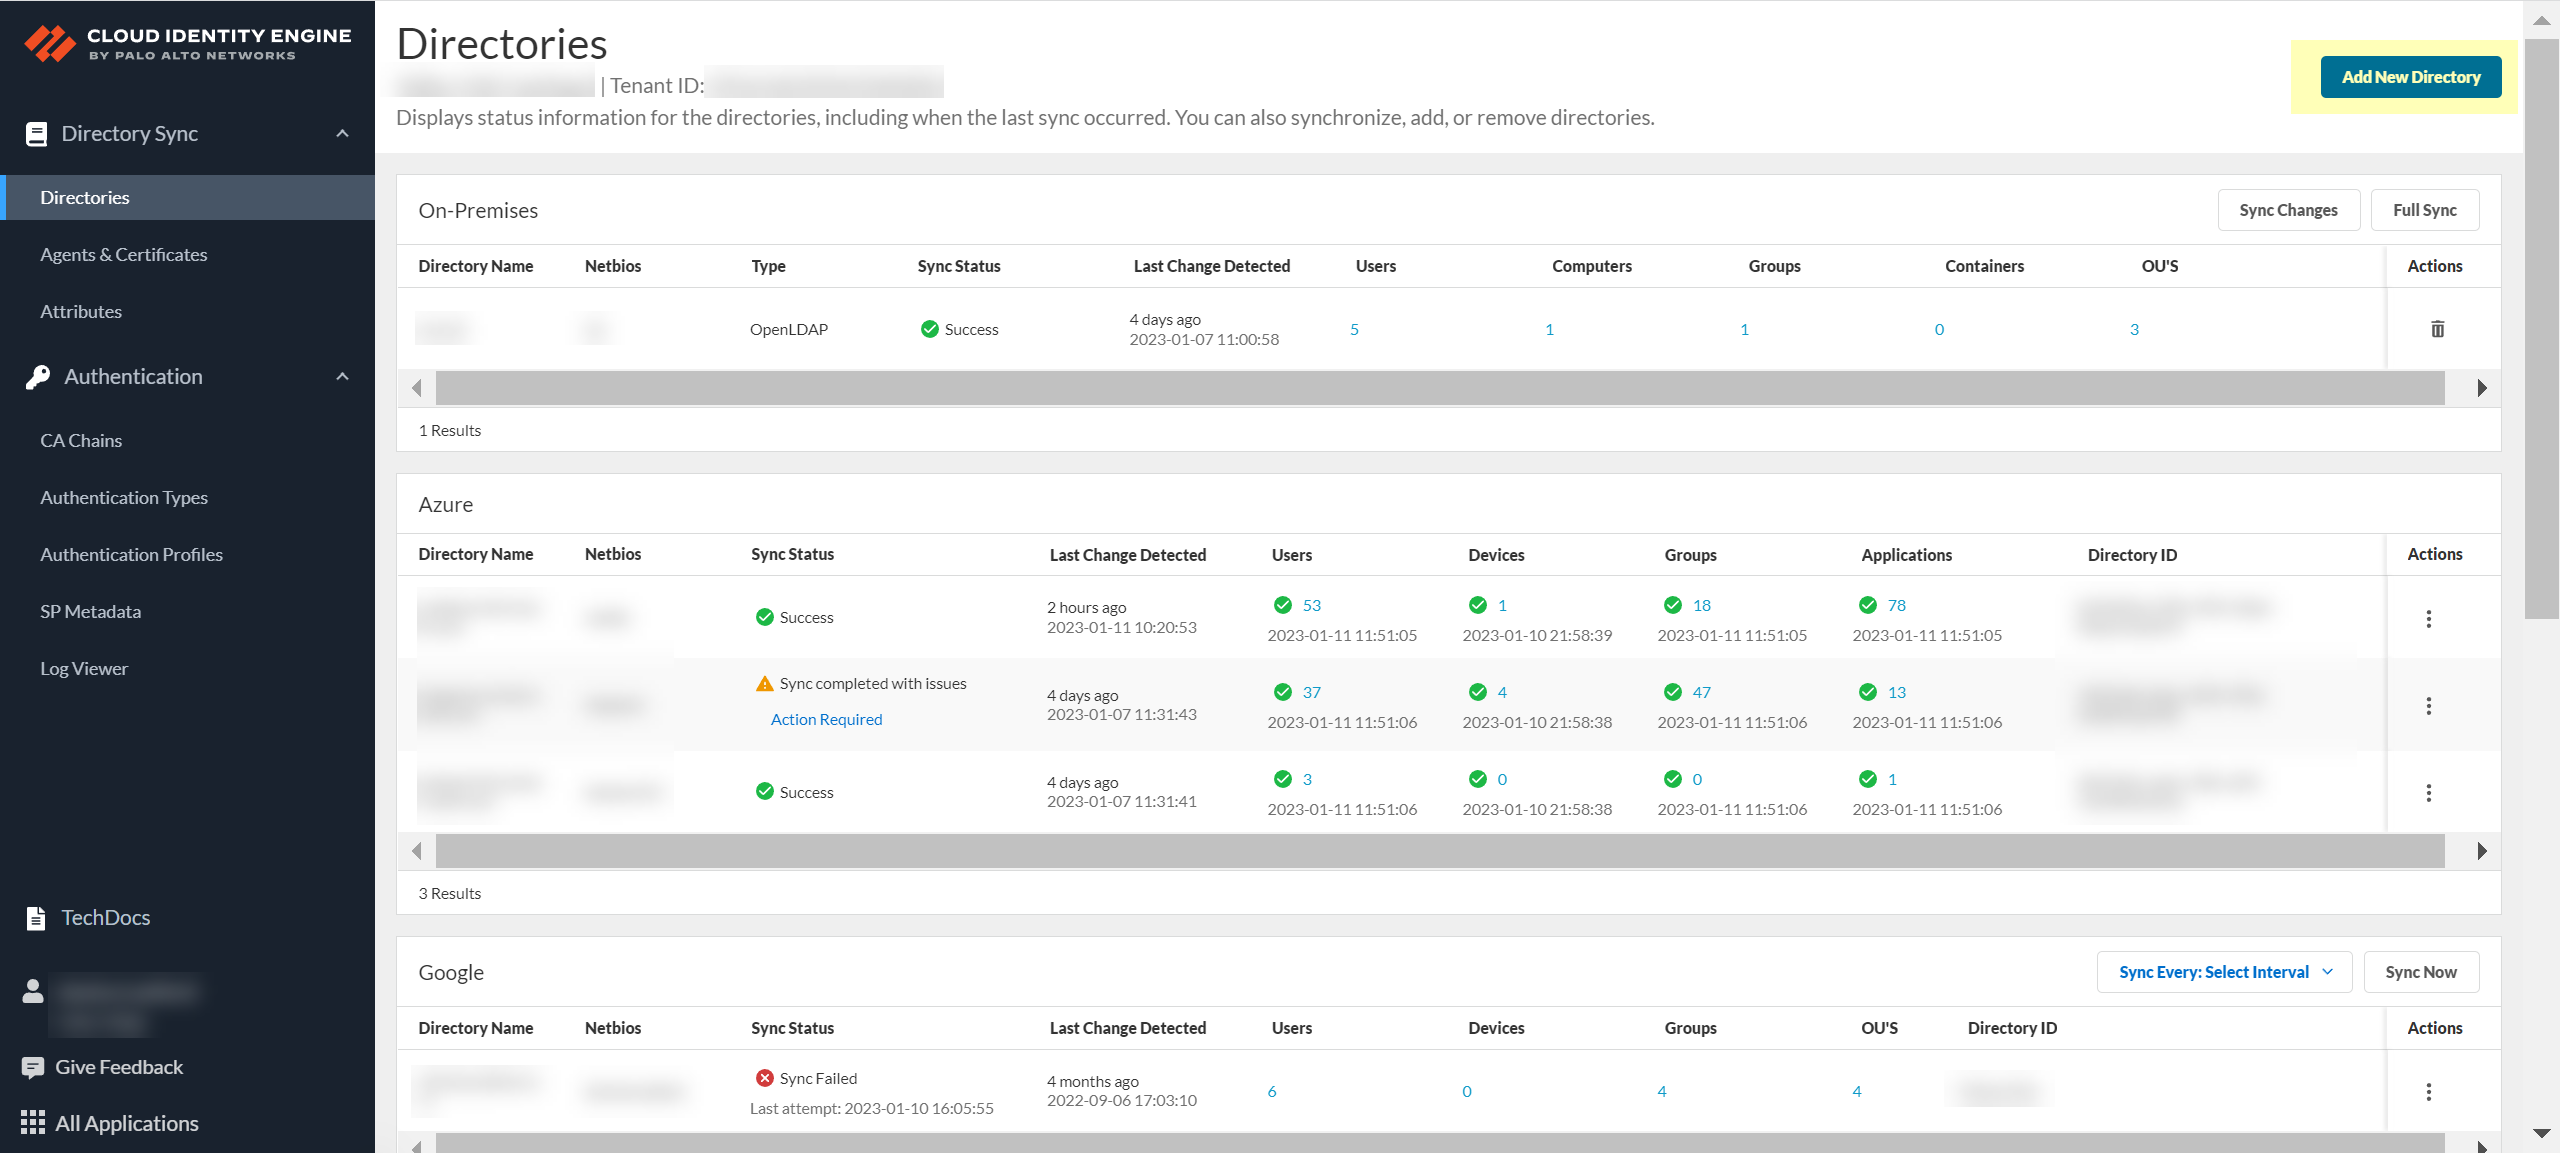
- Log in to the hub and select the Cloud Identity Engine app.Select Directories then click Add New Directory.
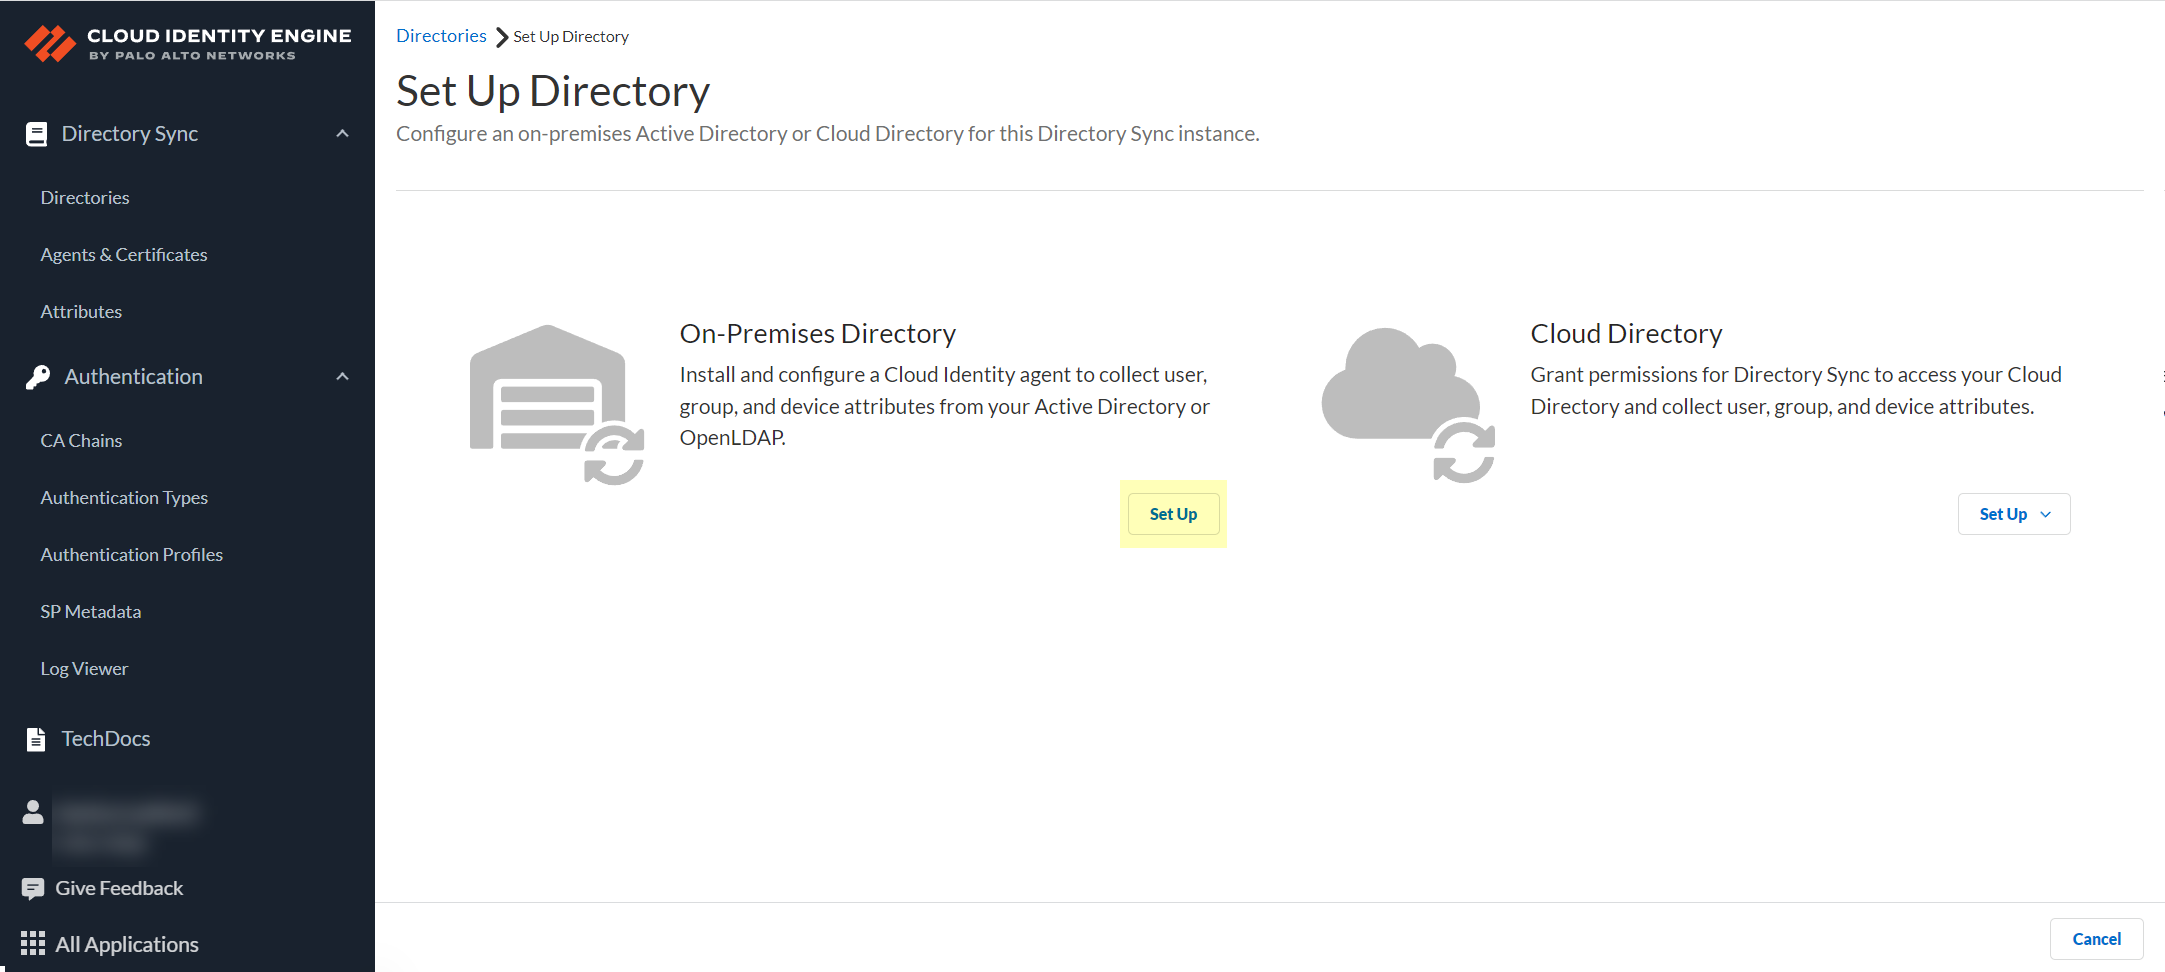
![]() Set Up an On-Premises Directory.
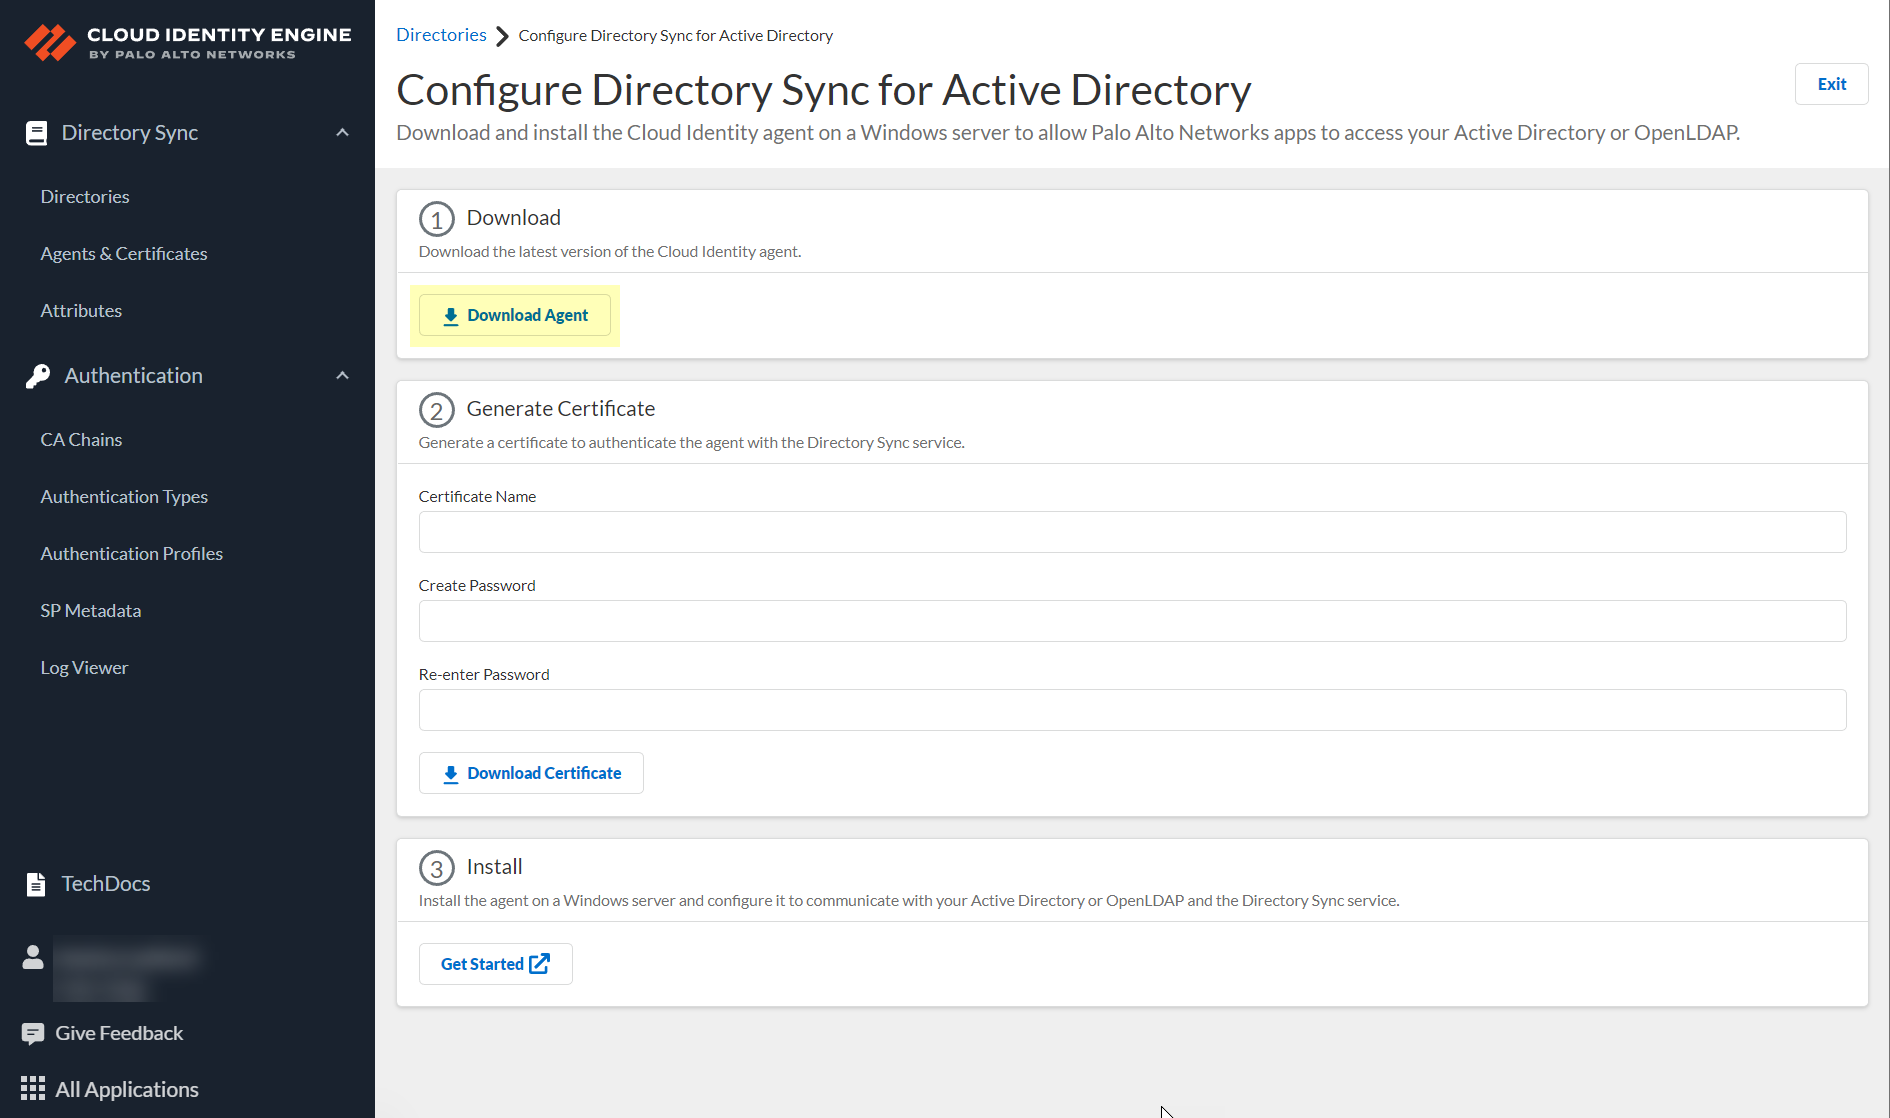
Set Up an On-Premises Directory.![]() Click Download Agent.
Click Download Agent.![]() When the download is complete, open the DaInstall.msi installation file for the agent on the Windows server where you plan to install the agent.For a list of supported servers, see the Cloud Identity Engine system requirements.If you are also using the Terminal Server (TS) agent, we recommend that you do not install the Cloud Identity agent on the same host as the TS agent. If you must install both agents on the same host, you must change the default listening port on the TS agent.Follow the prompts in the installation wizard to install the agent.Navigate to the location of the Cloud Identity agent.The default location is C:\Program Files (x86)\Palo Alto Networks\Cloud Identity Agent\.Double-click the CloudIdAgentController.exe file to launch the Cloud Identity agent.Starting the agent also starts the Cloud Identity Engine, which runs in the background on the server hosting the Cloud Identity agent until you stop the connection to the Cloud Identity Engine.
When the download is complete, open the DaInstall.msi installation file for the agent on the Windows server where you plan to install the agent.For a list of supported servers, see the Cloud Identity Engine system requirements.If you are also using the Terminal Server (TS) agent, we recommend that you do not install the Cloud Identity agent on the same host as the TS agent. If you must install both agents on the same host, you must change the default listening port on the TS agent.Follow the prompts in the installation wizard to install the agent.Navigate to the location of the Cloud Identity agent.The default location is C:\Program Files (x86)\Palo Alto Networks\Cloud Identity Agent\.Double-click the CloudIdAgentController.exe file to launch the Cloud Identity agent.Starting the agent also starts the Cloud Identity Engine, which runs in the background on the server hosting the Cloud Identity agent until you stop the connection to the Cloud Identity Engine.Next Steps
- After you have installed the Cloud Identity agent on the host, Configure the Cloud Identity Agent to communicate with both your directory and the Cloud Identity Engine.
- After configuring the agent, make sure to Authenticate the Agent and the Cloud Identity Engine to enable communication between the agent and the Cloud Identity Engine.
- For a comprehensive user identity and authentication solution, learn how to Authenticate Users with the Cloud Identity Engine.