SaaS Security
Onboard a ClickUp App to SSPM
Table of Contents
Onboard a ClickUp App to SSPM
Connect a ClickUp App instance to SSPM to detect posture risks.
| Where Can I Use This? | What Do I Need? |
|---|---|
|
Or any of the following licenses that include the Data Security license:
|
For SSPM to detect posture risks in your ClickUp instance, you must onboard your ClickUp instance
to SSPM. Through the onboarding process, SSPM logs in to ClickUp using administrator
account credentials. SSPM uses this account to scan your ClickUp instance for
misconfigured settings. If there are misconfigured settings, SSPM suggests a
remediation action based on best practices.
To onboard your ClickUp instance, you complete the following actions:
Collect Information for Accessing Your ClickUp Instance
To access your ClickUp instance, SSPM requires connection information. During the onboarding
process, you specify the following required and optional information.
| Item | Description |
|---|---|
| User Email | The login email address of a ClickUp administrator account. Required
Permissions: The user must be assigned to the Admin
role, or a role with greater permissions. |
| Password | The password for the ClickUp administrator account. |
| MFA Secret Key | (Optional) A key that is used to generate one-time passcodes for multi-factor authentication. |
As you complete the following steps, make note of the values of the items described in the
preceding table. You will need to enter these values during onboarding to access
your ClickUp instance from SSPM.
- Identify the ClickUp account that SSPM will use to access your ClickUp instance. Verify that the account is assigned to the Admin role, or a role with greater permissions.(Optional) Generate and copy an MFA secret key.MFA provides an extra layer of security when accessing the ClickUp administrator account. To enable this extra layer of security, the administrator account must be configured for MFA that uses time-based one-time passcodes.These one-time passcodes are generated from authenticator apps such as Google Authenticator by using an MFA secret key. The key is a shared secret between ClickUp and the authenticator app for generating matching passcodes for verification. Like an authenticator app, SSPM will use the MFA secret key for passcode generation.
- Log in to your ClickUp administrator account.
- Navigate to your My Settings page. To navigate to your My Settings page, locate your account avatar in the lower-left corner of the page and select .
- On your My Settings page, locate the Two-factor authentication (2FA)
section and turn on the toggle for Authenticator App
(TOTP).
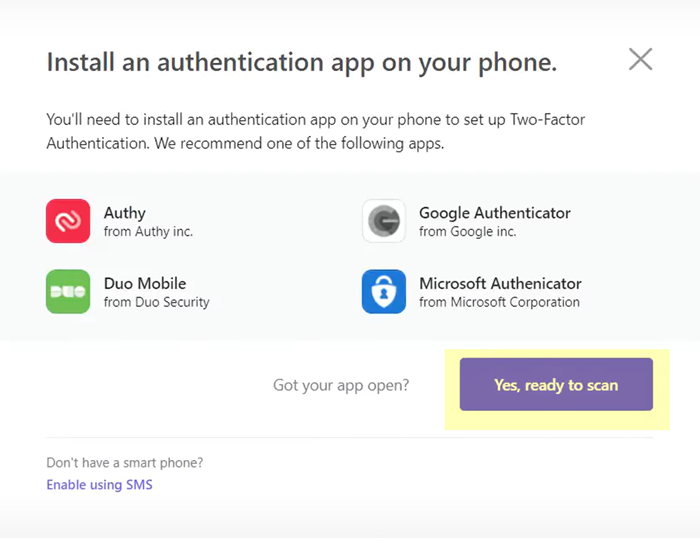
![]() A pop-up is displayed, instructing you to install an authenticator app on your cellphone.
A pop-up is displayed, instructing you to install an authenticator app on your cellphone. - Decide which authenticator app you will use and download it to your
cellphone. After you install the authenticator, click
Yes, ready to scan, but do not scan the
QR code that is displayed.
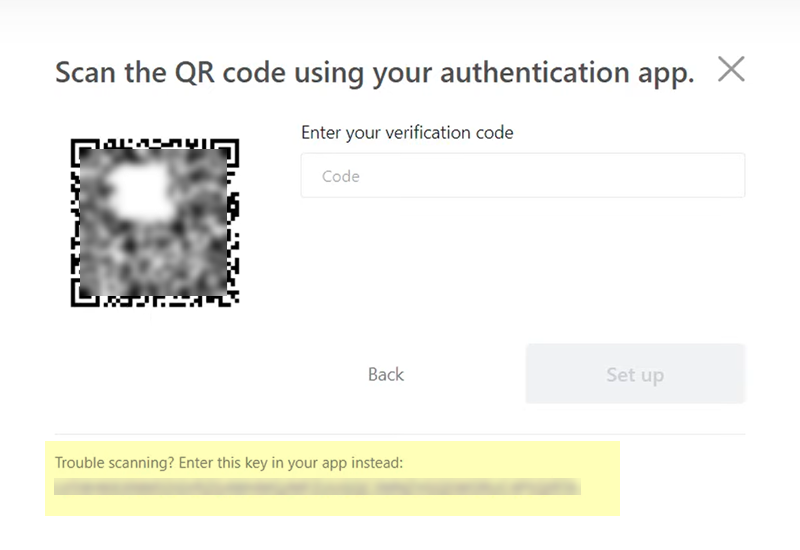
![]() A pop-up window displays your MFA key as a text string and also as a QR code.
A pop-up window displays your MFA key as a text string and also as a QR code. - Copy and paste the MFA key text string into a text file so you can
provide it to SSPM during onboarding. Then continue configuring your
authenticator app by scanning the QR code or by manually entering
the MFA key.
![]()
MFA is optional. However, if you want SSPM to connect to the administrator account by using MFA, do not continue to the next step unless you have copied the MFA Secret Key. You will provide this key to SSPM during the onboarding process.Connect SSPM to Your ClickUp Instance
By adding a ClickUp app in SSPM, you enable SSPM to connect to your ClickUp instance.- Log in to Strata Cloud Manager.Select and click the ClickUp tile.Under posture security instances, Add Instance or, if there is already an instance configured, Add New instance.Choose the option to Log in with Credentials.Enter the administrator login credentials and, optionally, the MFA secret key.Connect.