Enterprise DLP
Update a Data Profile
Table of Contents
Update a Data Profile
Update and modify an existing Enterprise Data Loss Prevention (E-DLP) data profile.
On May 7, 2025, Palo Alto Networks is introducing new Evidence Storage and Syslog Forwarding service IP
addresses to improve performance and expand availability for these services
globally.
You must allow these new service IP addresses on your network
to avoid disruptions for these services. Review the Enterprise DLP
Release Notes for more
information.
| Where Can I Use This? | What Do I Need? |
|---|---|
|
Or any of the following licenses that include the Enterprise DLP license
|
You can edit and modify an existing custom Enterprise Data Loss Prevention (E-DLP) data profile at
any time. Enterprise DLP synchronizes any changes you make to an existing data
profile between Panorama and Strata Cloud Manager.
If you update a data profile to include a predefined data pattern, be sure to
consider the detection types used by the predefined
data patterns because the detection type determines how Enterprise DLP arrives
at a verdict for scanned files. For example, when you create a data profile that
includes three machine learning (ML)-based data patterns and seven regex-based data
patterns, Enterprise DLP will return verdicts based on the seven regex-based
patterns whenever the scanned file exceeds 1 MB.
Any changes to the data profile match criteria made on Strata Cloud Manager are
synchronized to Panorama but don’t display in the Panorama web
interface. Security policy rules using a data profile updated on Strata Cloud Manager inspect traffic using the new or modified match
criteria.
(Panorama only) Updating the data profile
Name is supported but you must manually update the
existing Security policy rules ( to reassociate the renamed data filtering profile. Commits on Panorama fail if you do not reassociate the renamed data filtering
profile with the Security policy rule after the updated data profile name is
synchronized to Panorama.
Update a Data Profile Strata Cloud Manager
Modify an existing Enterprise Data Loss Prevention (E-DLP) data profile on Strata Cloud Manager.
- Log in to Strata Cloud Manager.Select and navigate to the data profile you want to modify.Edit () the data profile.
![]() Modify the data profile as needed.
Modify the data profile as needed.- See Create a Data Profile for details on configuring a data profile that uses predefined and custom data patterns and advanced detection methods.
- See Create a Nested Data Profile for details on configuring a single data profile that contains multiple data profiles.For a nested data profile, the DLP rule settings apply to all data profiles added to the nested data profileEnterprise DLP doesn't support converting an existing data profile into a nested data profile.
- See Create a Granular Data Profile for details configuring a single data profile that contains multiple data profiles to enable your data security administrators to apply differentiated inline content inspection requirements and response actions within the same Security policy rule.For a granular data profile, your data security administrator configures the DLP rule settings for each data profile added to the granular data profile.
Test a Data Profile to verify it accurately detects the sensitive data you configured it to detect.Save your changes.(Granular Data Profiles only) Select and Push Config.Enterprise DLP requires you push the Strata Cloud Manager configuration to the enforcement points using the Enterprise DLP when you update a granular data profile.Update a Data Filtering Profile on Panorama
Modify an existing Enterprise Data Loss Prevention (E-DLP) data filtering profile on the Panorama® management server.- Log in to the Panorama web interface.Select and specify the Device Group.Select a data filtering profile to edit.Modify the data filtering profile as needed.
- See Create a Data Profile for details on configuring configure a File or Non-File data filtering profile that uses only predefined or custom data patternsFor a data profile created on Strata Cloud Manager that includes advanced detection methods, Enterprise DLP only supports editing the data filtering profile settings on Panorama.
- Select the data filtering profile Action (Alert or Block)If the data profile has both Primary and Secondary Patterns, changing the data filtering profile Action on Panorama deletes all Secondary Pattern match criteria.
- Specify a File Type.Leave the file type as any to match any of the supported file types.
- Set the Log Severity recorded for files that match this data filtering profile.
- See Create a Granular Data Profile on Panorama for details configuring a single data profile that contains multiple data profiles to enable your data security administrators to apply differentiated inline content inspection requirements and response actions within the same Security policy rule.
Commit and push the new configuration to your NGFW.The Commit and Push command isn’t recommended for Enterprise DLP configuration changes. Using the Commit and Push command requires the additional and unnecessary overheard of manually selecting the impacted templates and managed firewalls in the Push Scope Selection.- Full configuration push from Panorama
- Select and Commit.
- Select and Edit Selections.
- Select Device Groups and Include Device and Network Templates.
- Click OK.
- Push your configuration changes to your managed firewalls that are using Enterprise DLP.
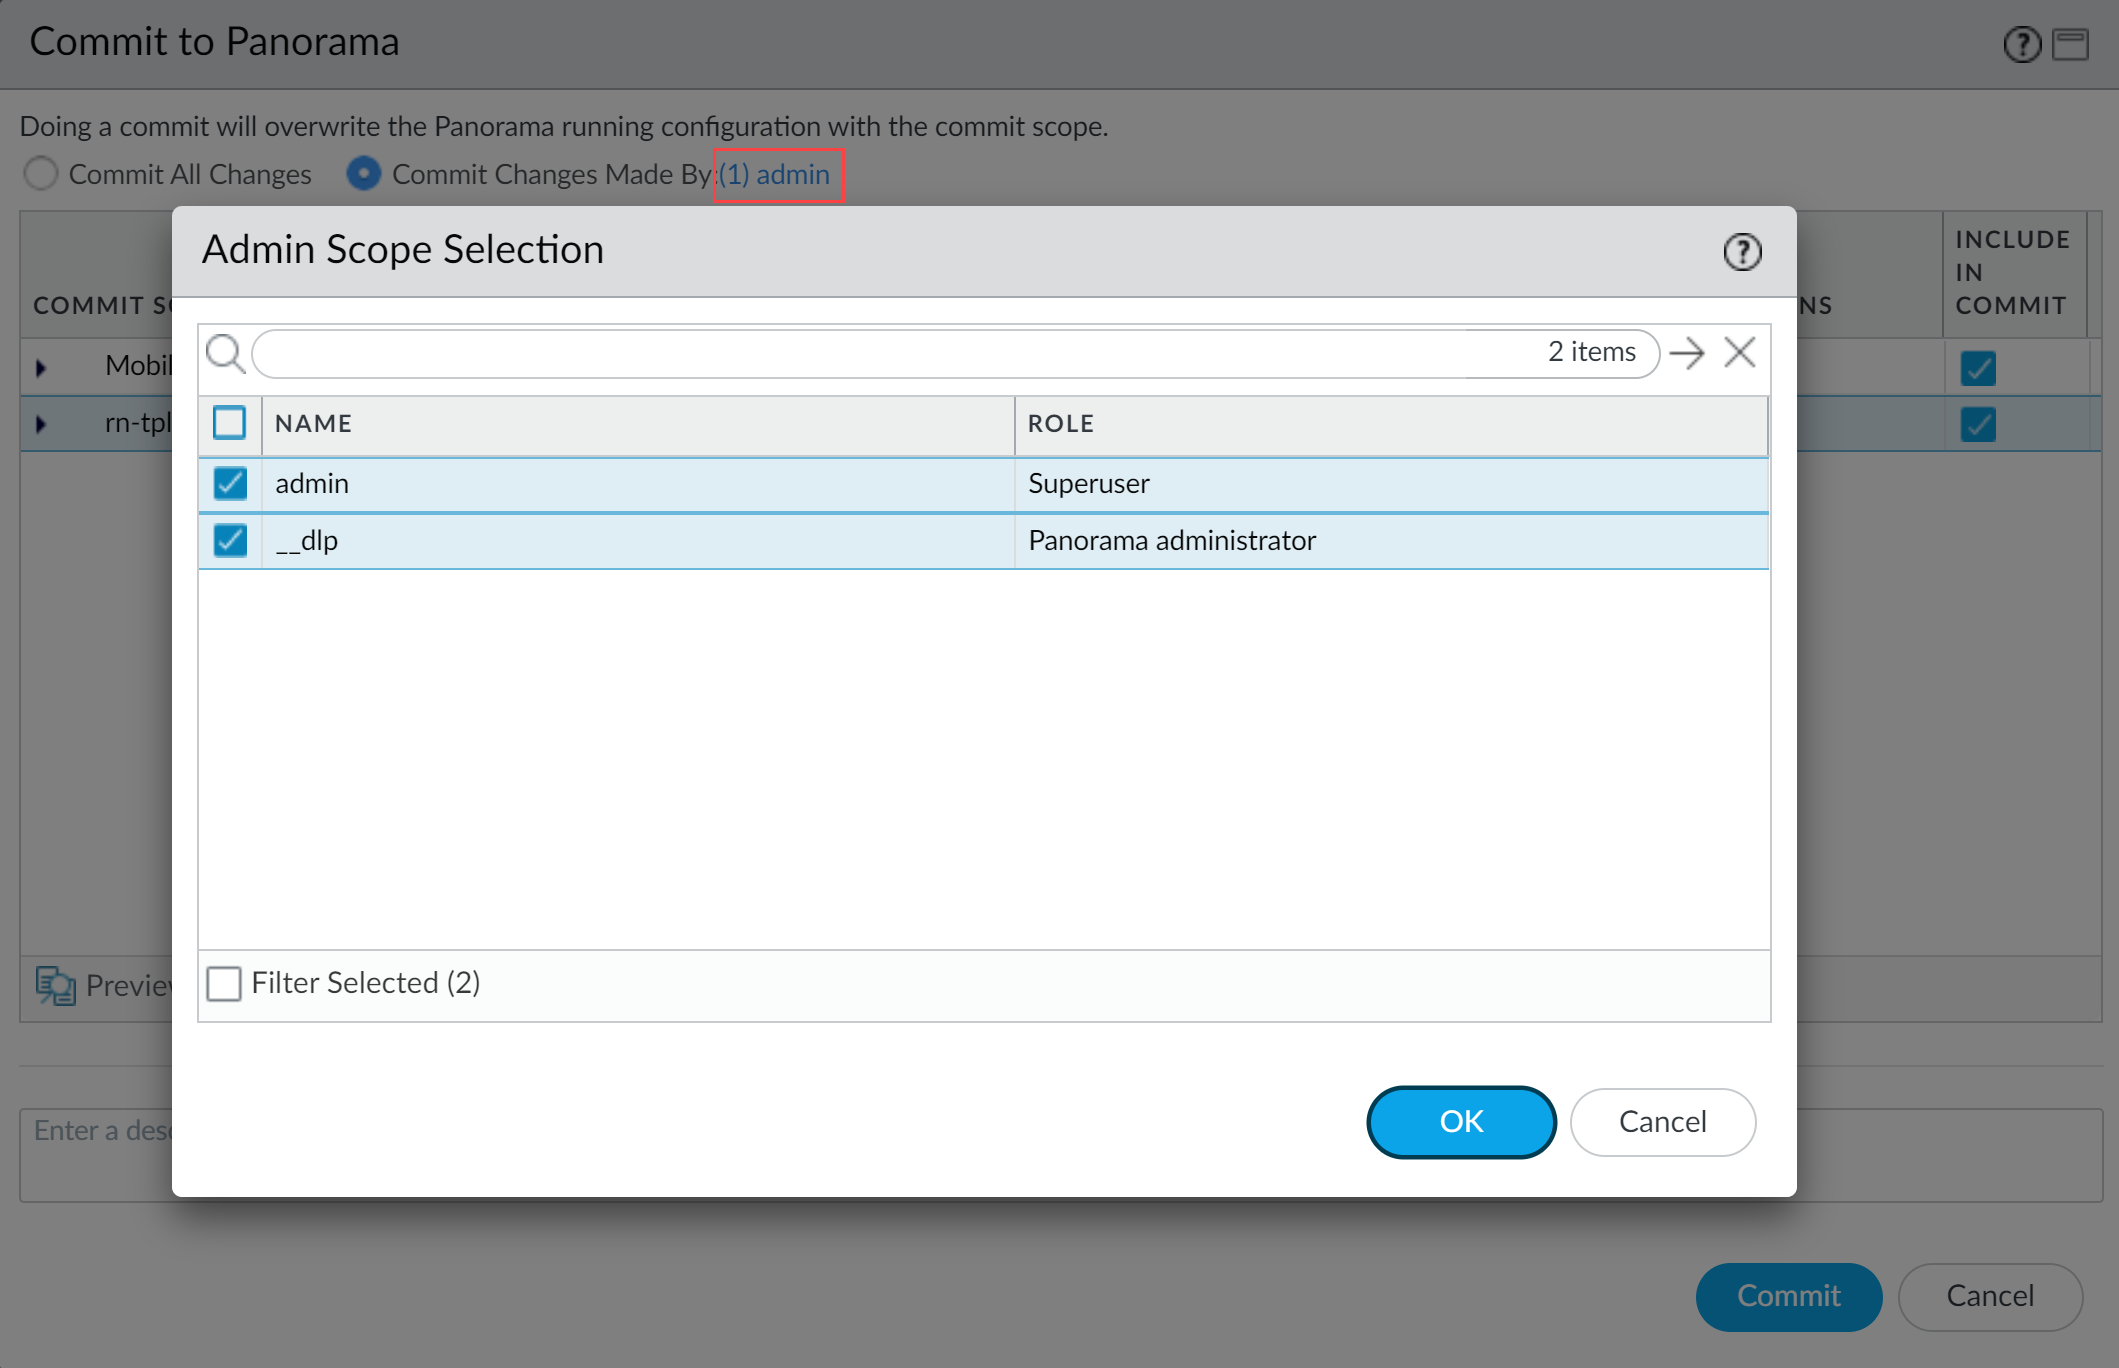
- Partial configuration push from PanoramaYou must always include the temporary __dlp administrator when performing a partial configuration push. This is required to keep Panorama and the DLP cloud service in sync.For example, you have an admin Panorama admin user who is allowed to commit and push configuration changes. The admin user made changes to the Enterprise DLP configuration and only wants to commit and push these changes to managed firewalls. In this case, the admin user is required to also select the __dlp user in the partial commit and push operations.
- Select .
- Select Commit Changes Made By and then click the current Panorama admin user to select additional admins to include in the partial commit.In this example, the admin user is currently logged in and performing the commit operation. The admin user must click admin and then select the __dlp user. If there are additional configuration changes made by other Panorama admins they can be selected here as well.Click OK to continue.
![]()
- Commit.
- Select .
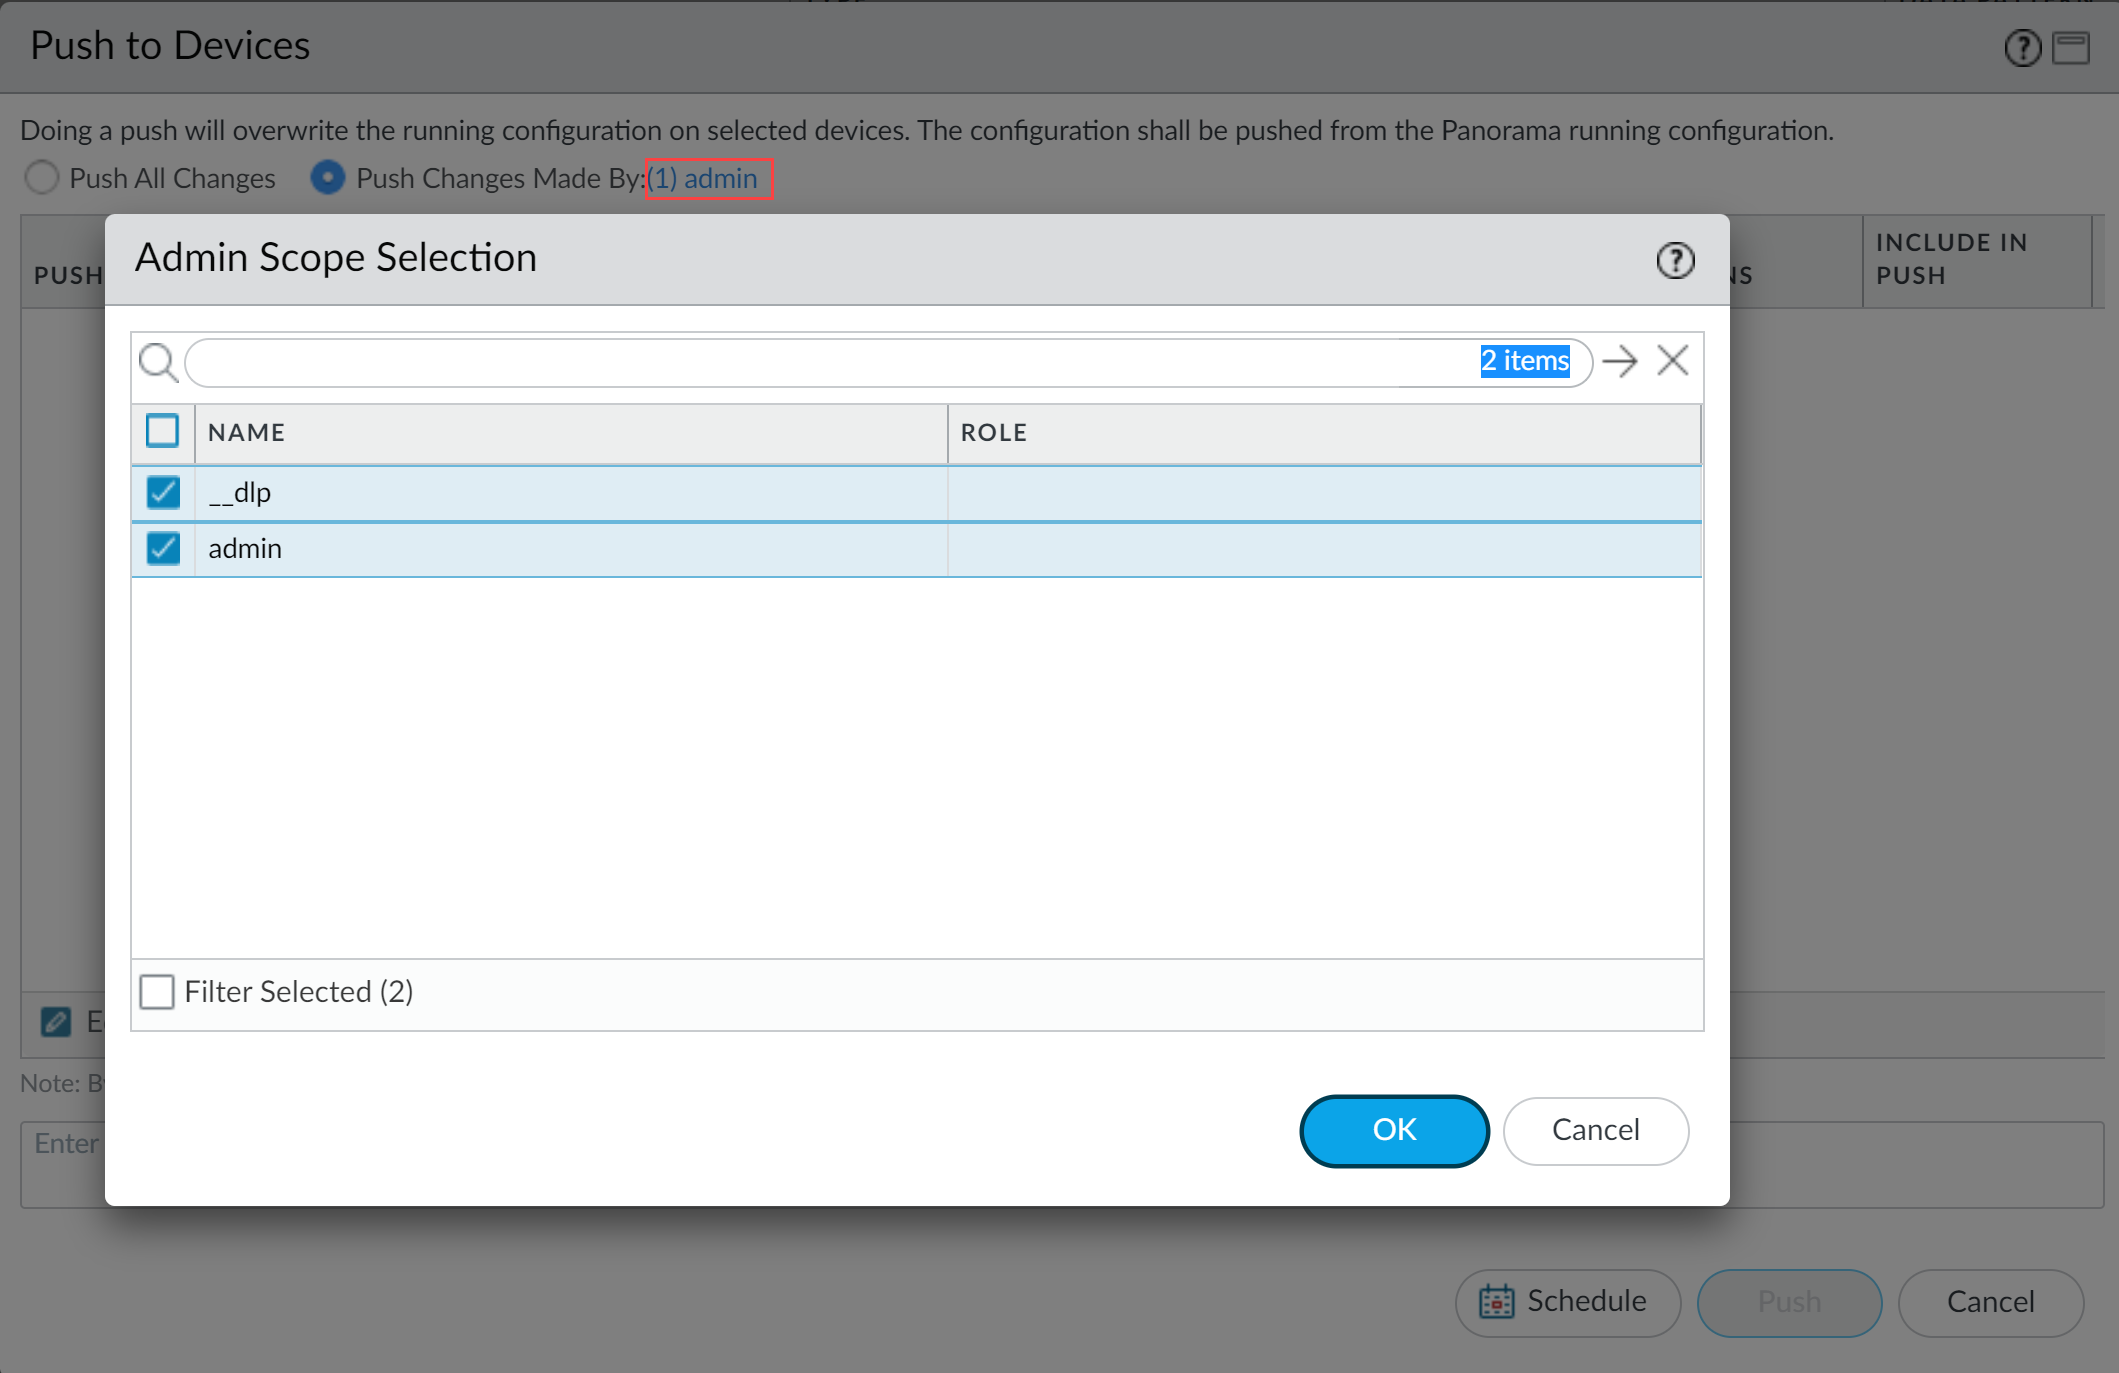
- Select Push Changes Made By and then click the current Panorama admin user to select additional admins to include in the partial push.In this example, the admin user is currently logged in and performing the push operation. The admin user must click admin and then select the __dlp user. If there are additional configuration changes made by other Panorama admins they can be selected here as well.Click OK to continue.
![]()
- Select Device Groups and Include Device and Network Templates.
- Click OK.
- Push your configuration changes to your managed firewalls that are using Enterprise DLP.