Enterprise DLP
Edit the Enterprise DLP Data Filtering Settings for Email DLP
Table of Contents
Edit the Enterprise DLP Data Filtering Settings for Email DLP
Edit the Enterprise Data Loss Prevention (E-DLP) data filtering settings for Email DLP on Strata Cloud Manager.
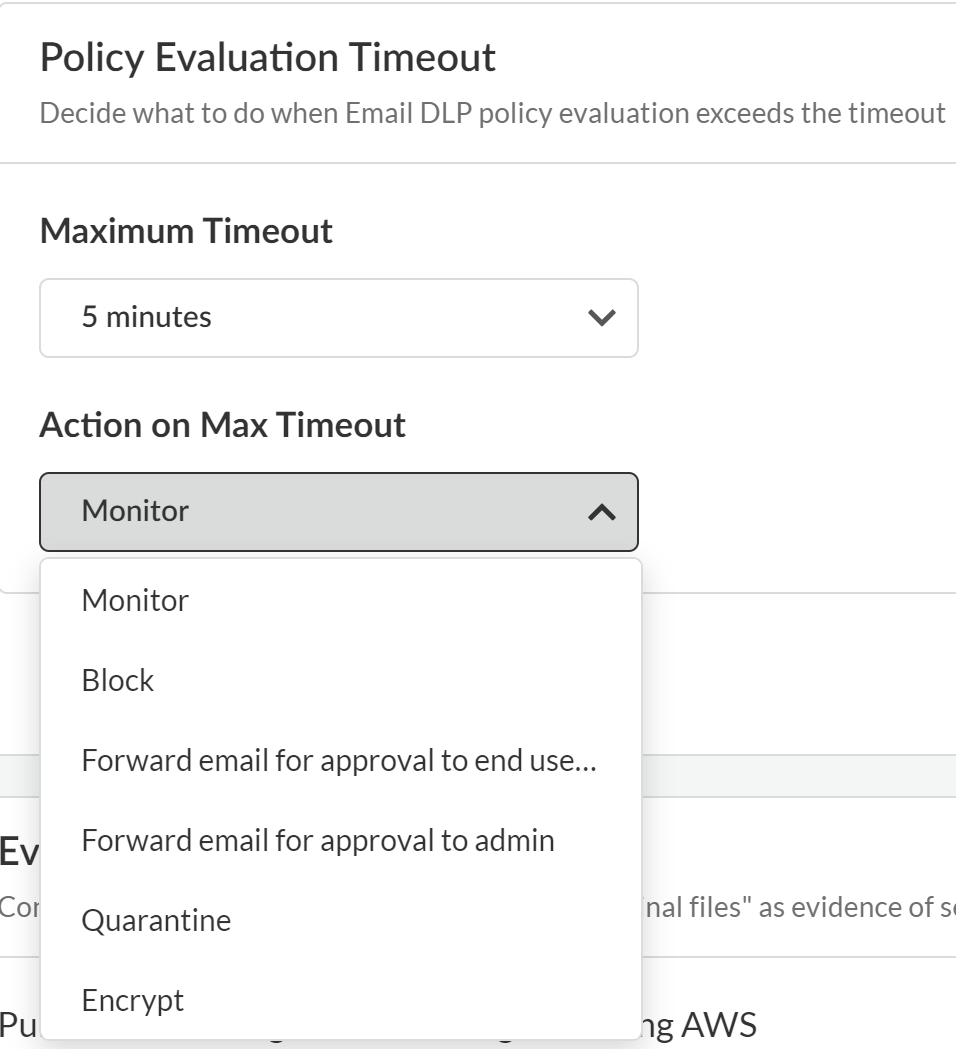
- Log in to Strata Cloud Manager.Select .(Optional) Configure the Email DLP snippet settings.You can configure if and how Enterprise Data Loss Prevention (E-DLP) stores and masks snippets of sensitive data that match your data pattern match criteria in an Enterprise DLP data profiles. Your snippet setting configuration determines how snippets of matched traffic are displayed when you review your DLP incidents.Edit the Policy Evaluation Timeout to configure what Enterprise DLP does when Email DLP policy evaluation exceeds the configured timeout.
- Maximum Timeout—Maximum time allowed for Enterprise DLP to inspect an outbound email. Minimum timeout is 1 minute. Maximum timeout is 5 minutes.
- Action on Max Timeout—The action Enterprise DLP takes if the maximum timeout is exceeded. The possible actions are the same as those you configure in the Email DLP policy rule Response. Default is Monitor.
![]() Edit the Maximum Message Size Policy to configure the maximum email message size you want to forward to Enterprise DLP and the action taken when an email exceeds the configured maximum size.
Edit the Maximum Message Size Policy to configure the maximum email message size you want to forward to Enterprise DLP and the action taken when an email exceeds the configured maximum size.- Maximum Size to Scan—Enforce a maximum outbound email size that can be forwarded to Enterprise DLP when a traffic matches an Email DLP policy rule. The outbound email size includes all text in the email subject and body, as well as any attachments.Supportss 1- 150 MB. Default is 150 MB.
- Action on Oversized Message—Specifies the type of X-PANW-Processing-Status or x-panw-action email header Enterprise DLP adds when a forwarded outbound email exceeds the Maximum Size to Scan. Enterprise DLP generates an Email DLP incident when any action is taken.
- (Default) Monitor—Outbound email is allowed to continue to recipient.X-PANW-Processing-Status: limited and x-panw-action: monitor added to the email header.
- Block—Outbound email blocked by Enterprise DLP.x-panw-action: block added to the email header.
- (Microsoft Exchange only) Forward Email for Approval to End User's Manager— Outbound email is transported back to Microsoft Exchange and sent to the sender's manager for approval. Independent review is required by the sender's manager before the email is allowed to leave your organization's network.The action Microsoft Exchange takes on a Forward email for approval by end user's manager action is based on the transport for manager approval rule.x-panw-action: fwd_to_manager added to the email header.
- (Microsoft Exchange only) Forward Email for Approval to Admin—Outbound email is transported back to Microsoft Exchange and sent to the specified email admin for approval. Independent review is required by the specified email administrator before the email is allowed to leave your organization's network.The action Microsoft Exchange takes on a Forward email for approval admin action is based on the transport for admin approval rule.x-panw-action: fwd_to_admin added to the email header.
- Quarantine—Outbound email is transported back to the email server and quarantined. The email is forwarded to the hosted quarantine spam inbox and requires review by an email administrator before the email is allowed to leave your organization's network.The action Microsoft Exchange or Gmail takes on a Quarantine action is based on the quarantine transport rule you created.x-panw-action: quarantine added to the email header.
- Encrypt—Outbound email is encrypted before being allowed to leave your organization and continuing its path to the intended recipient.x-panw-action: encrypt added to the email header.
Save Settings.