SaaS Security
Begin Using Azure Active Directory Groups
Table of Contents
Begin Using Azure Active Directory Groups
Configure an app registration on Azure Active Directory
to enable SaaS Security to retrieve users and groups.
| Where Can I Use This? | What Do I Need? |
|---|---|
|
Or any of the following licenses that include the Data Security license:
|
- New customers (onboarded your apps to Data Security on or after November 1, 2024) and FedRAMP customers: Integrate CIE with Data Security.
- Legacy customers (onboarded your apps to Data Security before November 1, 2024): If you have been using Microsoft Azure AD, continue with the following topic.
SaaS Security integrates with an Azure Active Directory (AD) to manage a cloud-based identity and
access management service. After Azure Active Directory connects to SaaS Security,
the service retrieves your user group and membership information.
With an Active Directory integration, you can use the group-based visibility
capabilities that Data Security offers, including:
To begin scanning your Azure Active Directory users and groups, you need to:
- Configure an application registration on Azure Active Directory, using either Microsoft’s new and improved method or the legacy method.
- Connect Azure Active Directory to SaaS Security.
- Select the Active Directory groups you want to scan.
Configure an Application Registration on Azure Active Directory
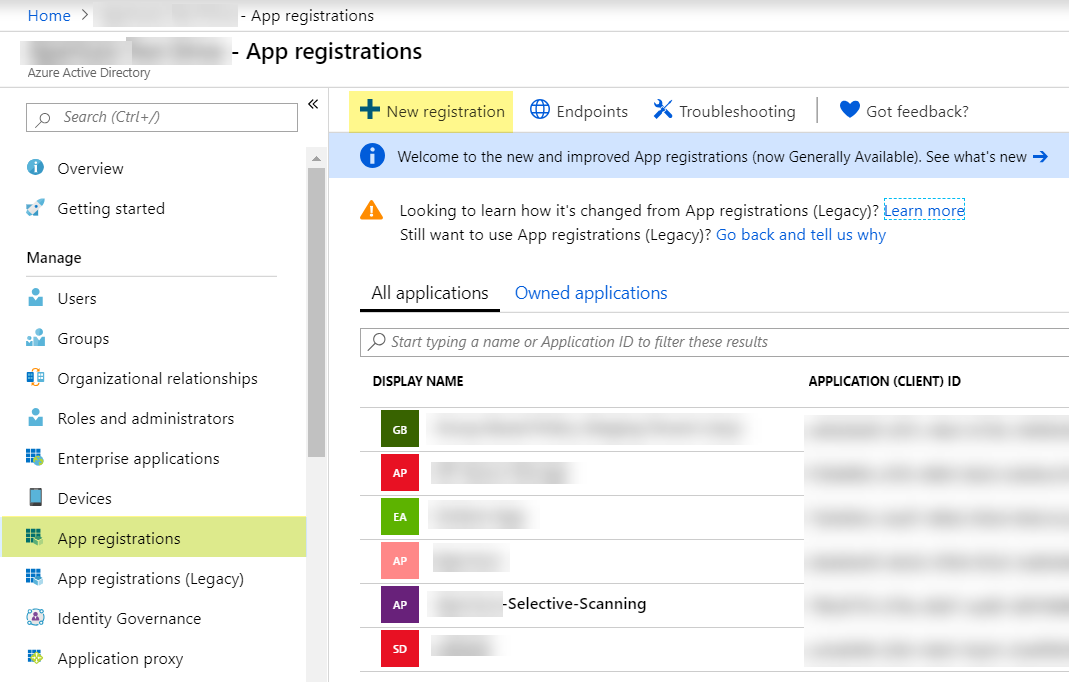
- Log in to Microsoft Azure and select .
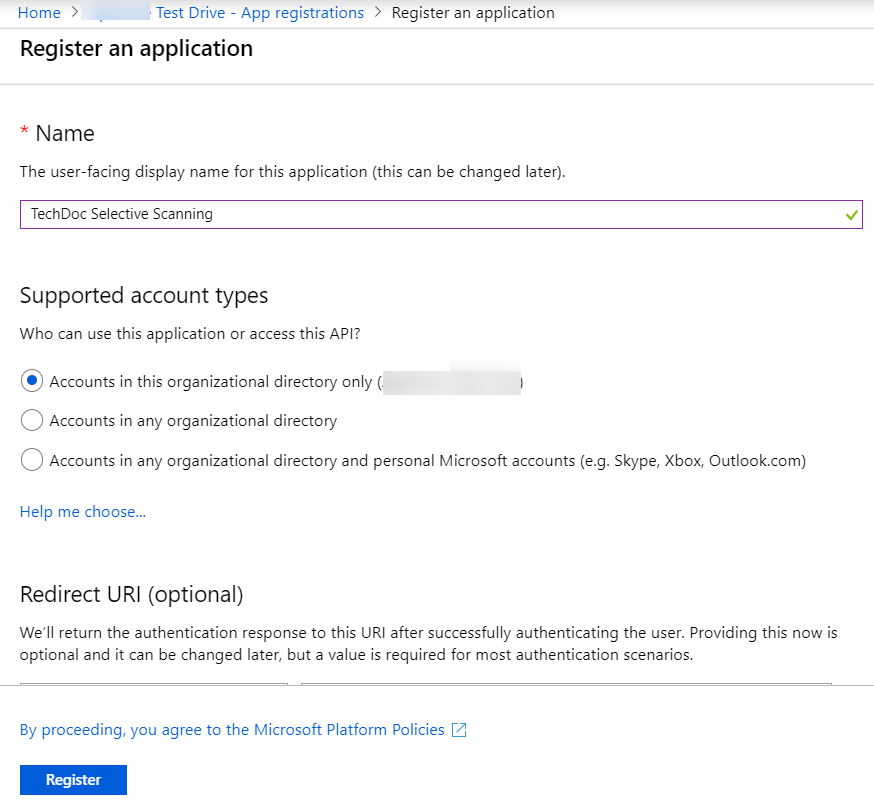
![]() Enter a Name, select Accounts in this organizational directory only, and click Register.
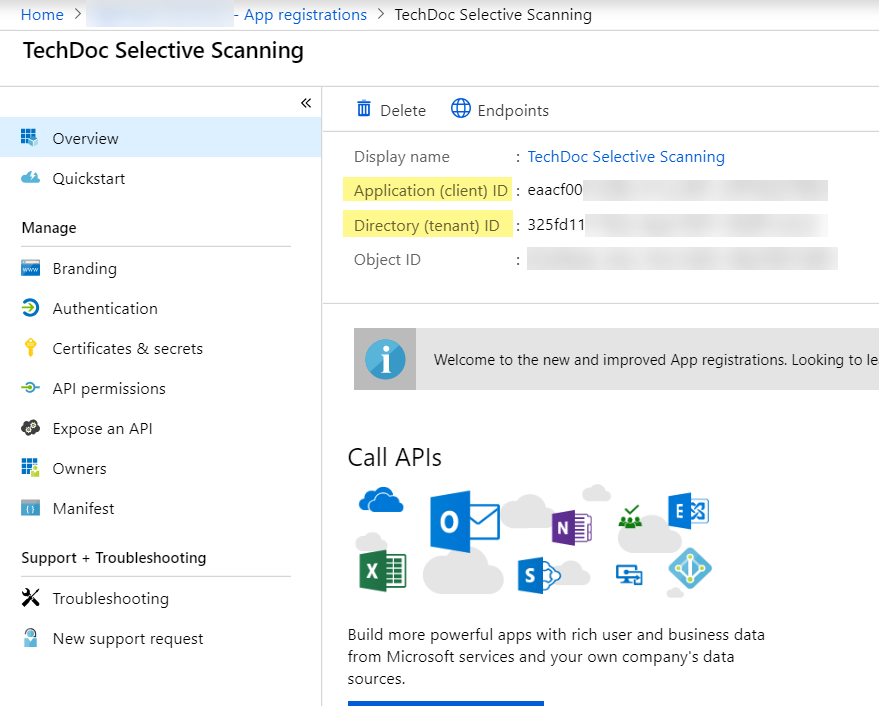
Enter a Name, select Accounts in this organizational directory only, and click Register.![]() Copy the Application (client) ID.Copy the Directory (tenant) ID.
Copy the Application (client) ID.Copy the Directory (tenant) ID.![]() Click .
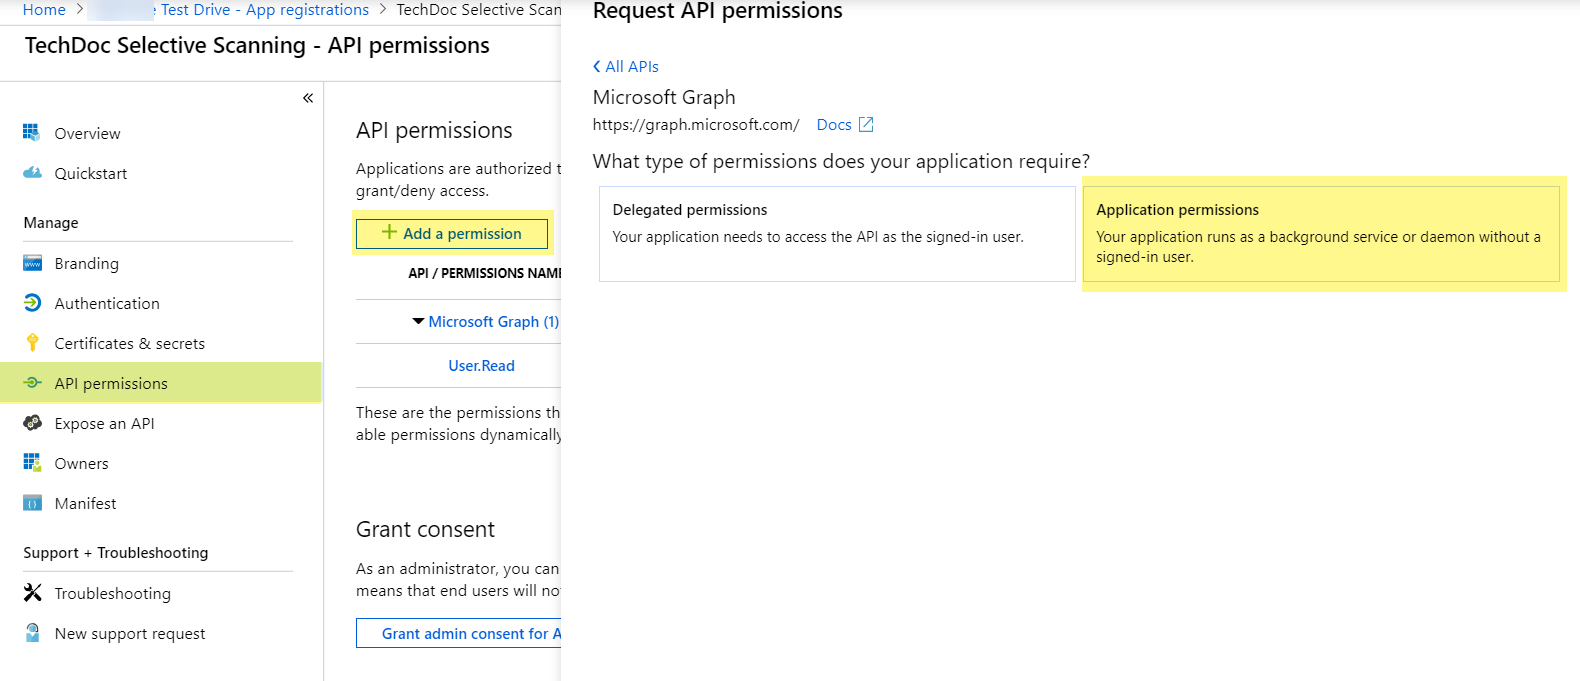
Click .![]() Select .Enable permissions to read directory data to allow SaaS Security to connect to the Azure Active Directory application to read users, groups, and apps in the organization’s directory.Select and Add permissions.Enable permissions to read all groups to allow Azure Active Directory to list groups, read their properties and membership, and enable SaaS Security to populate a list of groups to scan.Click Grant consent and click Yes to confirm permission change.
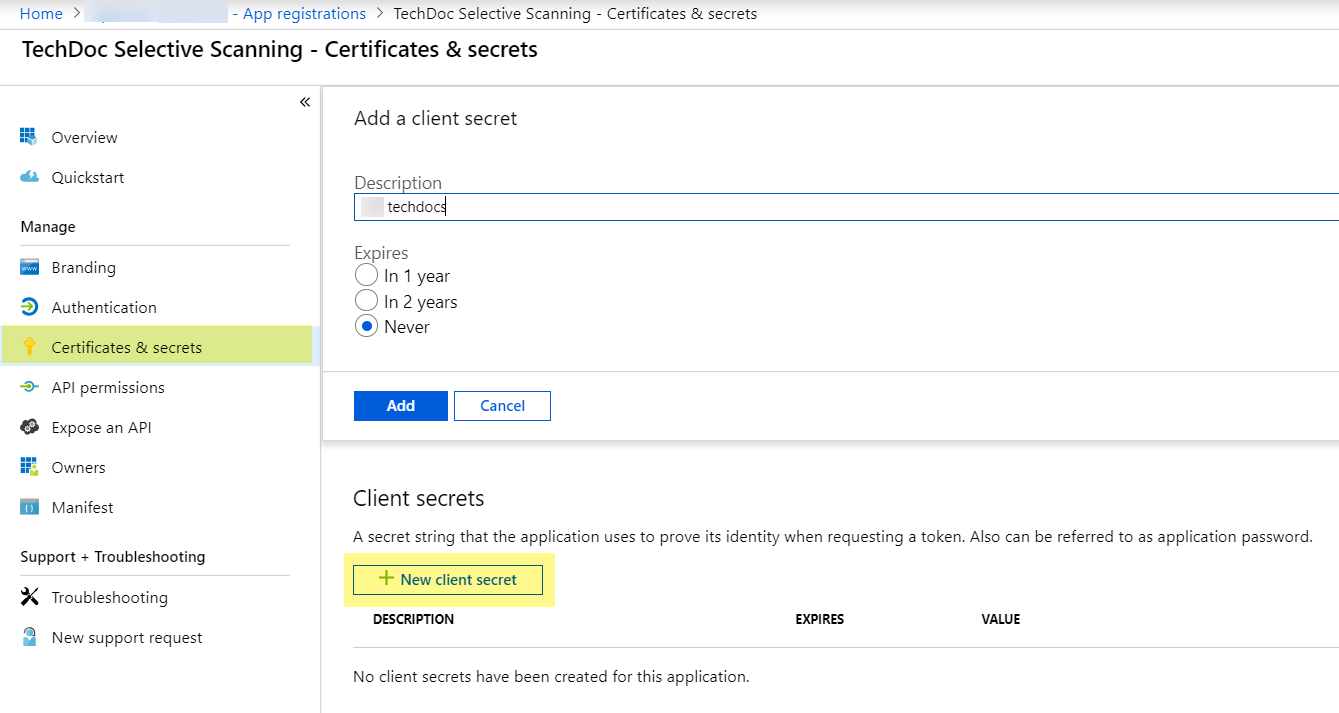
Select .Enable permissions to read directory data to allow SaaS Security to connect to the Azure Active Directory application to read users, groups, and apps in the organization’s directory.Select and Add permissions.Enable permissions to read all groups to allow Azure Active Directory to list groups, read their properties and membership, and enable SaaS Security to populate a list of groups to scan.Click Grant consent and click Yes to confirm permission change.![]() Select , enter a Description, select an expiration, and click Add.
Select , enter a Description, select an expiration, and click Add.![]() Copy the unique Client secret (aka Application Key).
Copy the unique Client secret (aka Application Key).![]()
Connect Azure Active Directory to SaaS Security
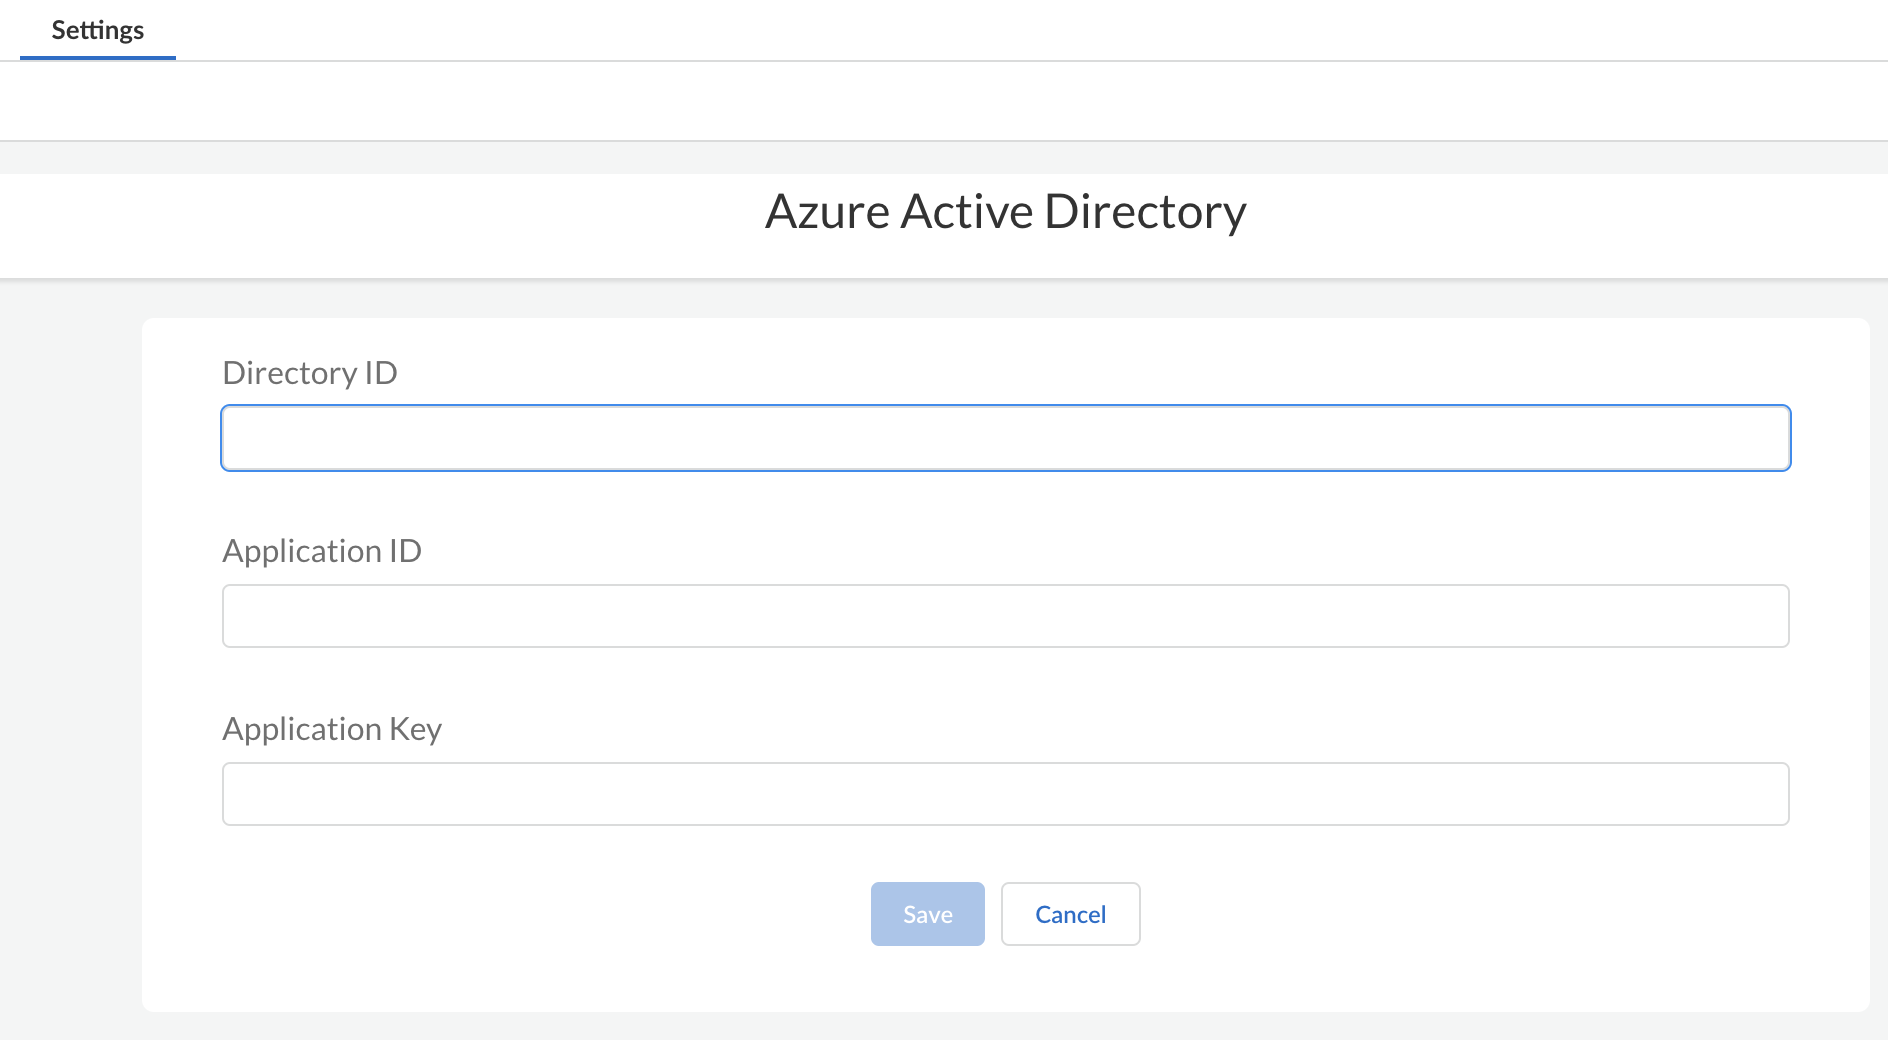
You need to connect Azure Active Directory to SaaS Security so that SaaS Security can retrieve all your Active Directory users and groups.After you connect Azure Active Directory to SaaS Security, you might need to wait up to 24 hours for all your Active Directory groups to display in the SaaS Security web interface.- Verify that you have an Azure Active Directory account with administrator privileges.Log in to SaaS Security. Go to .Select Azure Active Directory, then enter Active Directory information.
- Directory ID
- Application ID
- Authentication Key
![]() Save to authenticate Azure Active Directory.You can give your Azure Active Directory instance a descriptive name other than the default name, which is Azure Active Directory n, to differentiate it from other instances.
Save to authenticate Azure Active Directory.You can give your Azure Active Directory instance a descriptive name other than the default name, which is Azure Active Directory n, to differentiate it from other instances.Select Active Directory Groups
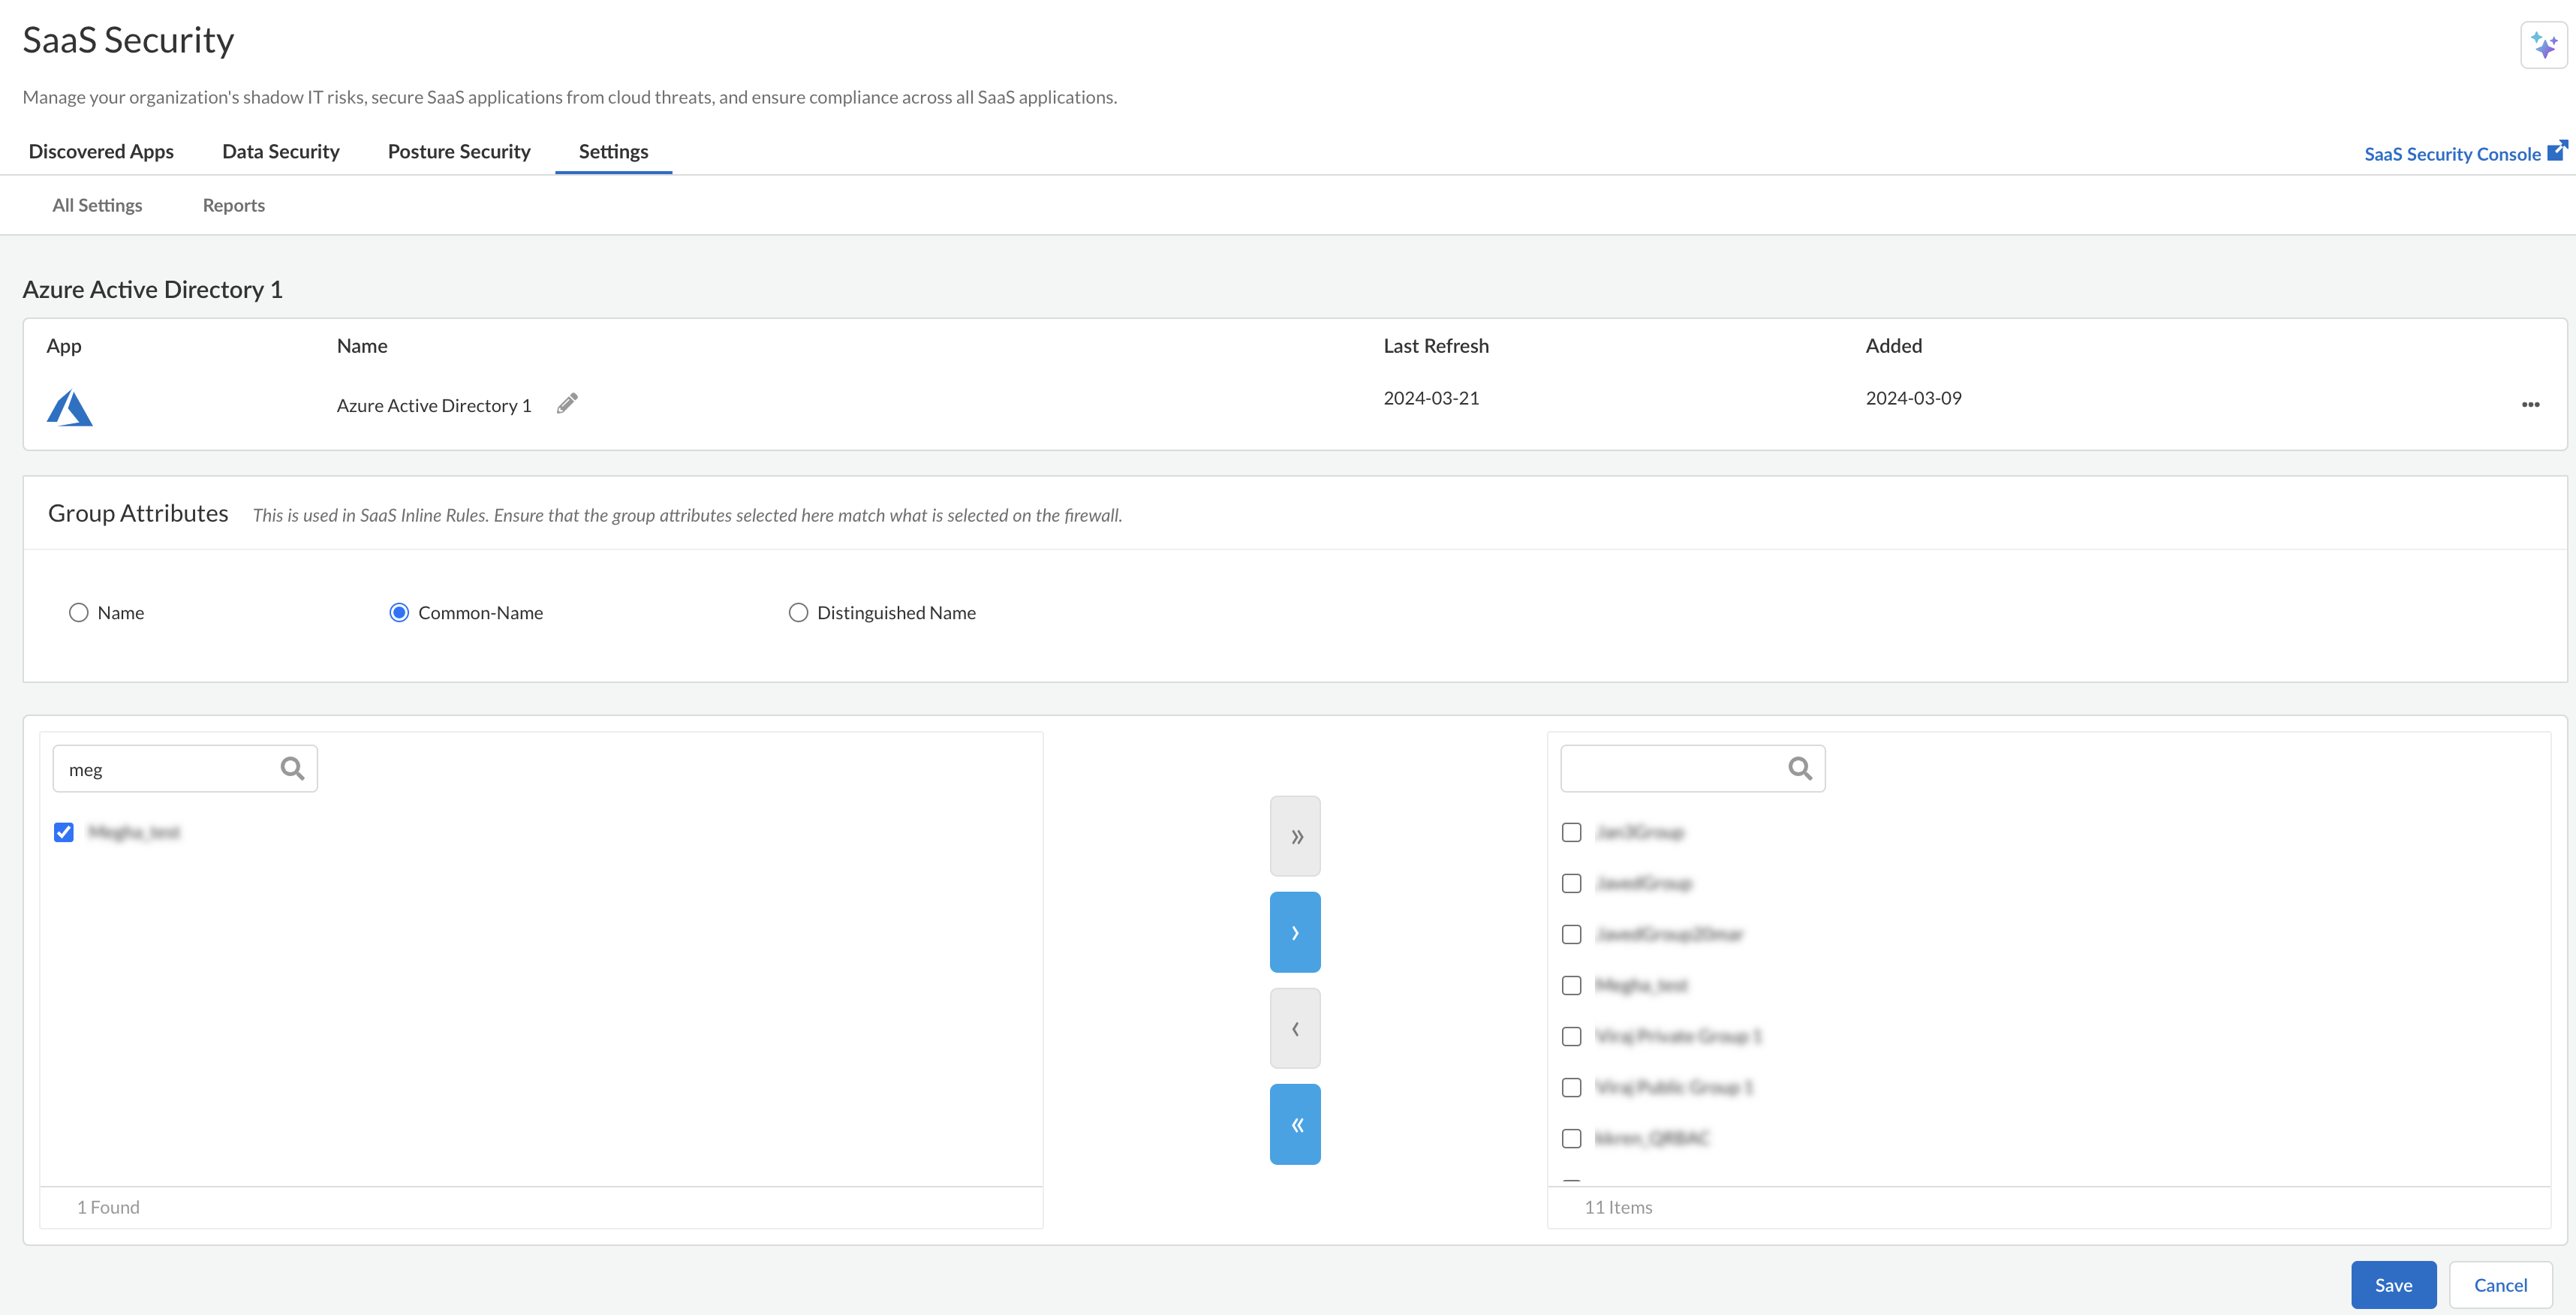
Select the groups you need for group-based visibility: Policy enforcement, incident management, and selective scanning. - Log in to SaaS Security and go to .Select the Azure Active Directory instance.Enter the first few letters or name of the group.
- >>—Adds all groups.
- >—Adds a single group.
You can add up to 100 groups in total, including nested groups.![]() Select Save.
Select Save.