SaaS Security
Begin Scanning ChatGPT Enterprise App
Table of Contents
Expand All
|
Collapse All
SaaS Security Docs
Begin Scanning ChatGPT Enterprise App
Learn how to connect the ChatGPT Enterprise app to Data Security to begin
scanning for security violations.
| Where Can I Use This? | What Do I Need? |
|---|---|
|
Or any of the following licenses that include the Data Security license:
|
Supported Content
|
Support For
|
Details
|
|---|---|
|
Supported Content
| Messages, files uploaded, and files generated by GPT. |
|
Backward Scan
|
Yes
|
|
Forward Scan
|
Yes
|
|
Selective Scan
|
No
|
|
Conditional Save (Assets containing sensitive information
with a Data Profile/Pattern match will be persisted)
|
Yes
|
|
Rescan
|
No
|
|
User Activities
|
No
|
|
Remediation Actions
|
Yes
|
|
Post-Remediation Actions (Actions after Admin
Quarantine)
|
No
|
|
Exposure
|
Internal, External, Company, Public
|
|
Snippet Support
|
Yes
|
|
Known License/Version restrictions
|
None
|
|
Caveats
|
None
|
Onboard ChatGPT Enterprise App to Data Security
- Prerequisites to be completed on ChatGPT
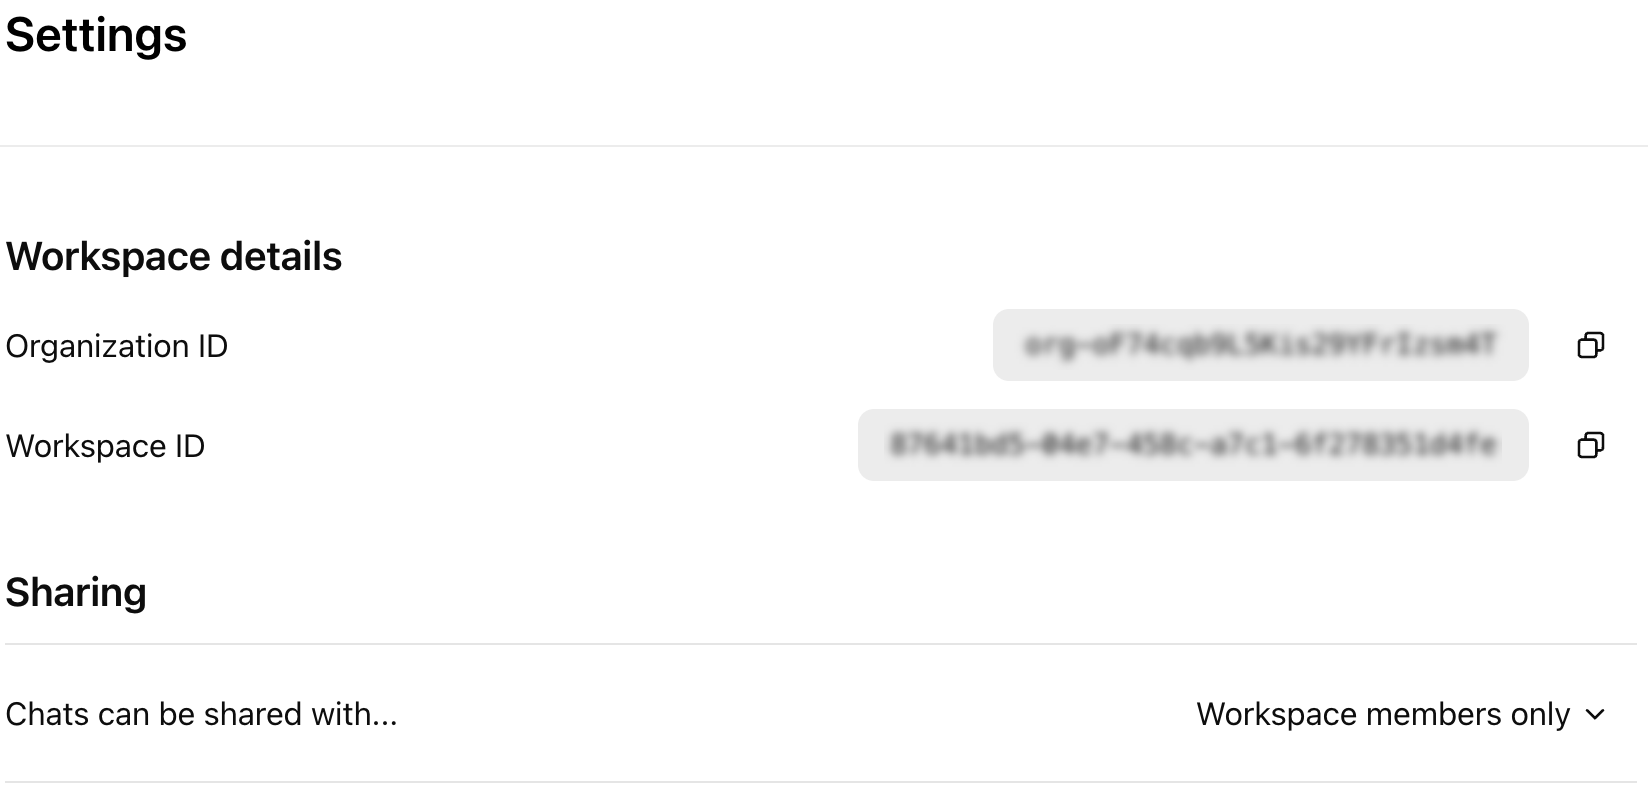
- Fetch the Organization ID and Workspace ID from ChatGPT Settings (select ChatGPTManage WorkspaceSettings) and keep them handy.
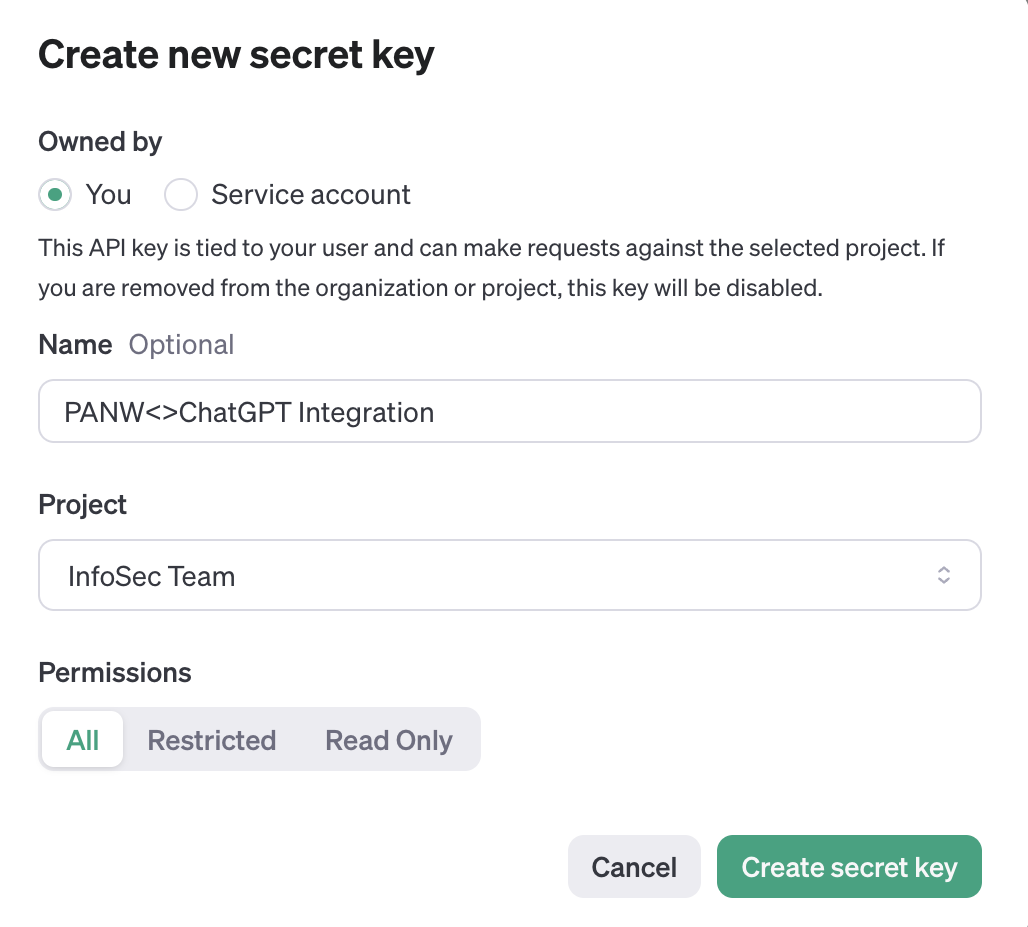
![]() To fetch the Secret Key, go to the OpenAI API-Keys site and click + Create new secret key. In the Create new secret key page, enter the required details and Create secret key.
To fetch the Secret Key, go to the OpenAI API-Keys site and click + Create new secret key. In the Create new secret key page, enter the required details and Create secret key.- During key generation, ensure that the
Permissions is set to
All. Open AI will revoke it in
the subsequent steps.
![]()
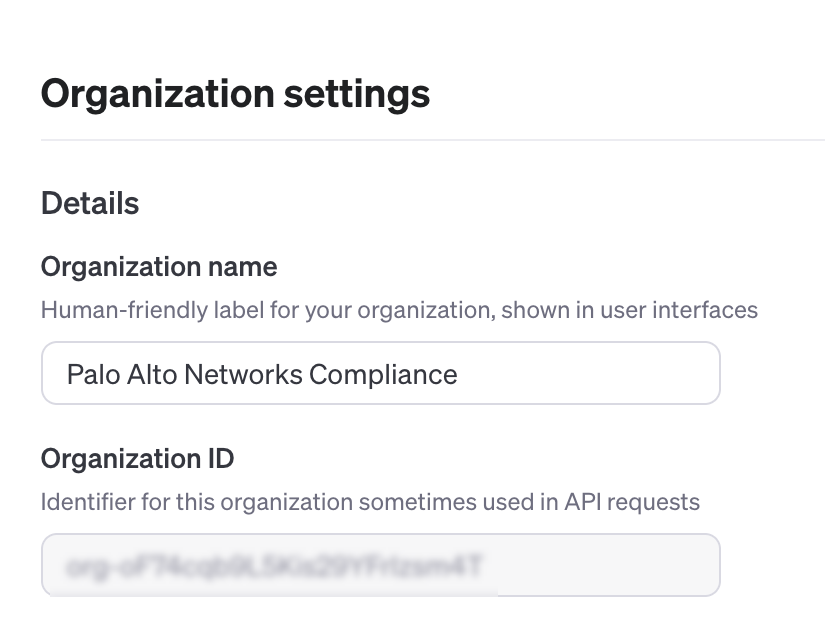
- Ensure that this key is generated in the same Organization
as your ChatGPT tenant. To confirm this, select
Settings in the OpenAI website
and ensure the Org ID is the same as what you fetched
before.
![]()
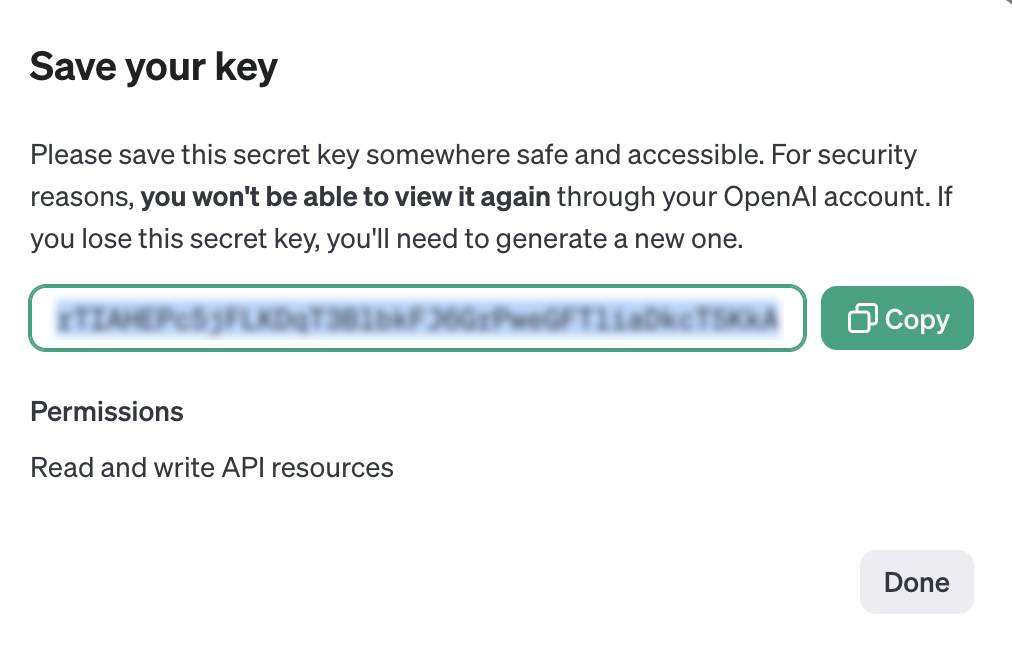
Copy the new key and keep it handy.![]() To enable the generated key for the Compliance API scopes, send an email (support@openai.com) to ChatGPT with the following information:
To enable the generated key for the Compliance API scopes, send an email (support@openai.com) to ChatGPT with the following information:- Last 4 characters of the generated API Key
- Key Name
- Created By Name
- Requested Scope - Both Read and Delete
- Organization ID
Further instructions are available in the ChatGPT API Reference.After Open AI enables the key for Compliance API, proceed to add the ChatGPT Enterprise connector to Data Security.Add ChatGPT to Data Security- Select Data SecurityApplicationsAdd ApplicationChatGPT Enterprise.
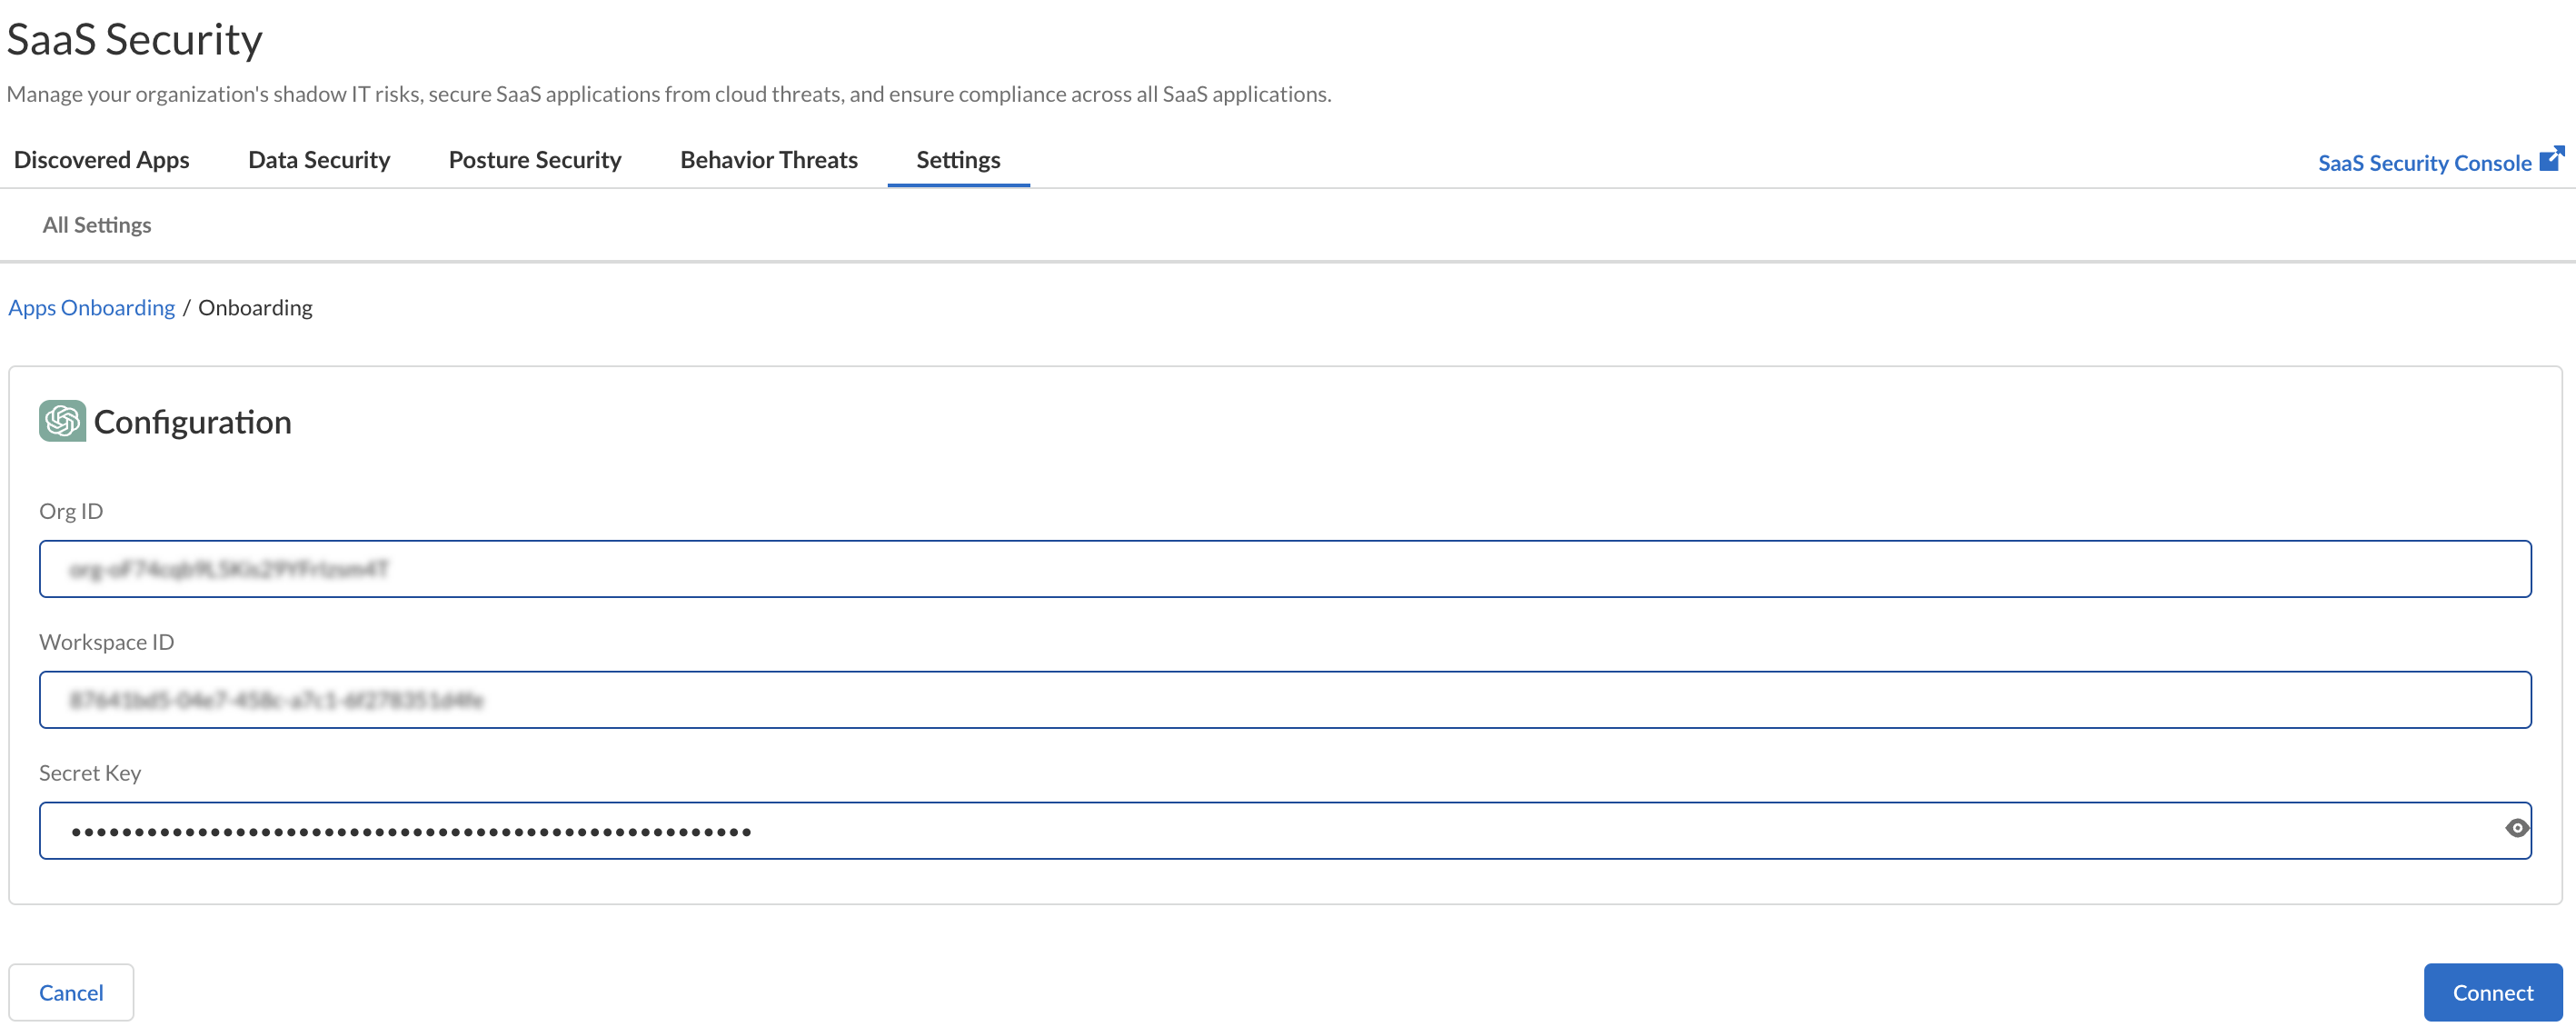
![]() On the Configuration page, enter your Org ID, Workspace ID, and Secret Key and Connect.
On the Configuration page, enter your Org ID, Workspace ID, and Secret Key and Connect.![]() If your onboarding is successful, the following message appears.
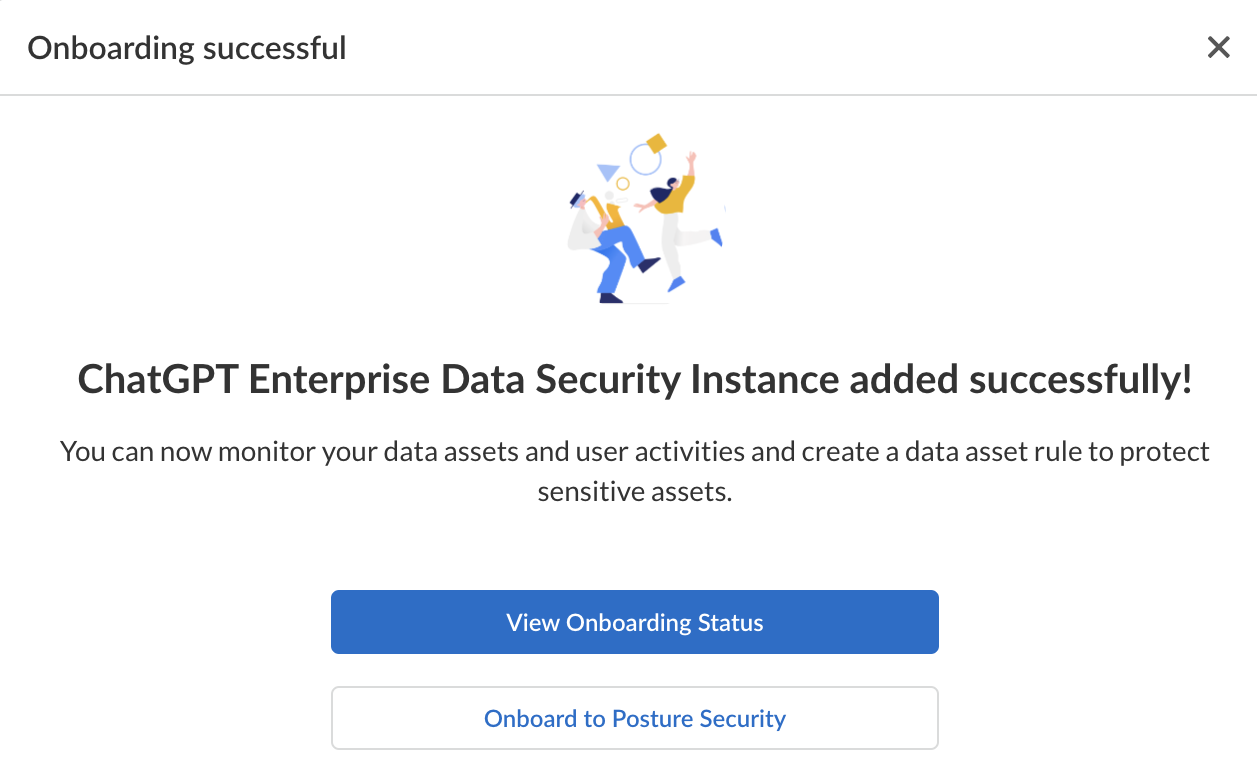
If your onboarding is successful, the following message appears.![]() Optional Data Security adds the new ChatGPT Enterprise app to the Cloud Apps list as ChatGPT Enterprise n, where n is the number of ChatGPT Enterprise app instances that you connected to Data Security. The first ChatGPT Enterprise instance you add to Data Security will have the default name of ChatGPT Enterprise 1. Use the pen icon to rename your ChatGPT Enterprise app instance.
Optional Data Security adds the new ChatGPT Enterprise app to the Cloud Apps list as ChatGPT Enterprise n, where n is the number of ChatGPT Enterprise app instances that you connected to Data Security. The first ChatGPT Enterprise instance you add to Data Security will have the default name of ChatGPT Enterprise 1. Use the pen icon to rename your ChatGPT Enterprise app instance.Start Scanning and Monitor Results
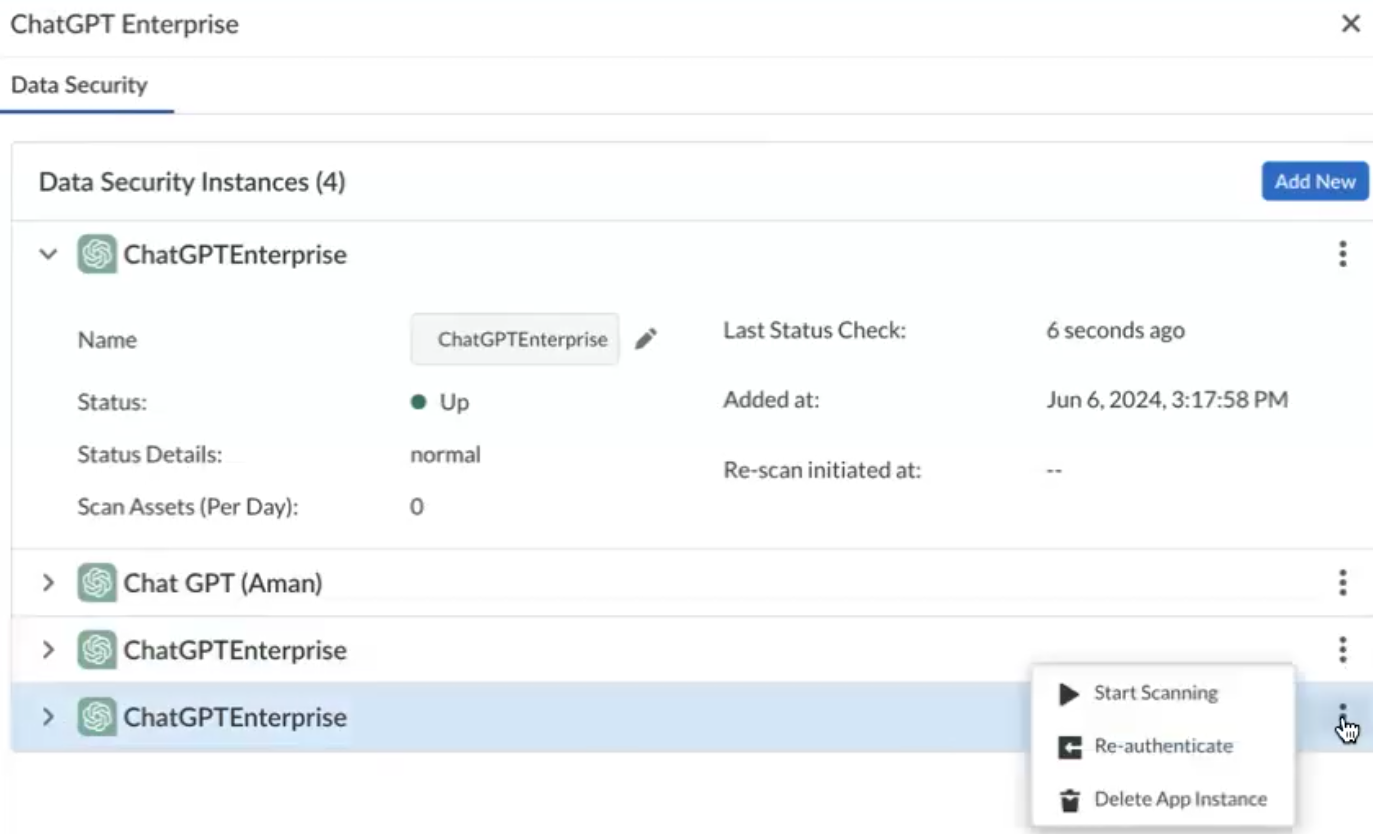
- To Start scanning the new ChatGPT Enterprise app for risks, do one of the following:
- On the View Onboarding Status window, select ...Start Scanning.
- Select SettingsApps OnboardingChatGPT Enterprise...Start Scanning.
![]() Monitor the scan results.During the discovery phase, as Data Security scans files and matches them against enabled policy rules:
Monitor the scan results.During the discovery phase, as Data Security scans files and matches them against enabled policy rules:- Verify that Data Security displays assets.
- Verify that your default policies are effective. If the results don’t capture all risks or you see false positives, proceed to next step to improve your results.
(Optional) Modify match criteria for existing policies.(Optional) Add new policies.Consider the business use of your cloud app, then identify risks unique to your enterprise. As necessary, add new:(Optional) Configure or edit a data pattern.You can configure data patterns to identify specific strings of text, characters, words, or patterns to make it possible to find all instances of text that match a data pattern you specify.

