SaaS Security
Begin Scanning a Confluence App
Table of Contents
Begin Scanning a Confluence App
Add your Confluence app to Data Security to begin
scanning and monitoring assets for possible security risks.
| Where Can I Use This? | What Do I Need? |
|---|---|
|
Or any of the following licenses that include the Data Security license:
|
- Data Security scans only global spaces. It does not scan personal spaces.
- Data Security does not scan Confluence Free versions.
Supported Content
|
Support For
|
Details
|
|---|---|
|
Scan Content
| Page content, Attachments, Comments |
|
Backward Scan
|
Yes
|
|
Forward Scan
|
Yes
|
|
Rescan
|
No
|
|
Selective Scan
|
No
|
|
Exposure
|
Internal, External, Public
Internal exposure is supported only when you have your
email visibility set to global visibility in the
Confluence app. Data Security does not scan personal
spaces.
Data Security does not scan
Confluence Free versions. |
|
Remediation Actions
|
|
|
Post-Remediation Actions (Actions after Admin
Quarantine):
You can delete, restore, or download a quarantined file
after performing a remediation action (for example
quarantine or incident generation).
|
|
|
Notifications
|
|
|
User Activities
|
|
|
Snippet Support
|
Yes
|
|
Known License/Version restrictions
|
Supported Versions
|
|
Caveats/Notes
|
None
|
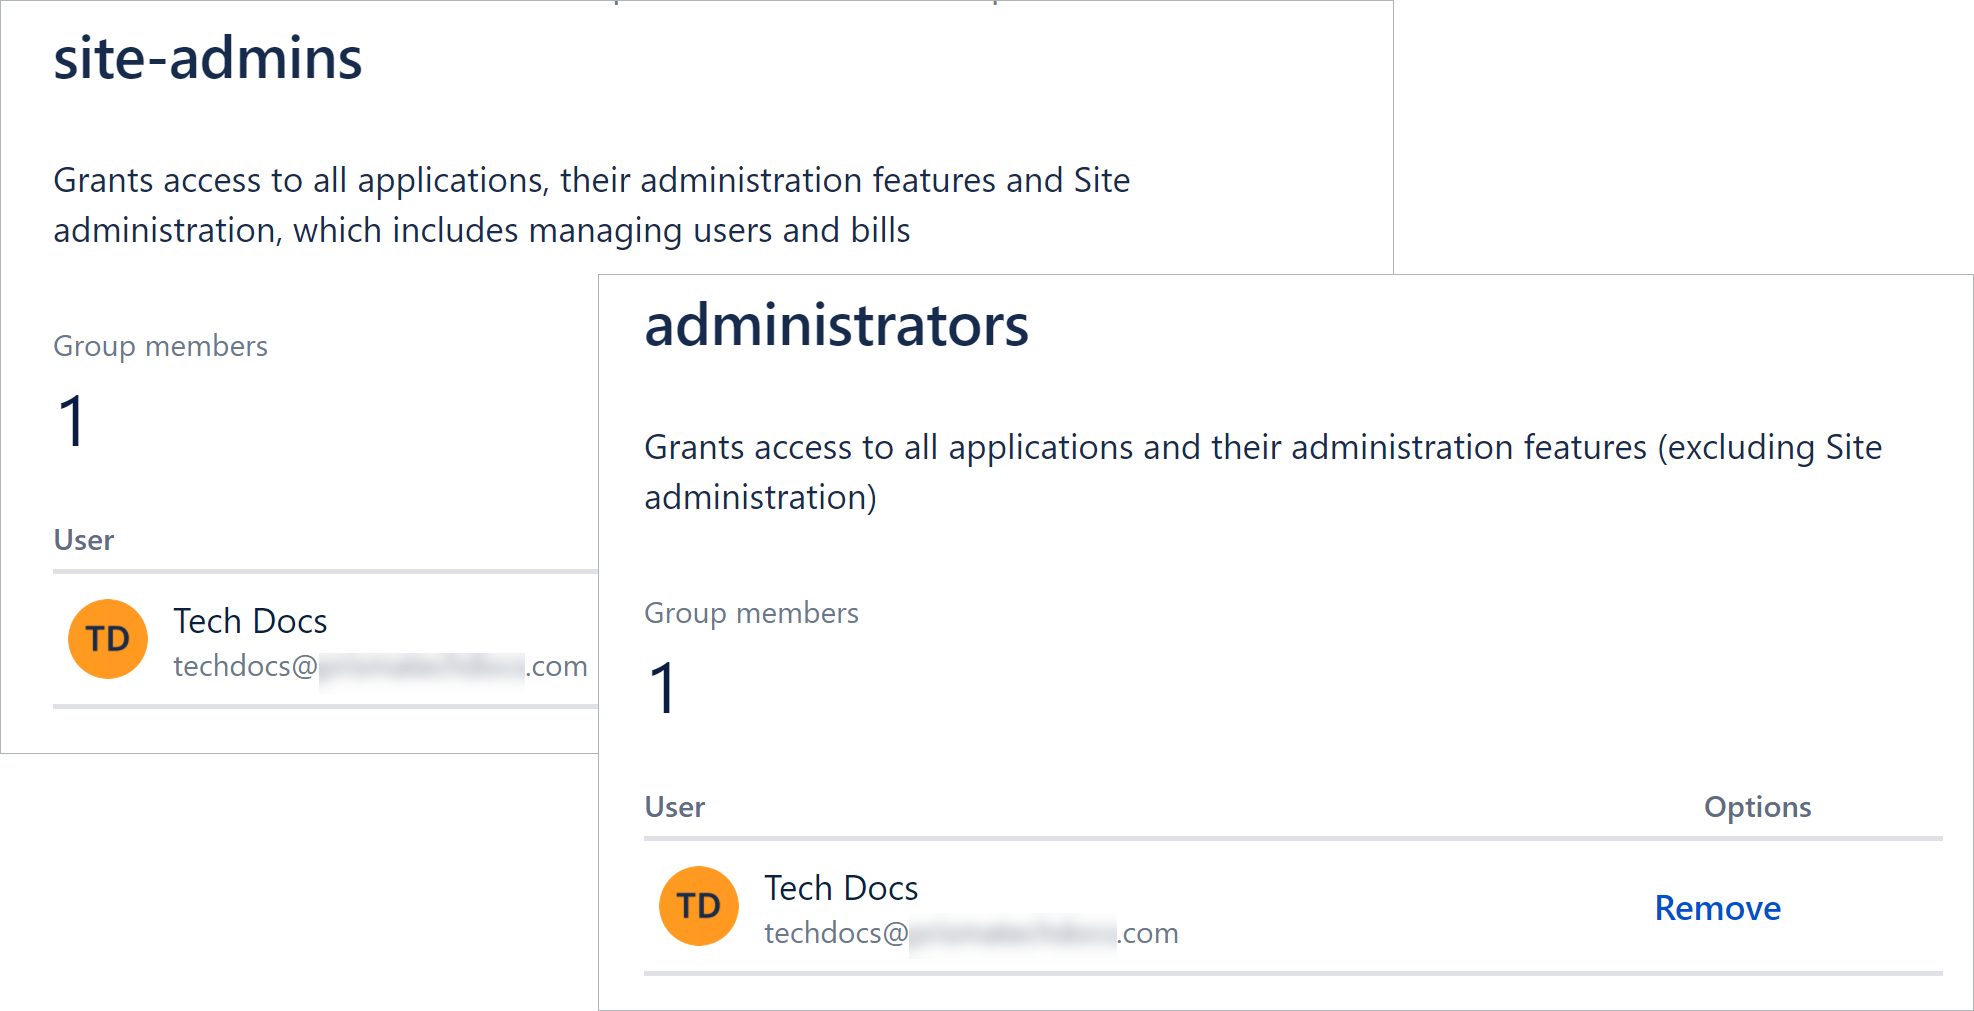
Prepare To Add Confluence App
Before you begin, verify that you have the
correct permissions and follow any recommendations to ensure an
efficient and successful onboarding. By default, the site-admins group
or administrators group on Confluence provides
the necessary permissions to onboard the Confluence app.
- (Recommended) Add your Confluence domain as an internal domain.Verify that your Confluence account has Administrator permissions.
![]()
Add Confluence App
- Log in to your Confluence cloud account (for example, https://acmecorp.atlassian.net/) with administrator privileges.Log in to Strata Cloud Manager.Select .
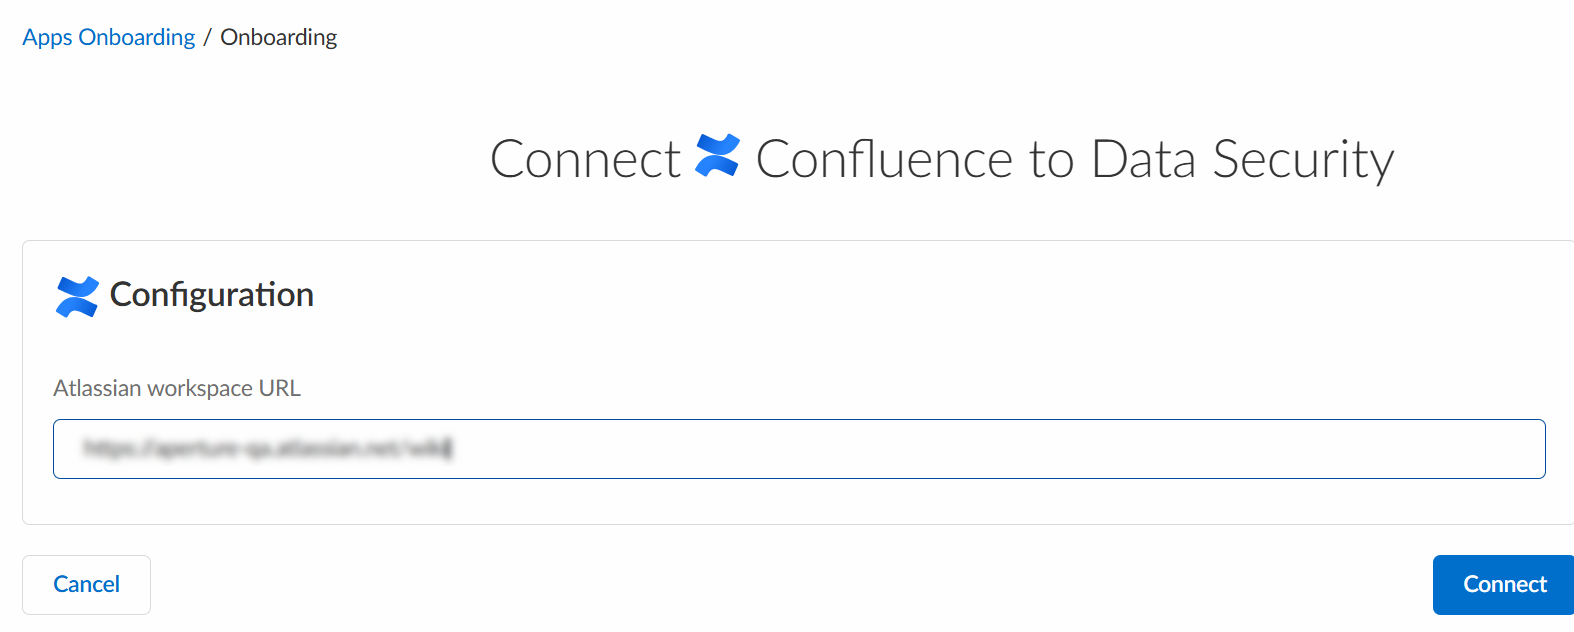
![]() In Configuration, enter the Confluence URL—the URL that you use to log in to your Confluence cloud account and Connect.
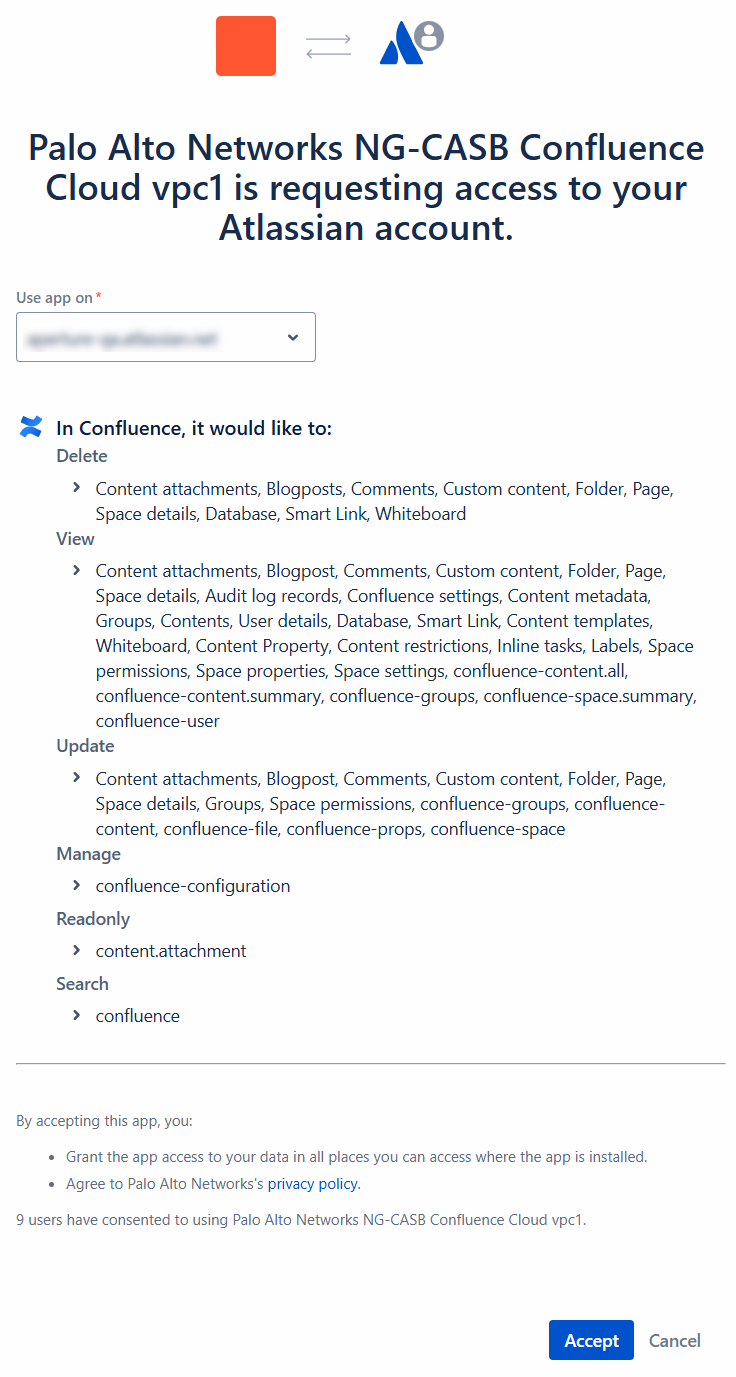
In Configuration, enter the Confluence URL—the URL that you use to log in to your Confluence cloud account and Connect.![]() Sample workspace URL format: https://acmecorp.atlassian.net/wikiGive Palo Alto Networks access to your Atlassian account.
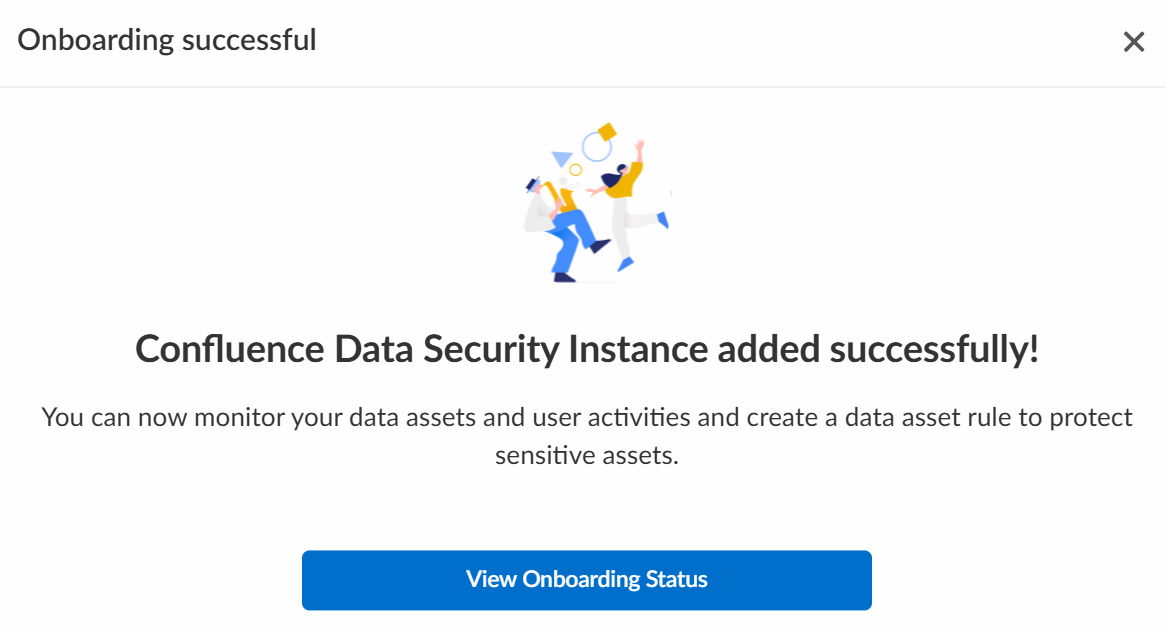
Sample workspace URL format: https://acmecorp.atlassian.net/wikiGive Palo Alto Networks access to your Atlassian account.![]() On successful onboarding, Data Security displays the following message:
On successful onboarding, Data Security displays the following message:![]() Data Security adds the new Confluence app to the Cloud Apps list as Confluence n, where n is the number of Confluence app instances that you connected to Data Security. For example, if you added one Confluence app, the name displays as Confluence 1 . You can rename your instance as per your requirement.Next step: Proceed to Identify Risks and begin scanning your assets.
Data Security adds the new Confluence app to the Cloud Apps list as Confluence n, where n is the number of Confluence app instances that you connected to Data Security. For example, if you added one Confluence app, the name displays as Confluence 1 . You can rename your instance as per your requirement.Next step: Proceed to Identify Risks and begin scanning your assets.Identify Risks
When you add a new cloud app and enable scanning, Data Security automatically scans the cloud app against the default data patterns and displays the match occurrences. You can take action now to improve your scan results and identify risks.- To start scanning the new Confluence app for risks, select .Monitor the scan results.During the discovery phase, Data Security scans files and matches them against enabled default policy rules.Verify that your default policy rules are effective. If the results don’t capture all the risks or you see false positives, proceed to the next step.(Optional) Add new policy rules.Consider the business use of your app, then identify risks unique to your enterprise. As necessary, add new:(Optional) Configure or edit a data pattern.You can Configure Data Patterns to identify specific strings of text, characters, words, or patterns to make it possible to find all instances of text that match a data pattern you specify.