Advanced URL Filtering
Inspect SSL/TLS Handshakes
Table of Contents
Inspect SSL/TLS Handshakes
Enable the firewall to inspect decrypted SSL/TLS traffic
for threats during SSL/TLS handshakes.
| Where can I use this? | What do I need? |
|---|---|
|
Notes:
|
Examining SSL/TLS handshakes improves network security and optimizes legacy and Advanced URL
Filtering subscriptions. When you enable SSL/TLS handshake inspection, Advanced URL
Filtering uses data in the handshake to identify the traffic and enforce applicable
Security policy rules as early as possible.
Here’s how it works
First, the Client Hello message is scanned for the Server Name Indication (SNI)
field, a TLS protocol extension that contains the hostname of a requested website.
Then, the URL category and server destination of the traffic is determined from the
hostname. Next, traffic is enforced based on its URL category. If a threat is
detected, such as a malicious web server in the SNI field, or if a Security policy
rule blocks the website, the handshake terminates and the web session ends
immediately. If no threat is detected and the traffic is allowed per policy, the
SSL/TLS handshake is completed and application data is exchanged through the secure
connection.
URL filtering response
pages do not display for sites blocked during SSL/TLS handshake
inspections because the firewall resets the HTTPS connection. The
connection reset ends SSL/TLS handshakes and prevents user notification
by response page. The browser displays a standard connection error message
instead.
You can find details of successful SSL/TLS handshakes
and sessions in the Traffic and Decryption logs. Details of failed
sessions can be found in URL filtering logs; Decryption logs aren’t
generated for web sessions blocked during SSL/TLS handshakes.
Inspect SSL/TLS Handshakes (Strata Cloud Manager)
If you’re using Panorama to manage Prisma Access:
Toggle over to the PAN-OS & Panorama tab and follow the guidance there.
If you’re using Strata Cloud Manager, continue here.
A requirement of inspecting SSL handshakes is that you decrypt SSL/TLS traffic through either SSL
Forward Proxy or SSL Inbound Inspection.
- Check that your Prisma Access subscription covers Advanced URL Filtering.Verify that you decrypt SSL/TLS traffic through either SSL Forward Proxy or SSL Inbound Inspection.Enable inspection of SSL/TLS handshakes by CTD. By default, this option is disabled.
- Select Configuration NGFW and Prisma AccessSecurity ServicesDecryption.By Decryption Settings, select the settings icon. Then, select Inspect TLS Handshake Messages.Alternatively, you can use the set deviceconfig setting ssl-decrypt scan-handshake <yes|no> CLI command.Save your changes. Under Decryption Settings, the Inspect TLS handshake message setting should say Enabled.Push Config to save and commit your changes.
Inspect SSL/TLS Handshakes (PAN-OS & Panorama)
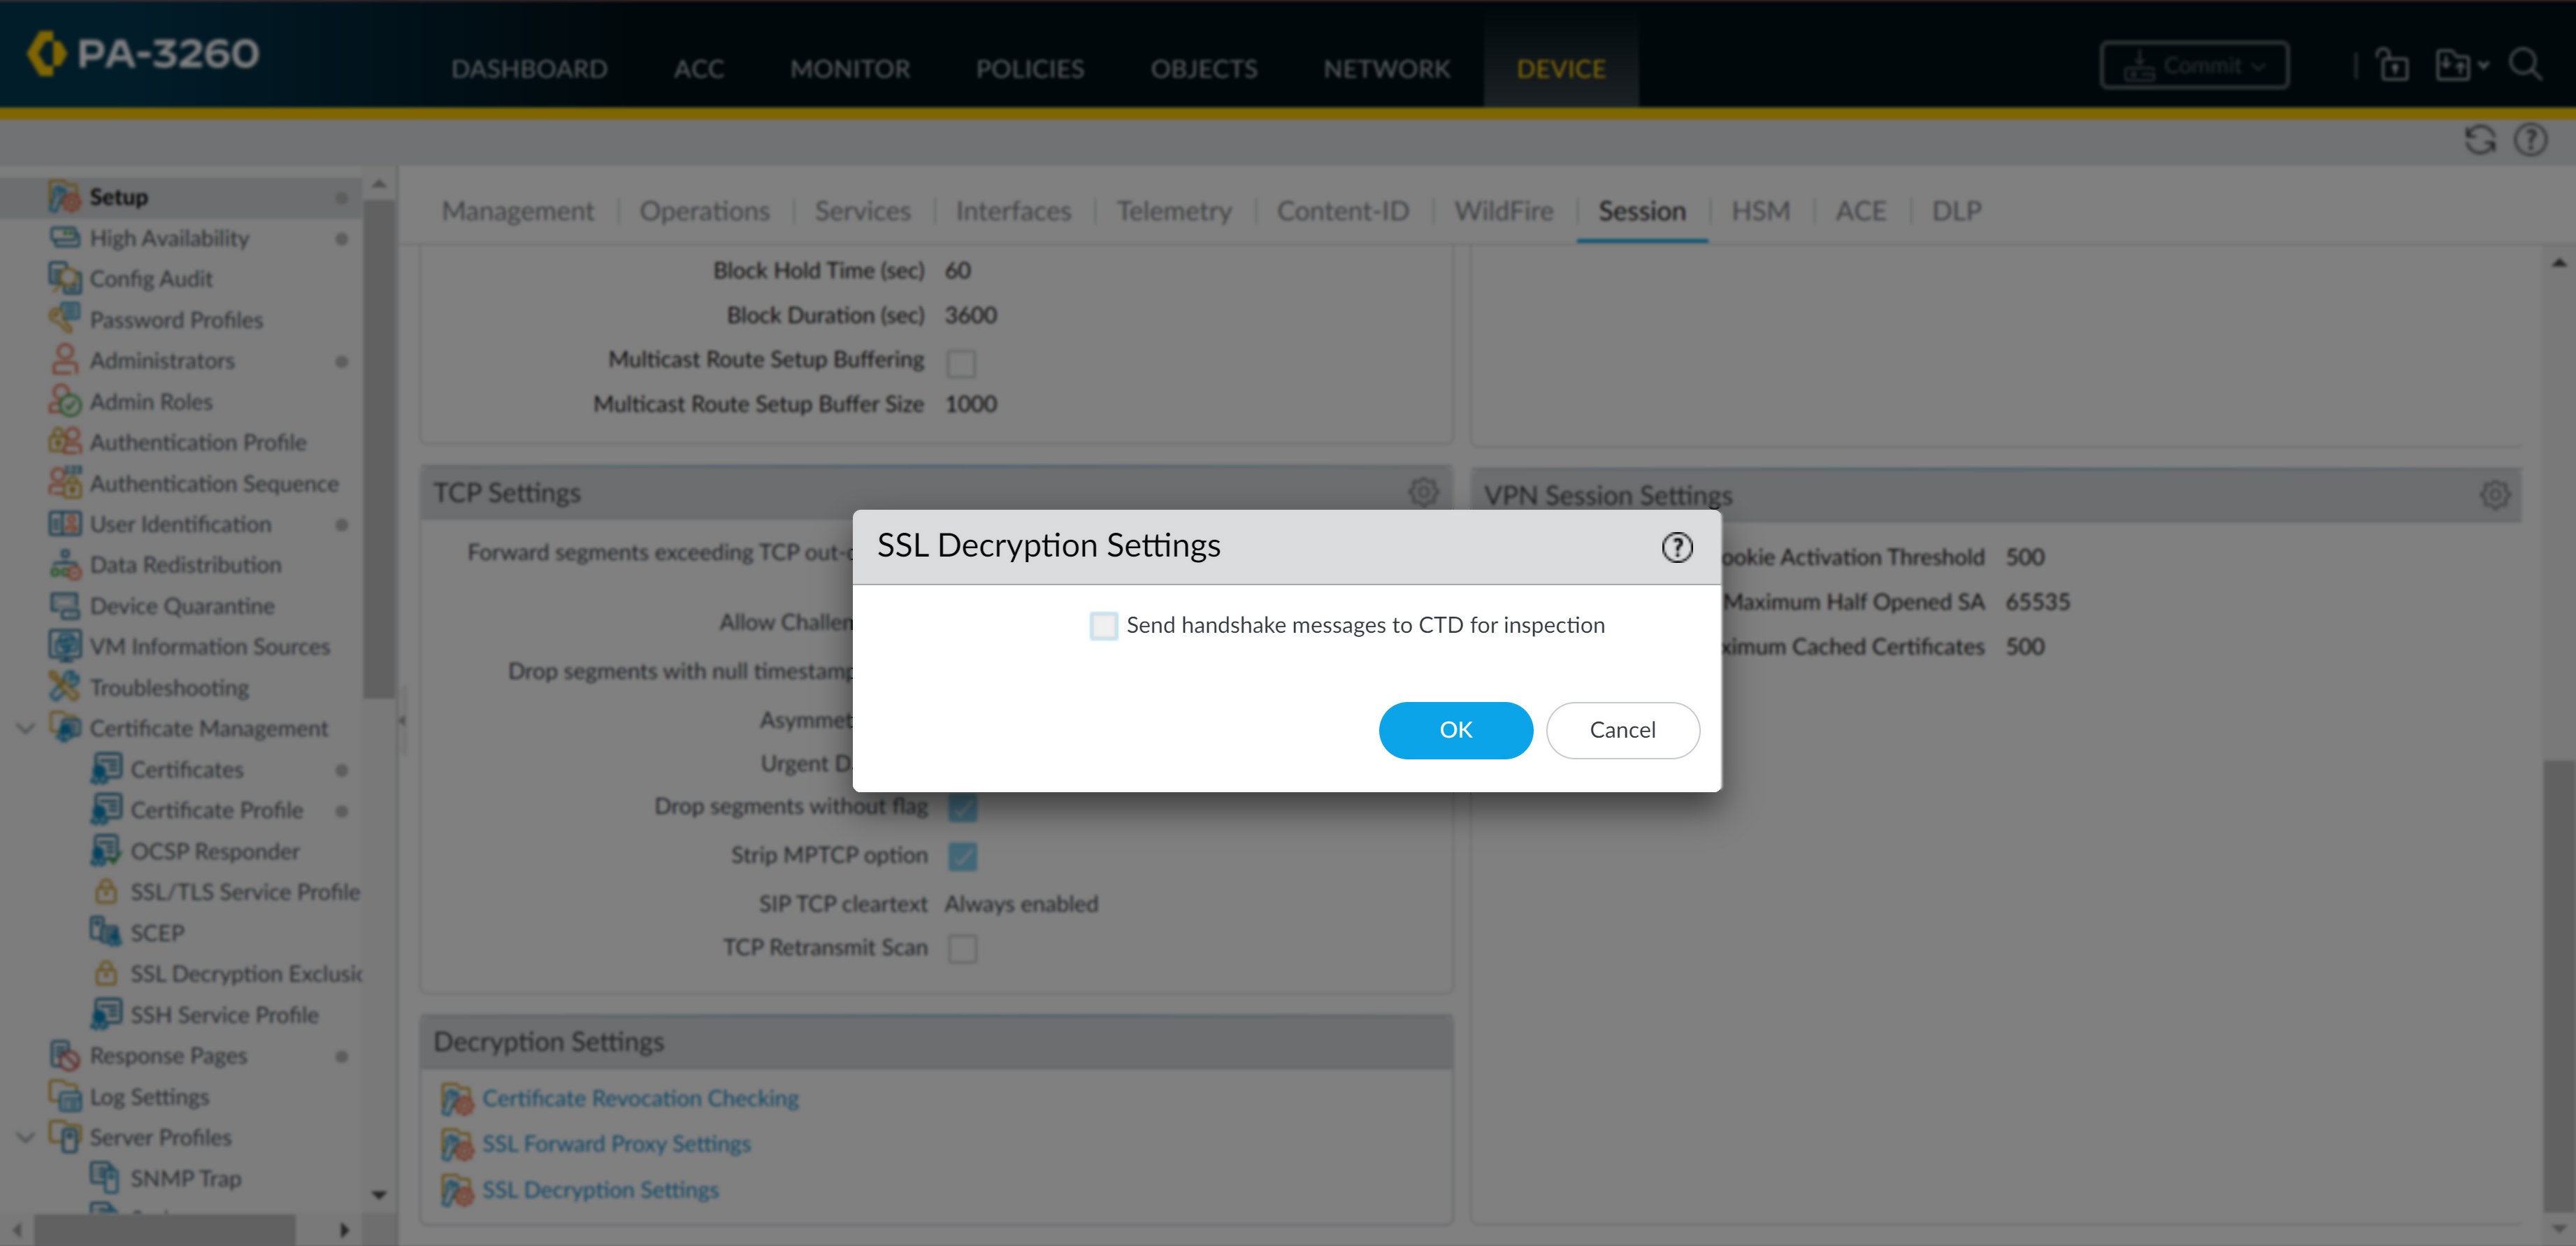
- Select Device > Licenses to confirm that you have an active Advanced URL Filtering or legacy URL Filtering license.Verify that you decrypt SSL/TLS traffic through either SSL Forward Proxy or SSL Inbound Inspection.Enable inspection of SSL/TLS handshakes by CTD. By default, the option is disabled.
![]()
- Select Device SetupSessionDecryption Settings SSL Decryption Settings.Select Send handshake messages to CTD for inspection.Alternatively, you can use the set deviceconfig setting ssl-decrypt scan-handshake <yes|no> CLI command.Click OK.Commit your configuration changes.

