Use Traps Agent for Windows
Table of Contents
Expand all | Collapse all
Use Traps Agent for Windows
Use the Traps console to view the agent status, initiate
a connection to the server, view and send logs, view security events
that occurred on the endpoint, and change the display language of
the Traps console.
Traps™ agent installs in the C:\Program
Files (x86)\Palo Alto Networks\Traps folder. If you enabled
access to the console, the Traps console is also accessible from
the notification area (system tray).
Use the following topics
to use and mange the Traps agent for Windows:
- Open the Traps
application.Use one of the following methods:
- Browse to C:\Program Files\Palo Alto Networks\Traps and run the CyveraConsole.exe application.
- If you enabled access to Traps from the notification area, double-click the Traps icon () to launch the agent interface.
![]()
- View status information about the
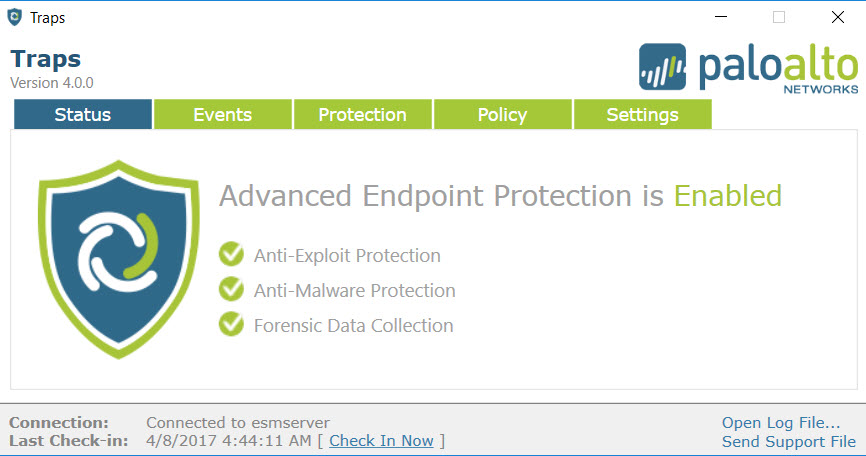
Traps agent.The console displays active and inactive features by displaying aor
![]() to the left of the feature type. Select the Advanced tab to display additional tabs along the top of the console. The tabs allow you to navigate to pages that display additional details about security events, protected processes, and updates to the security policy. Usually, an end user will not need to run the Traps Console, but the information can be useful when investigating a security-related event. You can choose to hide the tray icon that launches the console, or prevent its launch altogether.
to the left of the feature type. Select the Advanced tab to display additional tabs along the top of the console. The tabs allow you to navigate to pages that display additional details about security events, protected processes, and updates to the security policy. Usually, an end user will not need to run the Traps Console, but the information can be useful when investigating a security-related event. You can choose to hide the tray icon that launches the console, or prevent its launch altogether.![]()
![]()
- Advanced Endpoint Protection—Displays the overall protection status of the endpoint as enabled if one or more protection features are enabled, or disabled if no protection features are enabled.
- Anti-Exploit Protection—Indicates whether or not exploit prevention rules are active in the endpoint security policy.
- Anti-Malware Protection—Indicates whether restriction or malware protection modules are enabled in the endpoint security policy.
- Forensic Data Collection—Indicates whether or not WildFire integration is enabled.
- Version—Displays the Traps agent version.
- Connection—Displays the connection status and, if connected, includes the server to which the agent is connected.
- Last Check-in—Displays the local time on the endpoint of the last check-in with the server.
- Manually connect to the server.The Traps agent periodically communicates with the server to send status information and retrieve the latest security policy. The Traps agent performs this operation transparently at regular intervals so it is not typically necessary to connect to the server manually. If your Connection status is Not Connected, you can try to manually connect. This option is available if you do not want to wait for the automated communication interval to become active.To initiate a manual check-in with the server, Check In Now from the home page of the Traps console. If the agent successfully establishes a connection with the server, the Connection status changes to Connected.
- View and send logs.
- View logs—Open Log File to view logs generated by the Traps agent. The logs display in your default text editor in chronological order with the most recent logs at the bottom.
- Send logs—Send Support File to collect Traps logs and send them to the Traps Endpoint Security Manager. The logs help you to analyze any recent security events and Traps issues that you encounter.
- View recent security events that
occurred on your endpoint.
![]()
- Click Advanced, if necessary, to display additional actions that you can perform from the Traps console.
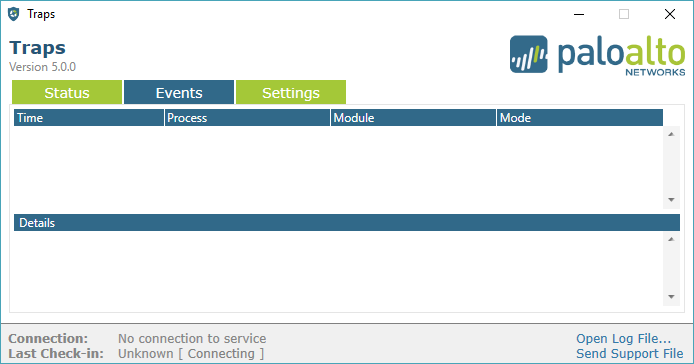
- Click Events.For each event, the Traps console displays the local Time that an event occurred, the name of the Process that exhibited malicious behavior, the Module that triggered the event, and the mode specified for that type of event (Termination or Notification).
- View running
processes that are currently protected by the Traps agent.
- Click Advanced, if necessary, to display additional actions that you can perform from the Traps console.
- Click Protection.
- View changes
to the endpoint security policy.For each policy change, the Traps console displays the rule name or description of the change and the date and time of the change.
- Click Advanced, if necessary, to display additional actions that you can perform from the Traps console.
- Click Policy.
- Change the display language for
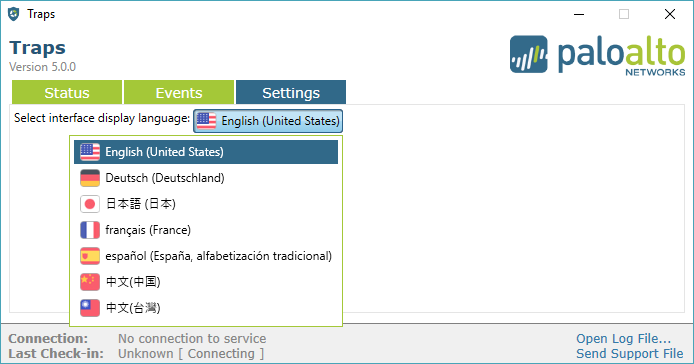
the Traps console.The Traps console is localized in the following languages: English, German, French, Spanish, Chinese (traditional and simplified), and Japanese. To set the language, you must install the corresponding language pack.
- Click Advanced, if necessary, to display additional actions that you can perform from the Traps console.
- Click Settings.
- Select the display language for Traps (default is
English).
![]()


