SaaS Security
Begin Scanning a Salesforce App
Table of Contents
Expand All
|
Collapse All
SaaS Security Docs
Begin Scanning a Salesforce App
Learn how to add a Salesforce app so that Data Security can protect your
assets against data exfiltration and malware propagation.
| Where Can I Use This? | What Do I Need? |
|---|---|
|
Or any of the following licenses that include the Data Security license:
|
Supported Content
|
Support For
|
Details
|
|---|---|
|
Scan Content
| Files, Chatter, and Tables (optional)
|
|
Backward Scan
|
Yes (Files, Chatter)
Data Security supports
Backward scan for 1 year from your onboarding date. To
extend this duration, contact SaaS Security Tech
Support. |
|
Forward Scan
|
Yes (Files, Chatter, Selected tables)
|
|
Rescan
|
Yes
|
|
Selective Scan
|
No
|
|
Exposure
|
Yes (Files only)
|
|
Remediation Actions
|
|
|
Post-Remediation Actions (Actions after Admin
Quarantine):
You can delete, restore, or download a quarantined file
after performing a remediation action (for example
quarantine or incident generation).
|
|
|
Notifications
|
|
|
User Activities
|
|
|
Snippet Support
|
Yes
|
|
Known License and Version restrictions
|
Supported Versions
|
|
Caveats and Notes
|
If you want to migrate from Salesforce V1 to Salesforce
V2, we recommend you to reonboard the new connector.
This will remove (delete) the old content and incidents
but will be rescanned as part of Backward Scan. Contact
SaaS Security Tech Support for more details.
|
Onboard Salesforce App to Data Security
- Prerequisites to be completed on Salesforce
- Ensure that the Salesforce administrator account you plan to connect to Data Security has sufficient administrator privileges.To configure the required permissions within Salesforce, enable the following permissions:
- API Enabled
- Enable Chatter
- Modify All Data
- Query All Files
- Perform the following steps to enable permissions for
View All Users,
Manager Users (required only if
you have not enabled User Sharing), and Monitor
Login History.Option 1: Adding via Permission Set (recommended)
- Go to Setup.
- In the Quick Find box, search for and click Permission Sets.
- Click New to create a new permission set, or select an existing one.
- In the selected permission set, go to System PermissionsEdit.
- Scroll and check the box for View All Users / Manage Users / Monitor Login History and Save.
- Go to Manage AssignmentsAdd Assignments to assign the permission set to the desired users.
Option 2: Enable via Profile- Go to Setup.
- In the Quick Find box, search for and click Profiles.
- Click the Profile Name you want to modify.
- Scroll to the Administrative PermissionsEdit section.
- Check the box for View All Users / Manage Users / Monitor Login History and Save.
(Optional): Ensure you have added the region-specific IP addresses to the allowed list on your NGFW or Prisma Access tenant so that these IP addresses are not blocked.Add Salesforce to Data Security- Log in to Strata Cloud Manager.(Recommended) Add your Salesforce domain as an internal domain.If you modify the internal domain after you have started scanning, Data Security will change the exposure of the newly detected assets only.Select ConfigurationSaaS SecurityData SecurityApplicationsAdd ApplicationSalesforce.
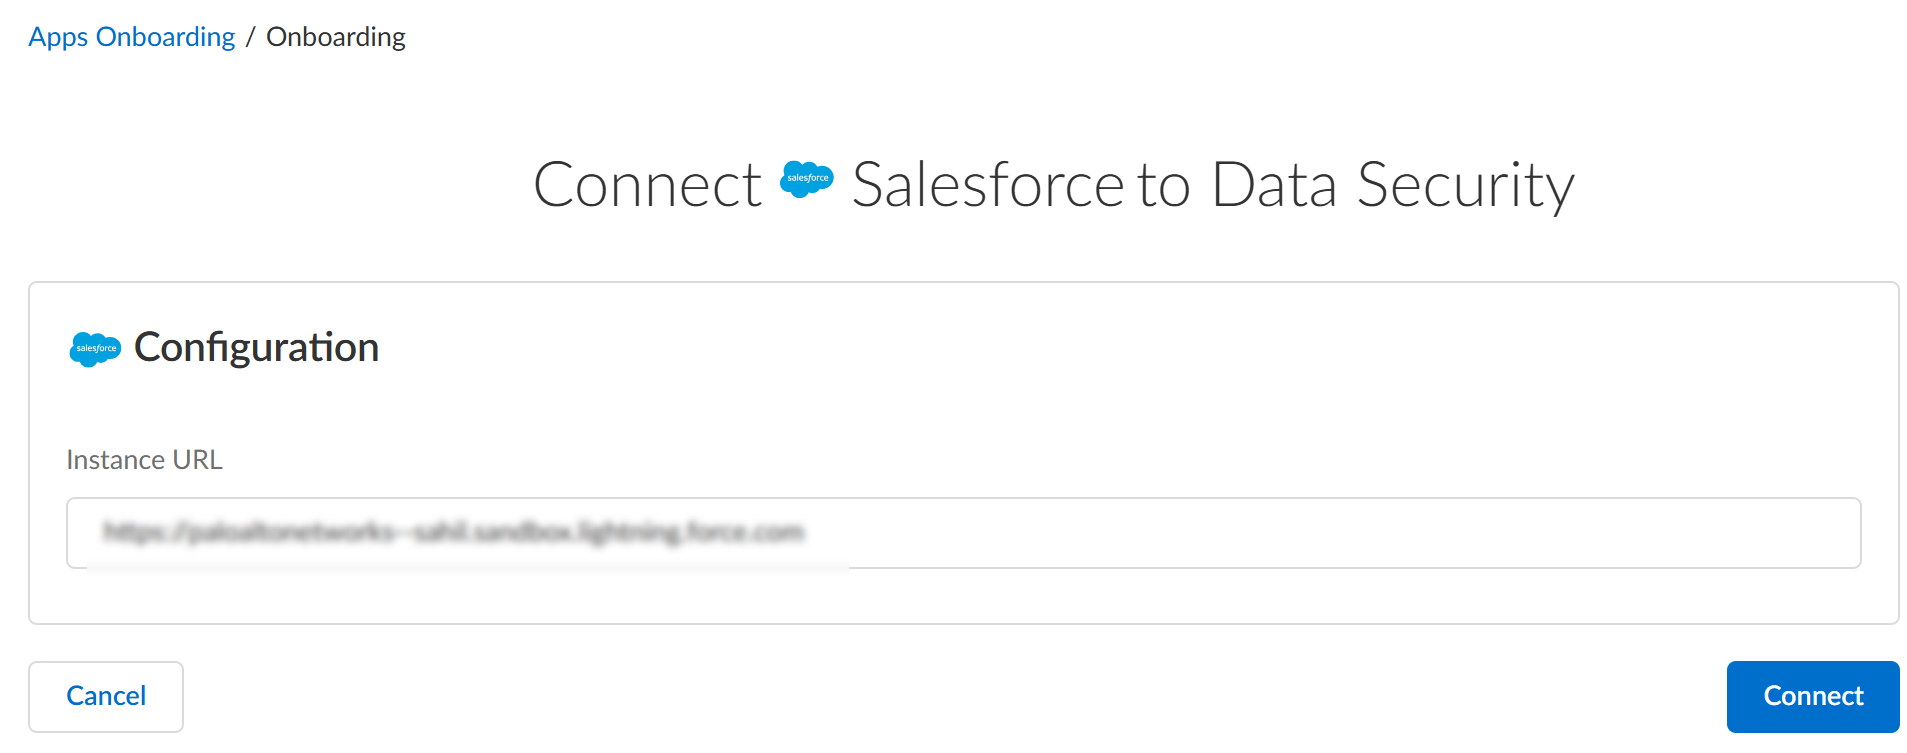
![]() Select SalesforceAdd New.In the Configuration page, enter the Instance URL and Connect.
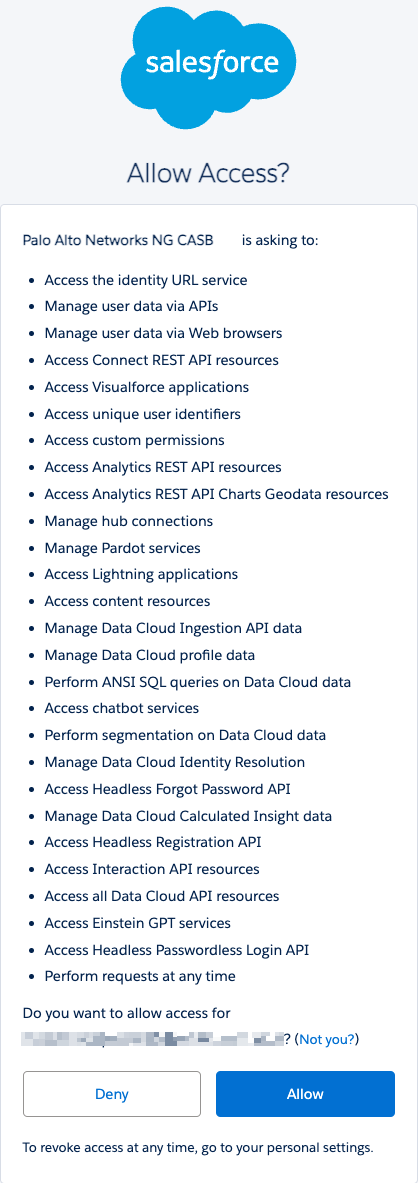
Select SalesforceAdd New.In the Configuration page, enter the Instance URL and Connect.![]() Allow access to Data Security.
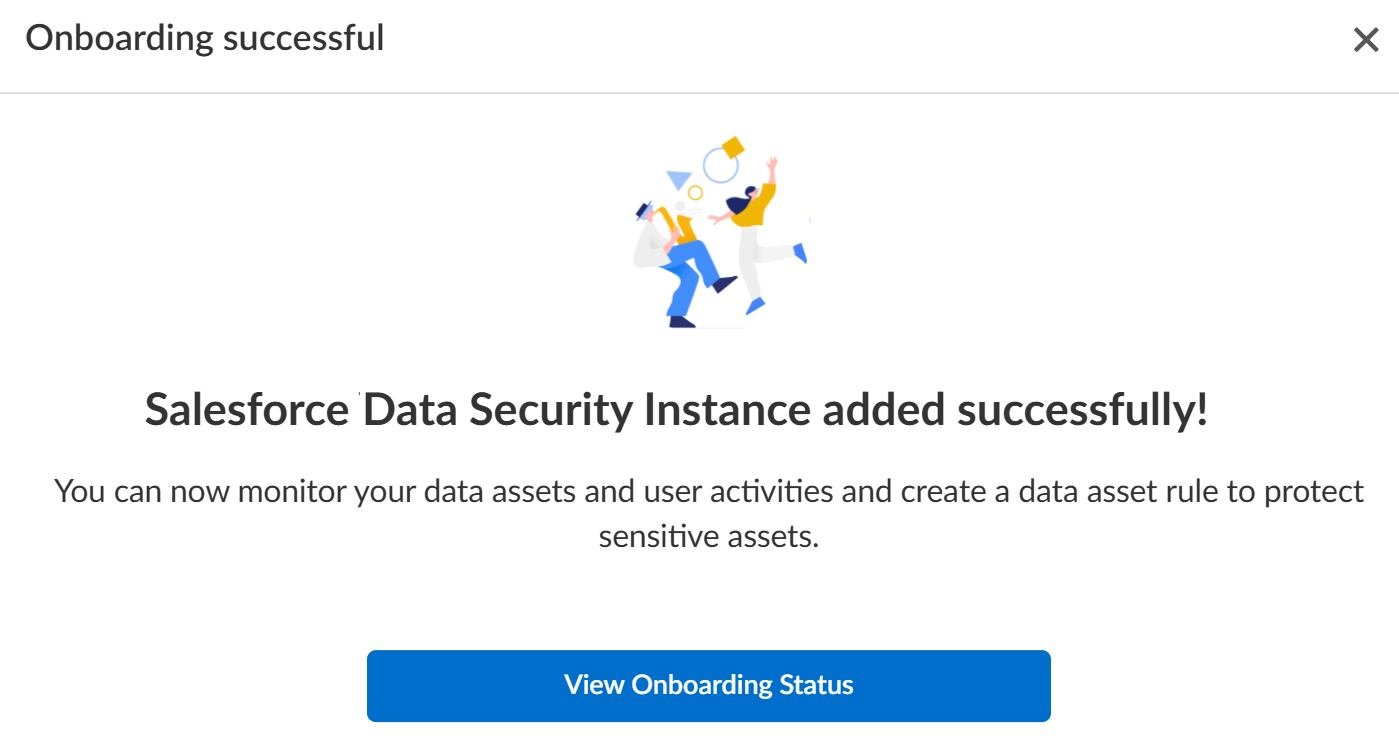
Allow access to Data Security.![]() On successful onboarding, the following message is displayed.
On successful onboarding, the following message is displayed.![]() Post Onboarding Steps.
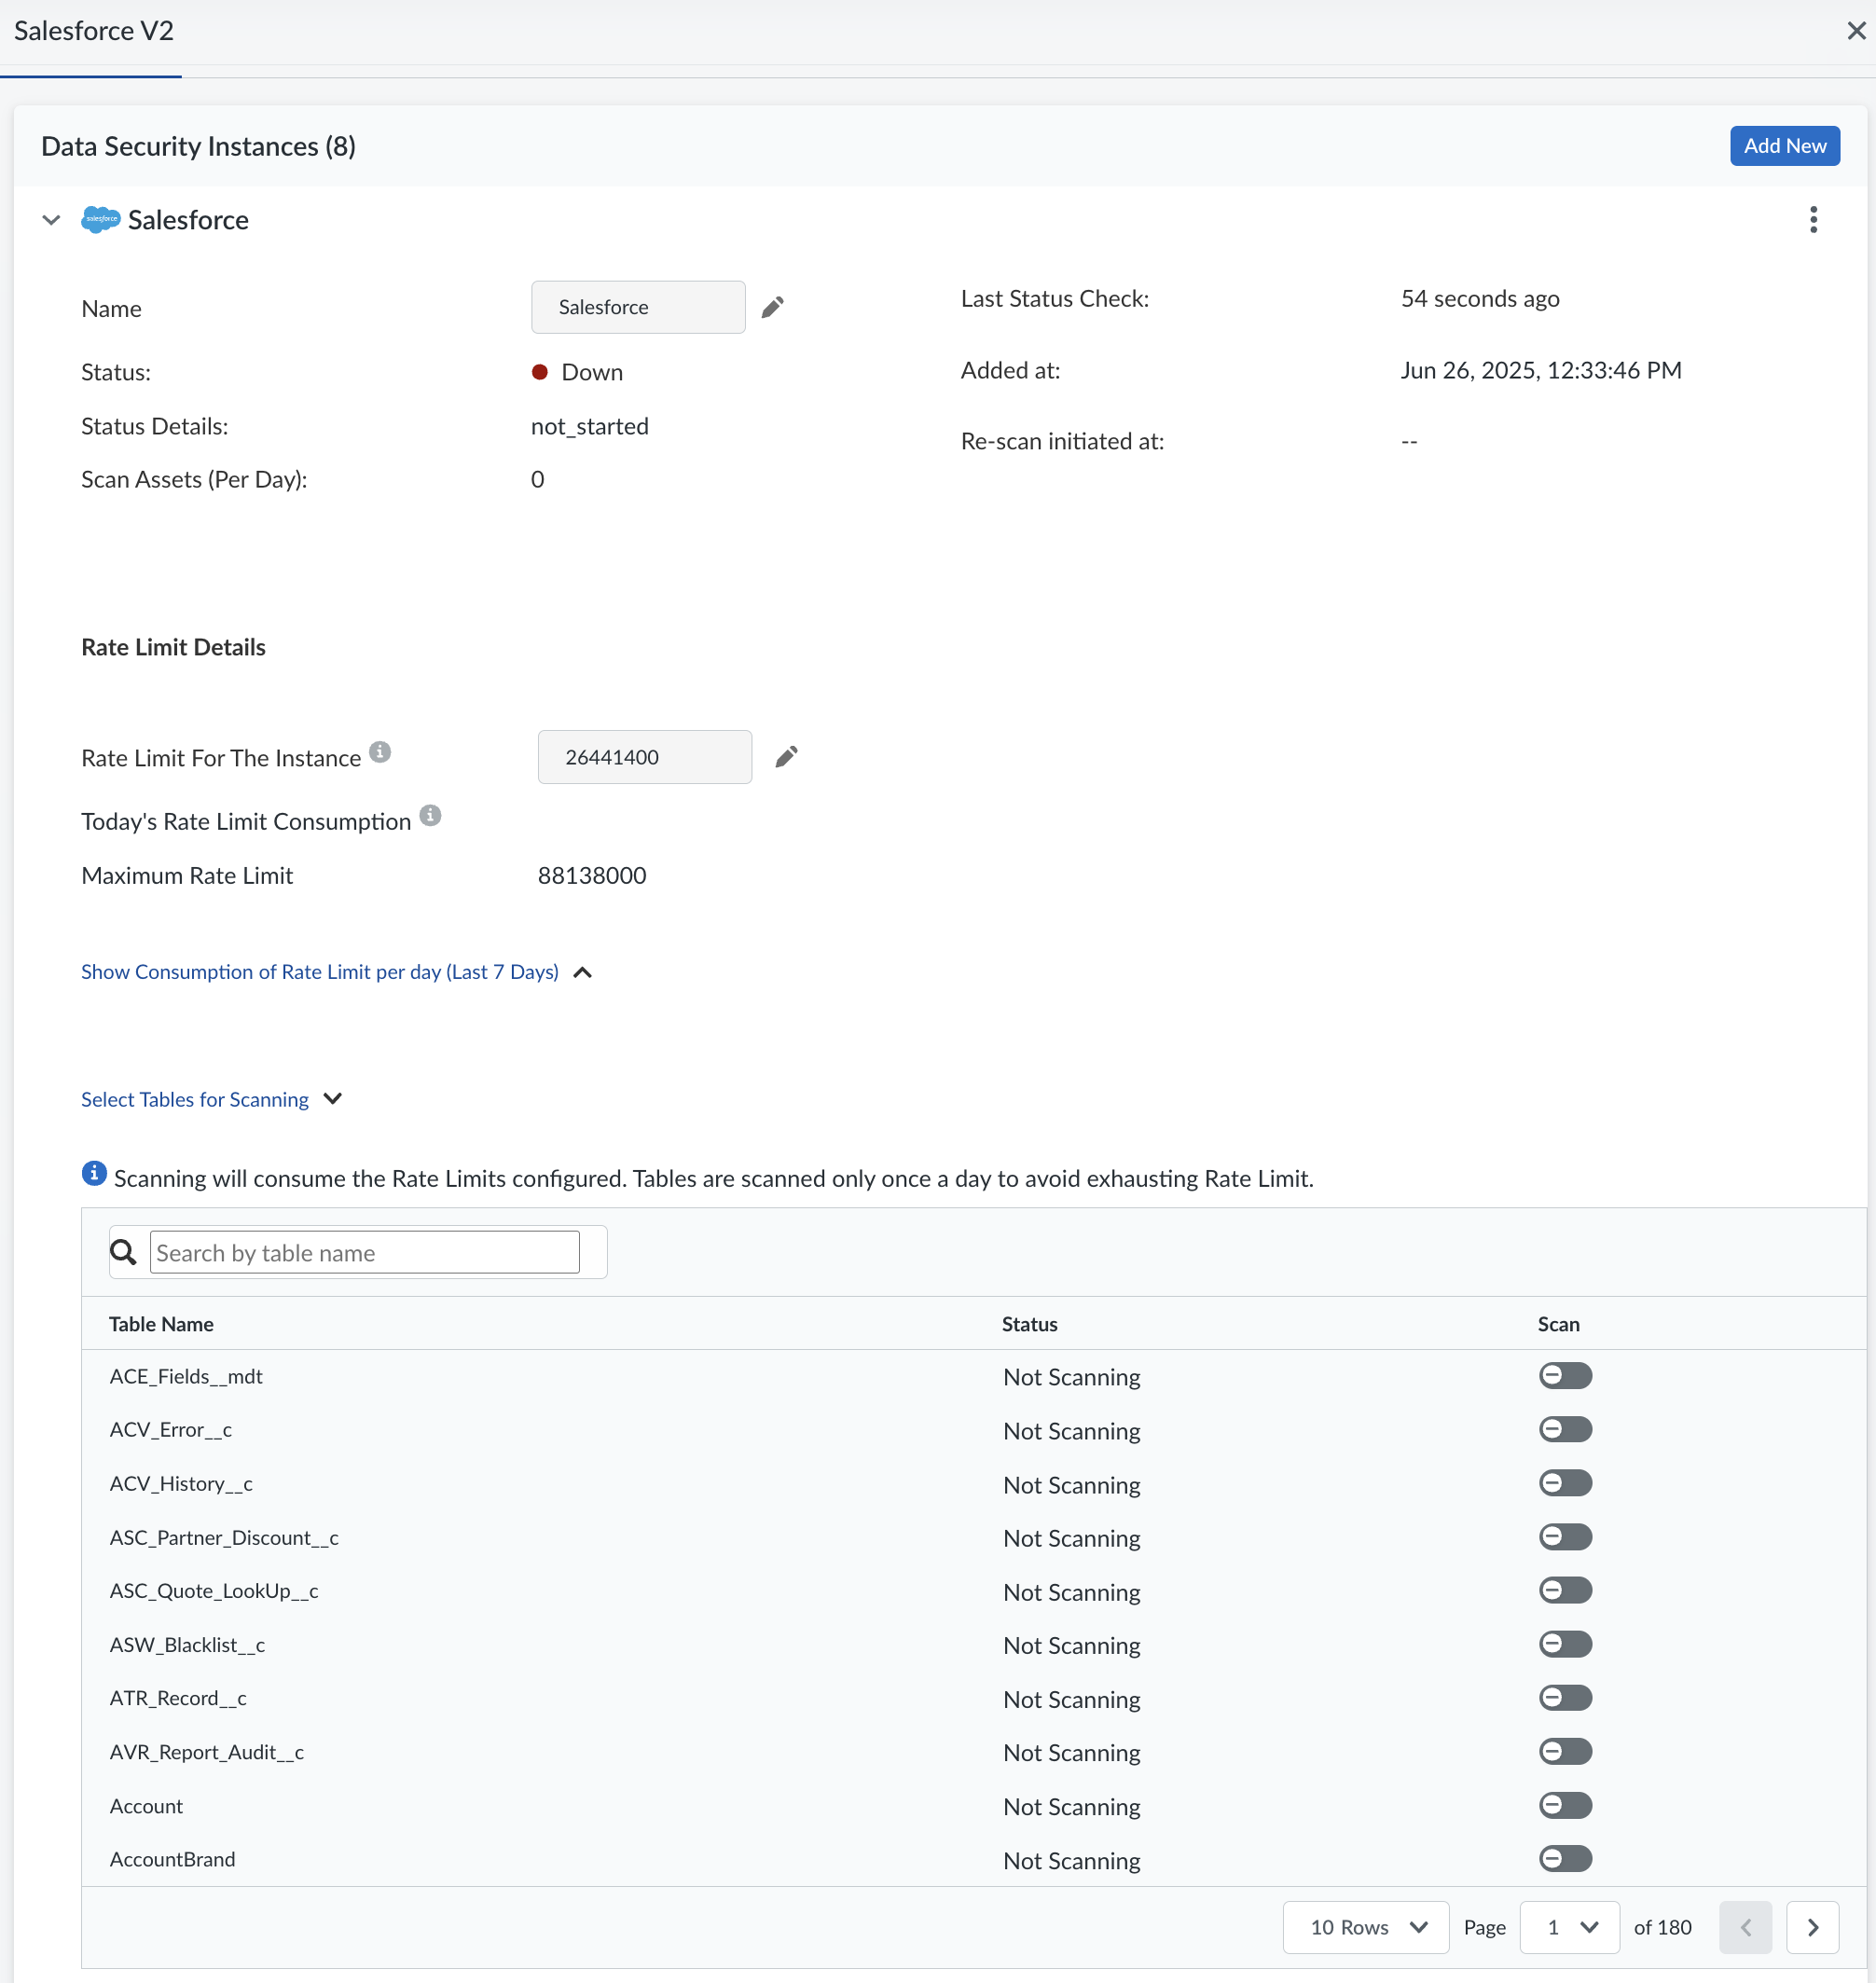
Post Onboarding Steps.- Click View Onboarding StatusThe various details about the onboarded Salesforce App are displayed.
![]() (Optional) Give a descriptive name to the Salesforce instance to differentiate this instance of Salesforce from other instances.(Optional) Adjust the Rate Limits Details allowed for your instance.By default, Data Security can send a maximum of 30% of your available API calls in your Salesforce license. You can modify this parameter.(Optional) Select the tables you want to scan and Save.
(Optional) Give a descriptive name to the Salesforce instance to differentiate this instance of Salesforce from other instances.(Optional) Adjust the Rate Limits Details allowed for your instance.By default, Data Security can send a maximum of 30% of your available API calls in your Salesforce license. You can modify this parameter.(Optional) Select the tables you want to scan and Save.- API usage increases significantly as you keep adding tables to scan.
- When you scan tables, only the text content in the tables (for example: description, remarks) are scanned. Files are scanned by default. You don't need to explicitly select the tables to scan files.
- Tables are scanned only once a day.
- To be scanned, the tables must contain at least the following four fields: Id, OwnerId, LastModifiedDate, CreatedDate.
Define global scan settingsAdd policy rules.When you add a cloud app, Data Security automatically scans the app against the default data patterns and displays any match occurrences. As a best practice, consider the business use of your app to determine whether you want to Add a New Data Asset Policy Rule to look for incidents unique to Salesforce.Configure or edit a data pattern.You can Configure Data Patterns to identify specific strings of text, characters, words, or patterns to make it possible to find all instances of text that match a data pattern you specify.Start Scanning Salesforce App.To start scanning the new Salesforce app for risks, select ConfigurationSaaS SecurityData SecurityApplicationsSalesforceView Settings...Start Scanning.Data Security scans all assets in the associated Salesforce App and identifies incidents. Depending on the number of Salesforce users and assets, it might take some time for Data Security to complete the process. However, you can Monitor Scan Results on the Dashboard and begin to Assess Incidents. Monitoring the progress of the scan during the discovery phase enables you to Fine-Tune Policy rules to modify the match criteria and ensure better results.Troubleshooting Issues in Salesforce App
IssuesDetailsNo User ActivitiesEnsure that you enable all required user permissions.Data Security does not generate Assets for all usersEnsure that you have performed the prerequisite steps (Modify All Data, Query All Files).Data Security is unable to perform any scanningCheck if you have hit the API throttling limit. You can check your rate limit consumption history in your Salesforce settings page. Increase the API limit as per your need (Step 3 Substep 3).Improper exposure calculation.If you modify the internal domain after you have started scanning, Data Security will change the exposure of only the newly detected assets.

