Customize Reports
Table of Contents
Customize Reports
You can customize the default reports, such
as the Threat Summary Report, or create your own customized reports
using widgets. You can add or remove widgets based on your preferences,
and select the order in which they appear on the report. As reports
share the same infrastructure as the dashboard, please refer to
the following for more information on report functions:
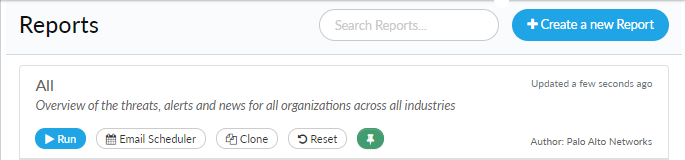
- Open Reports to manage and create new custom reports.
- Create or open a report.
![]()
- New Report—Select Create a new Report. Add a report title and description and then select Create to add a new report. A new blank report opens in editing mode.
- Existing Report—Select and then Run a report.
- New Report based on an existing report—Click Clone to create and open a duplicate of the selected report. A new report based on an existing one opens in editing mode. If you do not provide a new name for the report, AutoFocus creates a name by appending the name on which the report is based with the word clone. For example, Custom Report 1 Clone.
- Edit Report description—Click on the report description to edit the text. Press enter to save the change. You can exit without saving changes by pressing Esc or clicking on a different element of the AutoFocus interface.You can only edit the description for user-defined reports.
- If you are not in editing mode, click the Page Editor
(2) to edit the report.
![]()
- Edit the widgets and widget placement on the report.
- Update the name of the report (1).
- Edit the name of a widget (3).
- Remove a widget.Click X to remove a widget (4).Removing a widget frees up a slot on the dashboard where you can add a widget.
- Add a new row of widgets.Choose an area on the dashboard where you would like to insert a new row of widgets, and click Add Row (5). The newly added row includes two blank slots for widgets by default.
- Add a widget.Find a blank widget slot, and click Add Widget (6). Then select a widget type.
- Remove a row of widgets.On the right side of the row you want to remove, click Remove Row (7).
- Change the number of widgets in a row.Change Columns (8) in the row to show up to 4 widgets.Depending on the widget configuration and visualization options used, you might not be able to view the entire data set presented within a widget. Adjust the widget size by changing the number of columns per row and configuration options to best suit your report presentation requirements.
- Save your changes to the report. When you are finished making your changes, click the Page Editor (2).