AI Access Security
Activate the AI Access Security License
Table of Contents
Expand All
|
Collapse All
AI Access Security Docs
Activate the AI Access Security License
Activate the AI Access Security for new and existing users.
| Where Can I Use This? | What Do I Need? |
|---|---|
|
And one of the following:
|
Activate your AI Access Security
license to enable your organization to safely adopt
generative AI (GenAI) applications by your employees. AI Access Security
activation is performed using a magic link provided by Palo Alto Networks after
purchase of the AI Access Security license. These procedures assume you
already have all the required license auth codes and magic links required for
activation.
After you purchase your AI Access Security license, you must activate the
license using a magic link sent to you by Palo Alto Networks. AI Access Security is included when you activate a CASB-PA or CASB-X license. No further action is required to activate the
AI Access Security after you activate a CASB-PA or CASB-X license.
Activate the AI Access Security License (New Deployments)
Activate the AI Access Security for a new NGFW (Managed by Panorama)
or NGFW (Managed by Strata Cloud Manager) user.
- Install and perform the initial configuration for your NGFW.This includes activating all the required support licenses.Set up management for your NGFW or Prisma Access tenant.
- NGFW (Managed by Panorama)
- Set up Panorama.
- M-Series Appliance—Set up the M-Series appliance in Management Only or Panorama mode.
- Panorama Virtual Appliance—Install the Panorama virtual appliance on your preferred hypervisor in Management Only or Panorama mode
- Deploy Strata Logging Service.
- Register Panorama.
- Activate the Panorama support license.
- Add your managed firewalls to Panorama management.
- NGFW (Managed by Strata Cloud Manager)
- Deploy Strata Logging Service.
- Install the latest dynamic content updates and upgrade your NGFW to the minimum PAN-OS version supported for AI Access Security.
- Prisma Access (Managed by Panorama)
- Set up Panorama.
- M-Series Appliance—Set up the M-Series appliance in Management Only or Panorama mode.
- Panorama Virtual Appliance—Install the Panorama virtual appliance on your preferred hypervisor in Management Only or Panorama mode
- Deploy Strata Logging Service.
- Register Panorama.
- Activate the Panorama support license.
- Set up Panorama Managed Prisma Access.
- Prisma Access (Managed by Strata Cloud Manager)
Set up Enterprise Data Loss Prevention (E-DLP).- NGFW (Managed by Panorama)
- NGFW (Managed by Strata Cloud Manager)
- Prisma Access (Managed by Panorama)
- Prisma Access (Managed by Strata Cloud Manager)
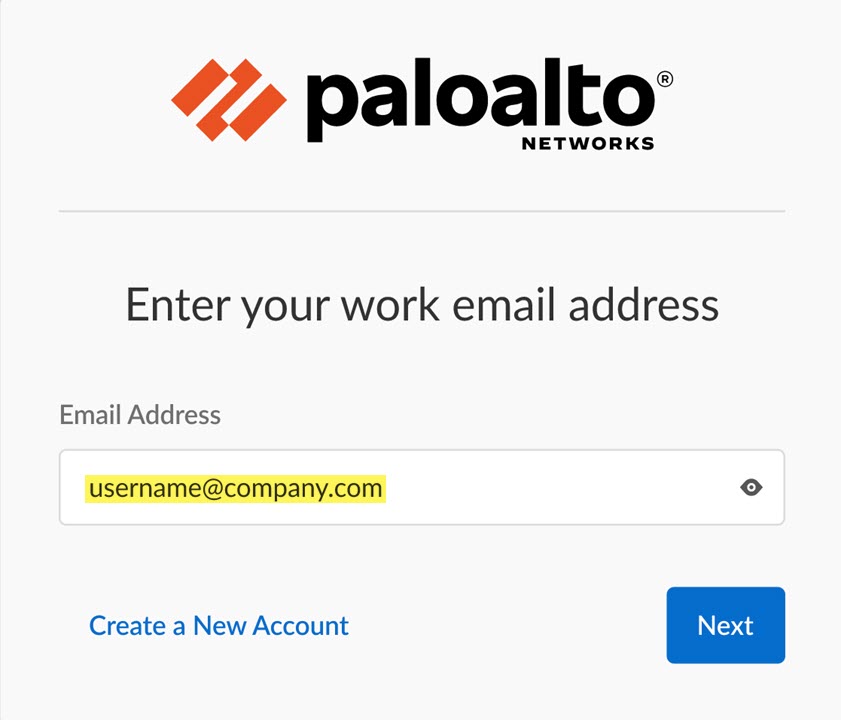
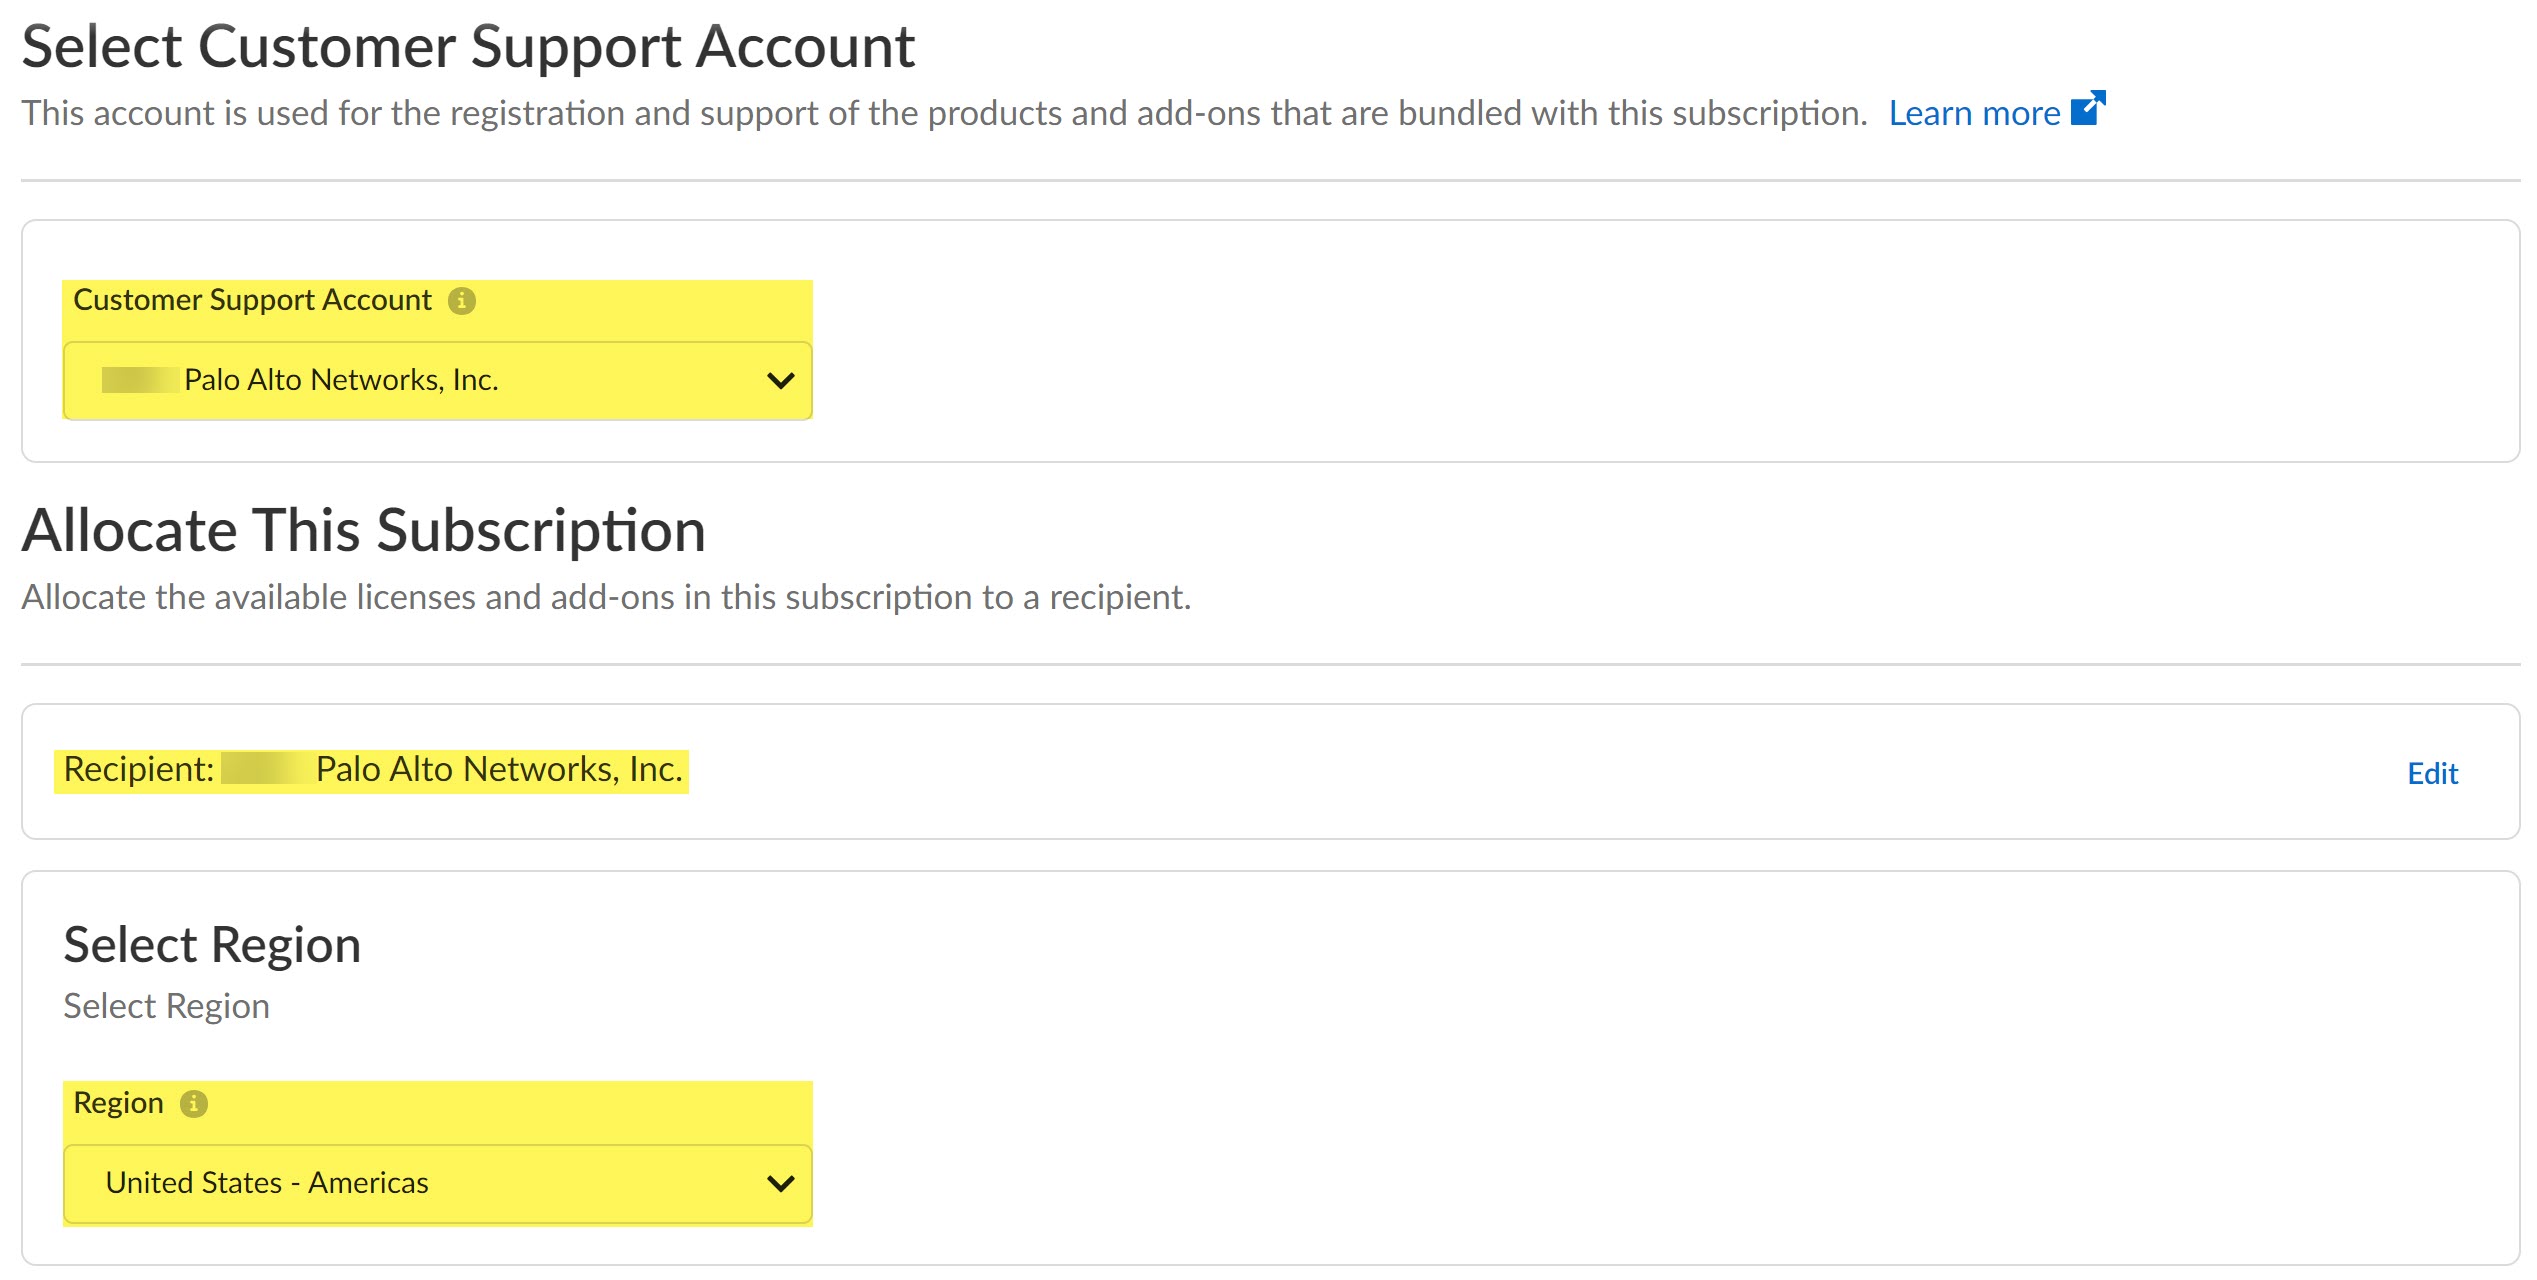
Click the magic link provided to you by Palo Alto Networks when you purchase the AI Access Security subscription.Click Activate Subscription to begin activating AI Access Security.Enter your Palo Alto Networks Customer Support Portal (CSP) Email Address. This email address must match the email address that received the magic link to activate AI Access Security.Create a New Account if the email address that received the AI Access Security activation link does not already have a valid CSP account. The newly created account is automatically associated with the same tenant for which you're activating AI Access Security and assigned a Multitenant Superuser role.![]() (Multitenancy only) In the Customer Support Account section, select the Palo Alto Networks Customer Support Account associated with the tenant for which you activating the AI Access Security license.Skip this step if you have a single tenant Customer Support Portal account. Your Customer Support Account is selected by default.(Multitenancy only) In the Allocate This Subscription section, select the tenant service group (TSG) for which you want to activate AI Access Security. You can select the parent tenant or a child tenant.AI Access Security is activated for only the selected tenant. If you select a parent tenant, AI Access Security isn't activated for any child tenant.Skip this step if you only have a single tenant Customer Support Portal account. It is selected by default.Review the tenant Region. This region is pre-populated based on the deployed NGFW or Prisma Access tenant region and can't be changed.
(Multitenancy only) In the Customer Support Account section, select the Palo Alto Networks Customer Support Account associated with the tenant for which you activating the AI Access Security license.Skip this step if you have a single tenant Customer Support Portal account. Your Customer Support Account is selected by default.(Multitenancy only) In the Allocate This Subscription section, select the tenant service group (TSG) for which you want to activate AI Access Security. You can select the parent tenant or a child tenant.AI Access Security is activated for only the selected tenant. If you select a parent tenant, AI Access Security isn't activated for any child tenant.Skip this step if you only have a single tenant Customer Support Portal account. It is selected by default.Review the tenant Region. This region is pre-populated based on the deployed NGFW or Prisma Access tenant region and can't be changed.![]() In the Assign Licenses section, click Done to assign all your AI Access Security licenses. Verify that your AI Access Security License is Fully AssignedVerify that your Data Loss Prevention instance is selected if you have Enterprise Data Loss Prevention (E-DLP) active on your tenant.Your Enterprise DLP instance is selected by default if active already on your tenant.Skip this step if you don't have Enterprise DLP already active. Enterprise DLP is not required to enable AI Access Security. If Enterprise DLP instance is not already active then one is created as part of the license activation. Review what happens to Enterprise DLP if you don't renew your AI Access Security license.
In the Assign Licenses section, click Done to assign all your AI Access Security licenses. Verify that your AI Access Security License is Fully AssignedVerify that your Data Loss Prevention instance is selected if you have Enterprise Data Loss Prevention (E-DLP) active on your tenant.Your Enterprise DLP instance is selected by default if active already on your tenant.Skip this step if you don't have Enterprise DLP already active. Enterprise DLP is not required to enable AI Access Security. If Enterprise DLP instance is not already active then one is created as part of the license activation. Review what happens to Enterprise DLP if you don't renew your AI Access Security license.![]() Agree to the Terms and Conditions.Activate.You're redirected to the Tenant Management page where the AI Access Security Activation Status starts Initializing.The AI Access Security license displays as Data Security and has a serial number that begins with AIX. Continue to the next step after the Activation Status is Complete.
Agree to the Terms and Conditions.Activate.You're redirected to the Tenant Management page where the AI Access Security Activation Status starts Initializing.The AI Access Security license displays as Data Security and has a serial number that begins with AIX. Continue to the next step after the Activation Status is Complete.![]() (NGFW only) Associate the AI Access Security license with your NGFW.Associating the AI Access Security license is required to activate the license for your NGFW.
(NGFW only) Associate the AI Access Security license with your NGFW.Associating the AI Access Security license is required to activate the license for your NGFW.- In the Strata Cloud Manager menu, select System SettingsDevice Associations.The Strata Cloud Manager menu is located in the bottom-left corner of Strata Cloud Manager.Associate Apps.In the Licensed Products, select Data Security.Select the NGFW for which you want to activate AI Access Security.Save.Verify you successfully activated AI Access Security.
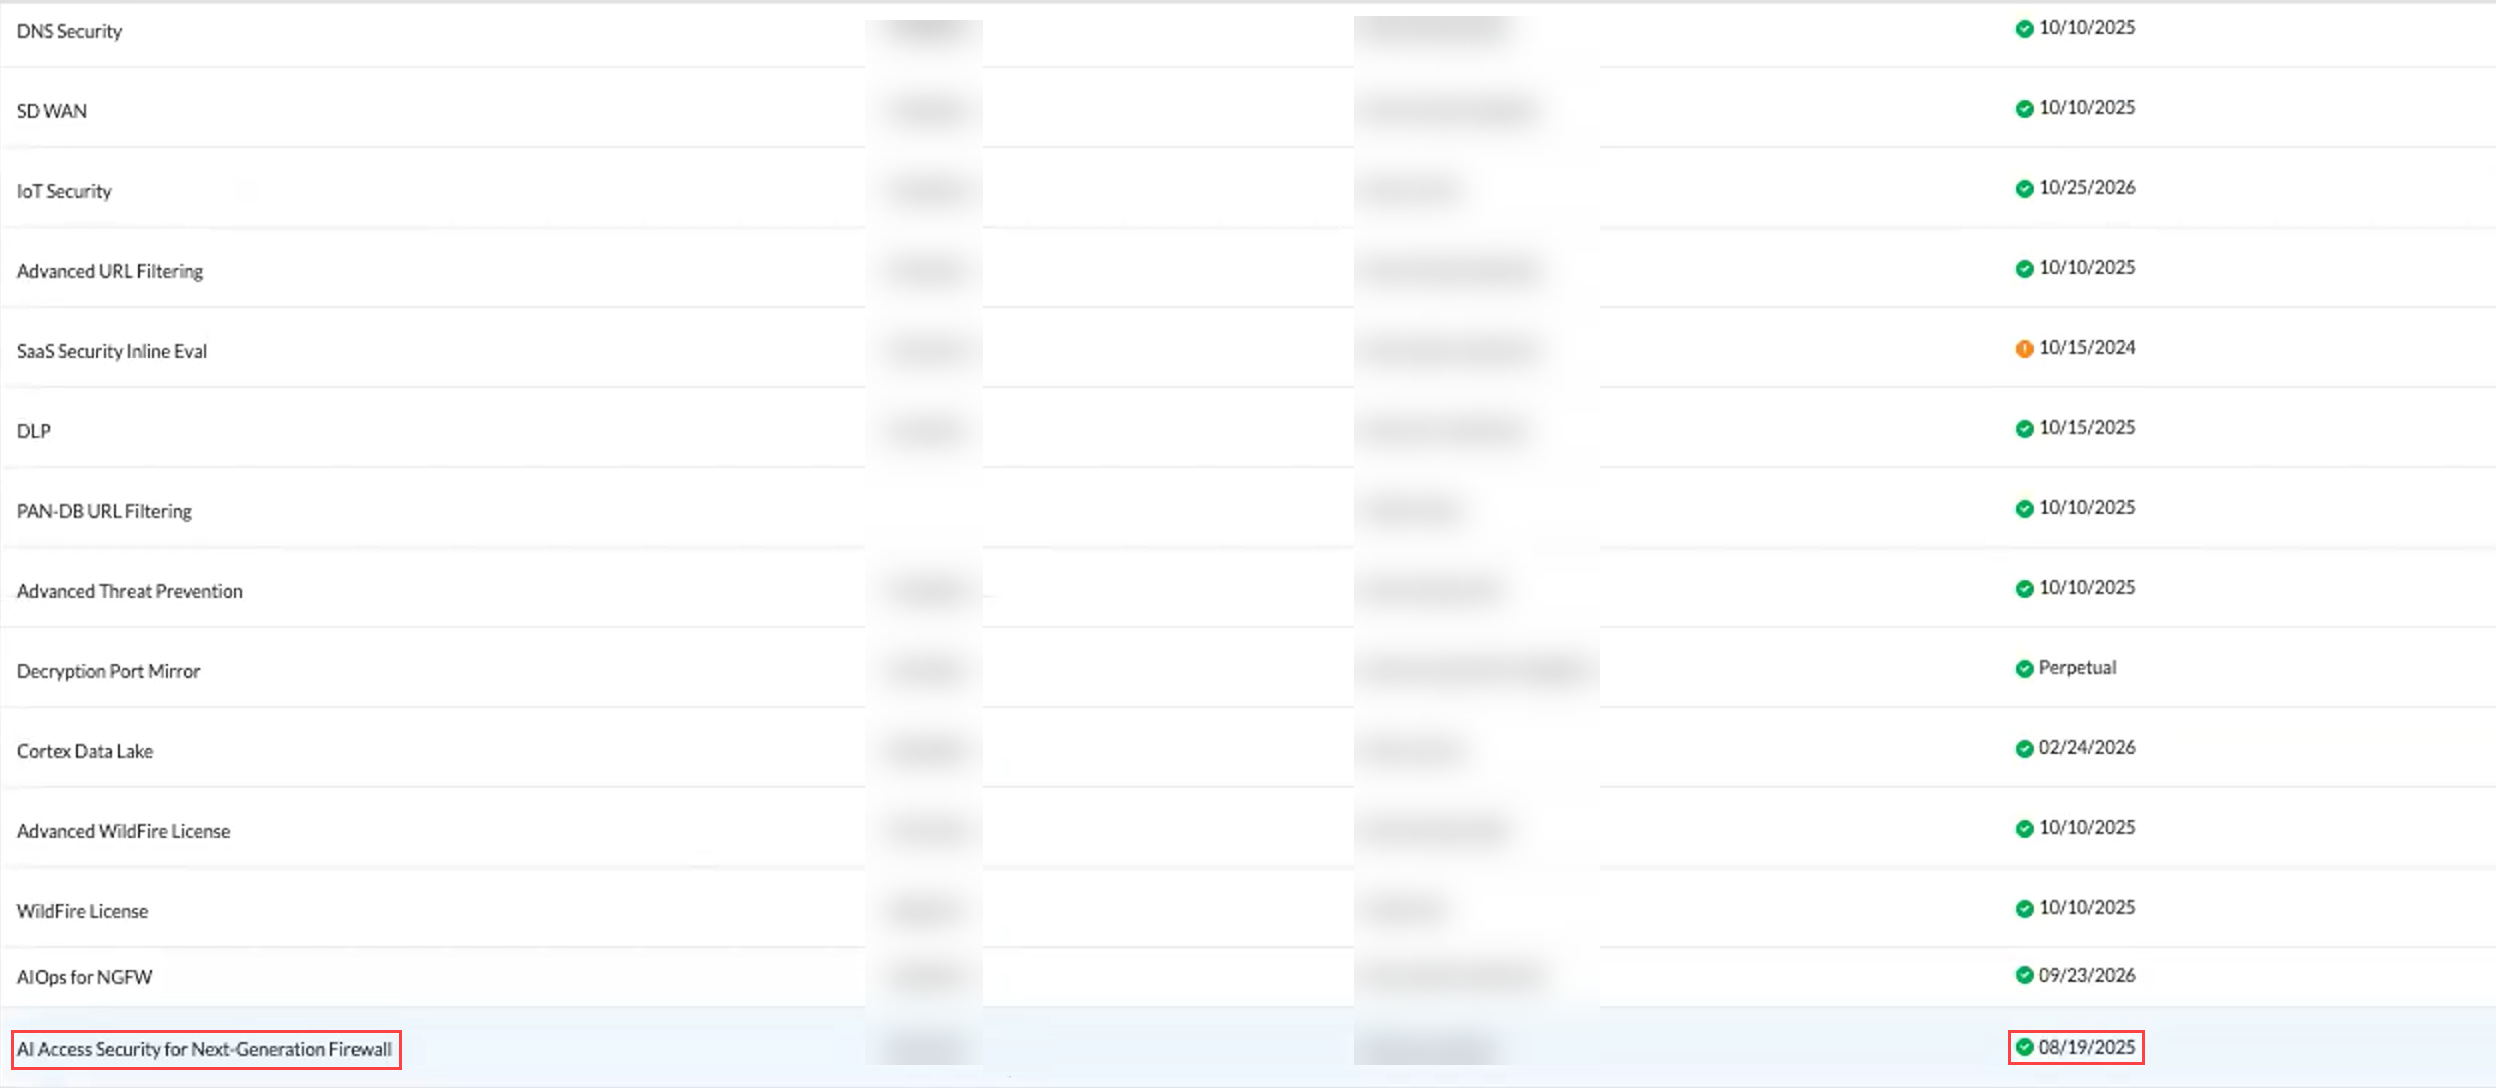
- Log in to the Palo Alto Networks Customer Support Portal (CSP).Select ProductsAssets.Select NGFW or Prisma Access tenant based on the enforcement point for which you activated AI Access Security.Use the filters to locate your NGFW or Prisma Access tenant.Expand the list of active licenses or click Licenses & Subscriptions.Verify that the AI Access Security license is active.
![]() Get Started with AI Access Security.
Get Started with AI Access Security.Activate the AI Access Security License (Existing Deployments)
Activate the AI Access Security for existing NGFW or Prisma Access users managed by either a Panorama® management server or by Strata Cloud Manager.This procedure assumes you only need to activate the AI Access Security license and that all prerequisite licenses are activate and have successfully set up your NGFW, Prisma Access, Panorama® management server, and Strata Cloud Manager as needed.- Click the magic link provided to you by Palo Alto Networks when you purchase the AI Access Security subscription.Click Activate Subscription to begin activating AI Access Security.Enter your Palo Alto Networks Customer Support Portal (CSP) Email Address. This email address must match the email address that received the magic link to activate AI Access Security.Create a New Account if the email address that received the AI Access Security activation link does not already have a valid CSP account. The newly created account is automatically associated with the same tenant for which you're activating AI Access Security and assigned a Multitenant Superuser role.
![]() (Multitenancy only) In the Customer Support Account section, select the Palo Alto Networks Customer Support Account associated with the tenant for which you activating the AI Access Security license.Skip this step if you have a single tenant Customer Support Portal account. Your Customer Support Account is selected by default.(Multitenancy only) In the Allocate This Subscription section, select the tenant service group (TSG) for which you want to activate AI Access Security. You can select the parent tenant or a child tenant.AI Access Security is activated for only the selected tenant. If you select a parent tenant, AI Access Security isn't activated for any child tenant.Skip this step if you only have a single tenant Customer Support Portal account. It is selected by default.Review the tenant Region. This region is pre-populated based on the deployed NGFW or Prisma Access tenant region and can't be changed.
(Multitenancy only) In the Customer Support Account section, select the Palo Alto Networks Customer Support Account associated with the tenant for which you activating the AI Access Security license.Skip this step if you have a single tenant Customer Support Portal account. Your Customer Support Account is selected by default.(Multitenancy only) In the Allocate This Subscription section, select the tenant service group (TSG) for which you want to activate AI Access Security. You can select the parent tenant or a child tenant.AI Access Security is activated for only the selected tenant. If you select a parent tenant, AI Access Security isn't activated for any child tenant.Skip this step if you only have a single tenant Customer Support Portal account. It is selected by default.Review the tenant Region. This region is pre-populated based on the deployed NGFW or Prisma Access tenant region and can't be changed.![]() In the Assign Licenses section, click Done to assign all your AI Access Security licenses. Verify that the AI Access Security License is Fully AssignedVerify that your Data Loss Prevention instance is selected if you have Enterprise Data Loss Prevention (E-DLP) active on your tenant.Your Enterprise DLP instance is selected by default if active already on your tenant.Skip this step if you don't have Enterprise DLP already active. Enterprise DLP is not required to enable AI Access Security. If Enterprise DLP instance is not already active then one is created as part of the license activation. Review what happens to Enterprise DLP if you don't renew your AI Access Security license.
In the Assign Licenses section, click Done to assign all your AI Access Security licenses. Verify that the AI Access Security License is Fully AssignedVerify that your Data Loss Prevention instance is selected if you have Enterprise Data Loss Prevention (E-DLP) active on your tenant.Your Enterprise DLP instance is selected by default if active already on your tenant.Skip this step if you don't have Enterprise DLP already active. Enterprise DLP is not required to enable AI Access Security. If Enterprise DLP instance is not already active then one is created as part of the license activation. Review what happens to Enterprise DLP if you don't renew your AI Access Security license.![]() Agree to the Terms and Conditions.Activate.You're redirected to the Tenant Management page where the AI Access Security Activation Status starts Initializing.The AI Access Security license displays as Data Security and has a serial number that begins with AIX. Continue to the next step after the Activation Status is Complete.
Agree to the Terms and Conditions.Activate.You're redirected to the Tenant Management page where the AI Access Security Activation Status starts Initializing.The AI Access Security license displays as Data Security and has a serial number that begins with AIX. Continue to the next step after the Activation Status is Complete.![]() (NGFW only) Associate the AI Access Security license with your NGFW.Associating the AI Access Security license is required to activate the license for your NGFW.
(NGFW only) Associate the AI Access Security license with your NGFW.Associating the AI Access Security license is required to activate the license for your NGFW.- In the Strata Cloud Manager menu, select System SettingsDevice Associations.The Strata Cloud Manager menu is located in the bottom-left corner of Strata Cloud Manager.Associate Apps.In the Licensed Products, select Data Security.Select the NGFW for which you want to activate AI Access Security.Save.Verify you successfully activated AI Access Security.
- Log in to the Palo Alto Networks Customer Support Portal (CSP).Select ProductsAssets.Select NGFW or Prisma Access tenant based on the enforcement point for which you activated AI Access Security.Use the filters to locate your NGFW or Prisma Access tenant.Expand the list of active licenses or click Licenses & Subscriptions.Verify that the AI Access Security license is active.
![]() Get Started with AI Access Security.
Get Started with AI Access Security.


