Identity
Manage Cloud Identity Engine Certificates
Table of Contents
Manage Cloud Identity Engine Certificates
| Where Can I Use This? | What Do I Need? |
|---|---|
| The Cloud Identity Engine service is free; however, the enforcement points utilizing directory data may require specific licenses. Click here for more information. |
After you generate the certificate to Authenticate the Agent and the Cloud Identity Engine, you can view
the certificate and its associated agent in the Cloud Identity Engine
app.
The Cloud Identity agent version 1.5.0 and later versions
automatically renews the certificate before it expires.
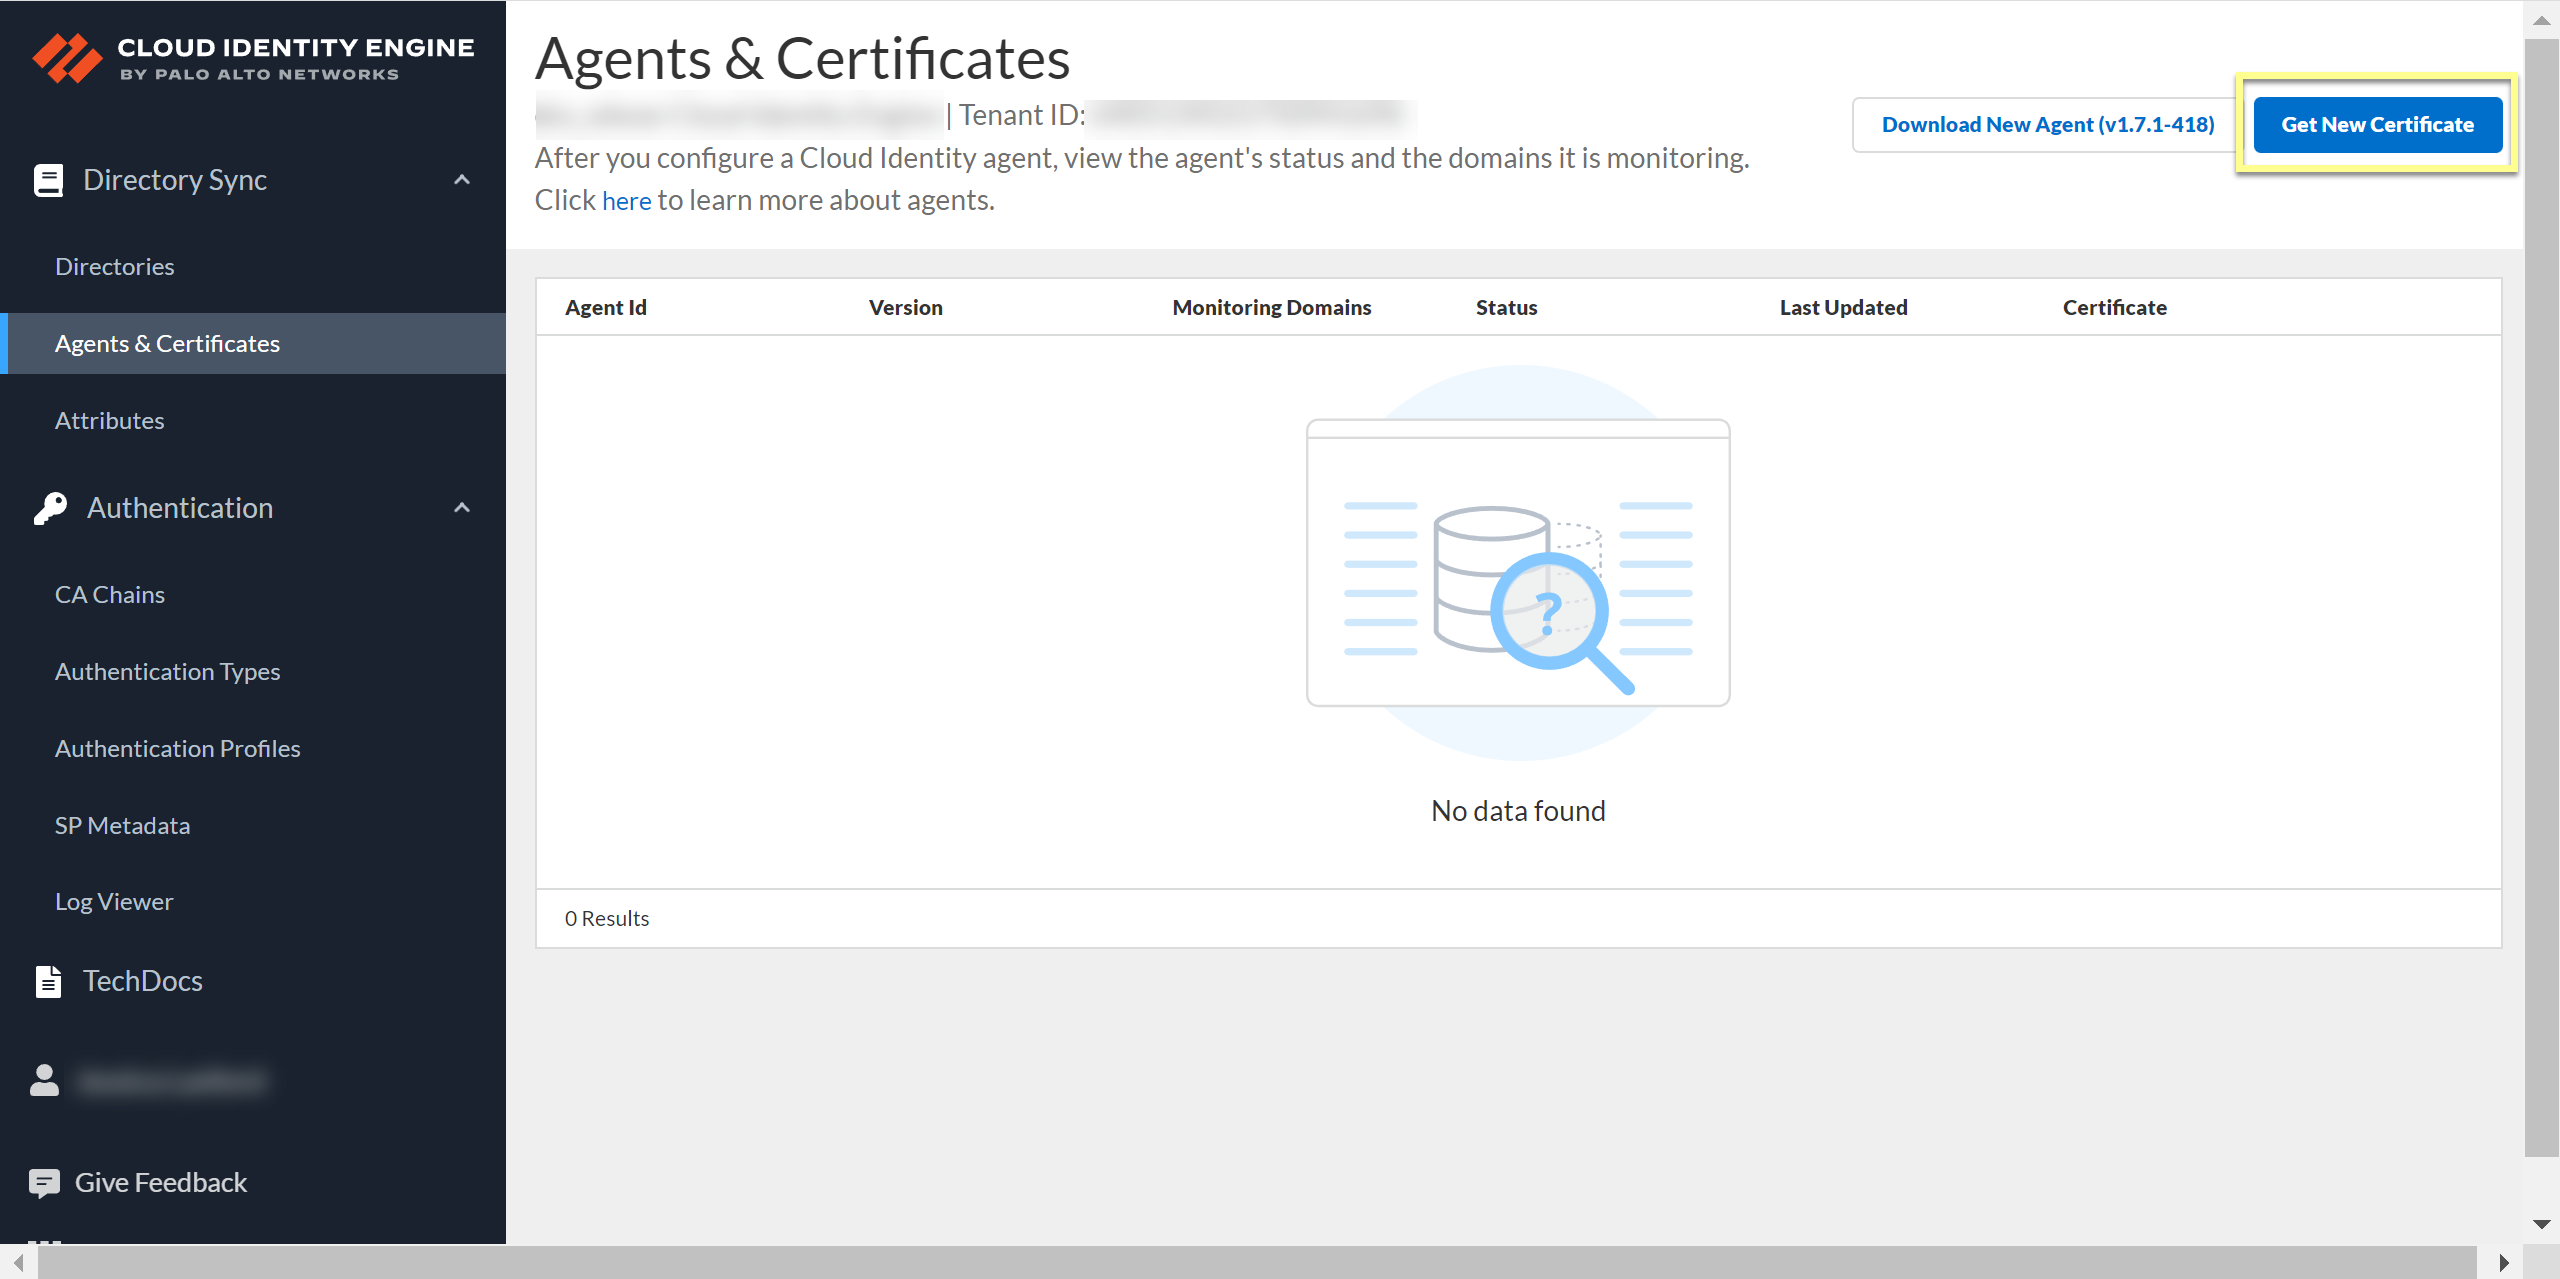
You can view the identification number and lifetime of the certificate
on the Agents & Certificates page in
the Cloud Identity Engine app.
If you need to Remove Cloud Identity Agent Certificates, you must Delete Obsolete Cloud Identity Agent Certificates before you
generate and install the new certificate.
To generate a new certificate for an agent, click Get
New Certificate, then follow the steps to Authenticate the Agent and the Cloud Identity Engine.