Prisma Browser
Deploy the Prisma Browser Extension
Table of Contents
Expand All
|
Collapse All
Prisma Browser Docs
Deploy the Prisma Browser Extension
This article describes how to deploy the popular Prisma Access Browser
Extension.
| Where Can I Use This? | What Do I Need? |
|---|---|
|
|
The Prisma Browser Extension is a tool that you can install on commercial
browsers such as Google Chrome and Microsoft Edge browsers, running on Windows,
macOS, and ChromeOS Operating Systems.
IT and security teams can enhance organizational security by implementing
Prisma Browser with a hybrid strategy, using the Prisma Browser
Extension to bridge current browsing practices with advanced protections. This
approach enables employees to continue using familiar browsers while administrators
gain greater visibility and control over all browsers across the enterprise.
The extension actively monitors user activity on commercial browsers,
helping to mitigate Shadow IT risks and providing real-time phishing protection. By
centralizing visibility and allowing consistent enforcement of Security policy
rules, the Prisma Browser Extension integrates smoothly with existing tools
while guiding users to the enterprise browser when accessing sensitive
applications.
Supported Installation and Deployment
Mobile device management (MDM)
- Intune
- Jamf
- Google Workspace
Manual installation with the supplied extension files for macOS and
Windows
- The primary uses for manual installations are PoC and Installation on managed Windows devices.
Prisma Browser Extension Software Download
You can download the Prisma Browser Extension from the Strata Cloud Manager.
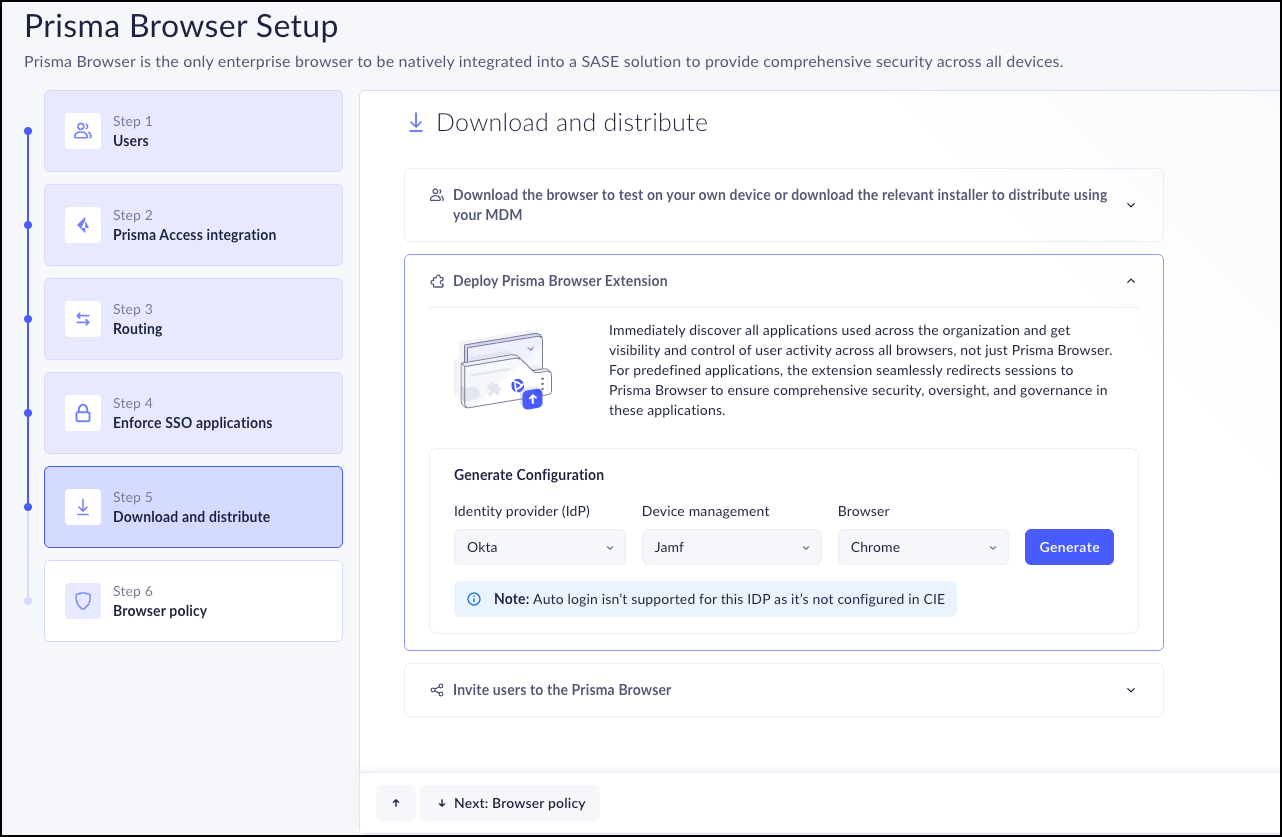
- Open the Strata Cloud Manager, and select Workflows -> Prisma Access Setup -> Prisma Access BrowserConfiguration → Onboarding. .In the Onboard Users section, locate Prisma Browser and click View.Click Step 5 Download and Distribute.Click Deploy PABX (Prisma Browser Extension) for Streamline Visibility & PA Browser Enforcement.In the Generate Configurationsection, select the following information from the drop-downs:
- Identity provider (IdP) - Select the IdP that you use in your environment. This is the tool that authenticates your users. The available identity providers (IdP) are:
- Okta
- Azure
Device Management - Select the mobile device management (MDM) that you will use to deploy the Prisma Access Browser Extension to managed devices. The available MDMs are:- Jamf
- Google Workspace
- Windows Registry
- Manual Deployment (local)
Browser - Select the browser where the Prisma Browser Extension will be installed. The available browsers are (you can select any combination of the browsers listed):- Chrome
- Edge
- Brave
- Arc
- AI Browsers
- Comet
- Dia
- ChatGPT Atlas
The proper combination of these three controls will create the necessary files for the selected deployment method.Click Generate.![]()
Deploy the Prisma Browser Using PowerShell
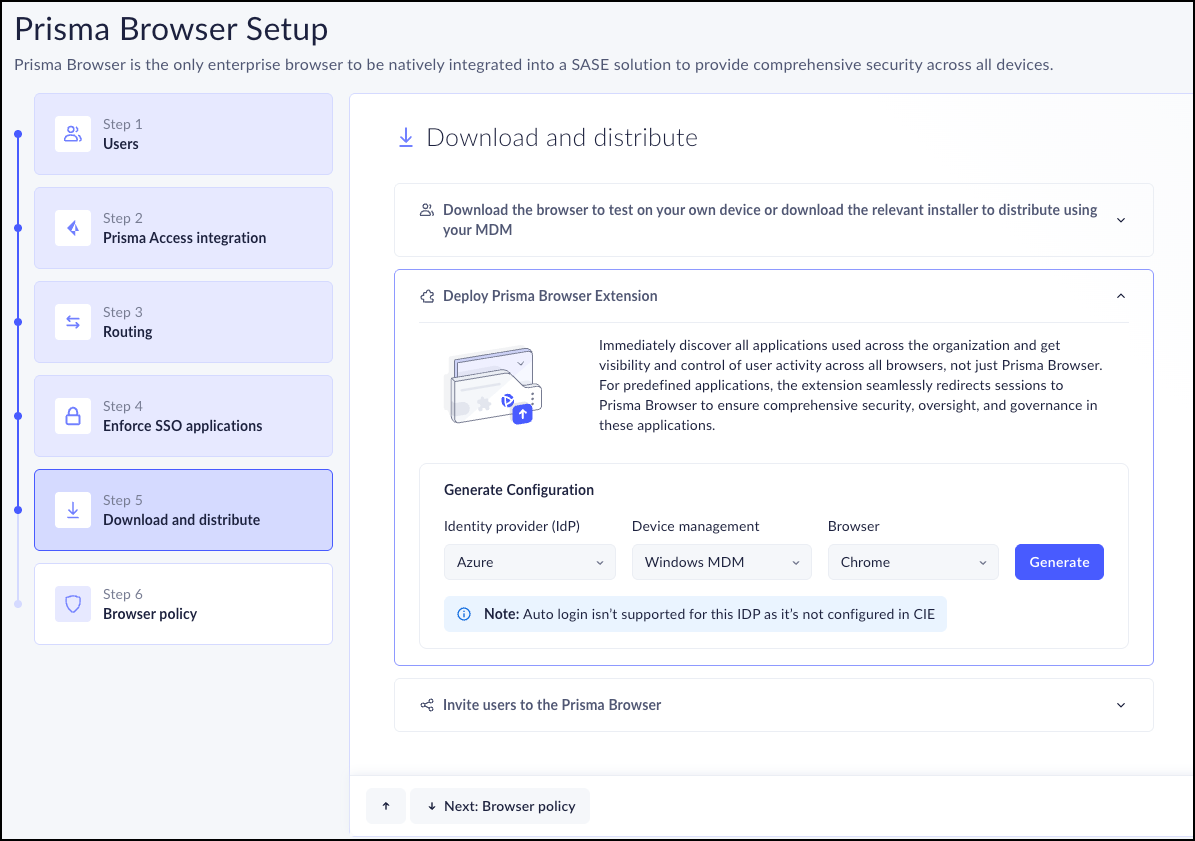
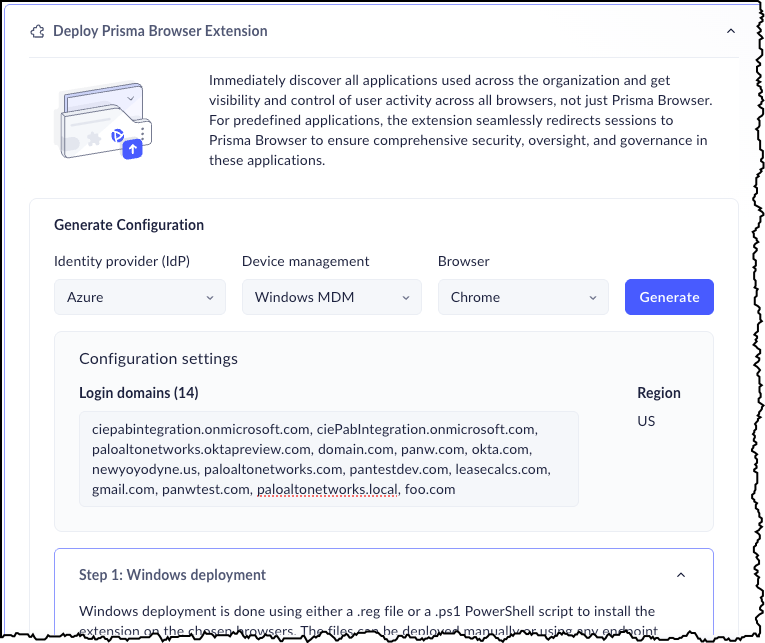
If you need to deploy Prisma Access Browser Extension using a PowerShell script, you need to make the following changes to the above steps.- In Step 4, select the following options:
- Identity provider: Azure.
- Device management: Windows MDM.
- Browser: Select the relevant browser from the list.
- Click Generate.
![]()
- Click Download .ps1 file.
![]()
- Click Done.
- Open Step 2 and follow the directions to set the hostname.
Deploy the Prisma Access Browser Extension Using Intune
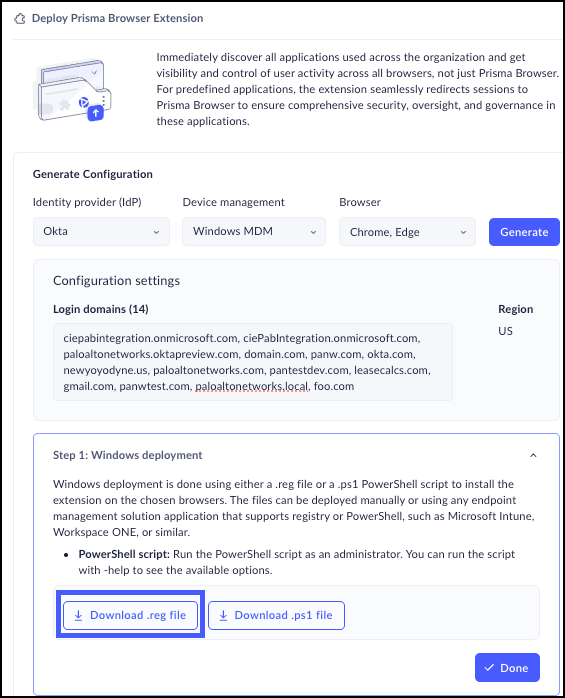
Microsoft Intune™ is a cloud-based endpoint management solution. It manages user access to organizational resources app and device management across your many devices, including desktop and laptop computers, mobile devices, and virtual endpoints.For this example, we will generate a configuration with the following parameters:- Identity provider - Okta
- Device Management - Windows Registry
- Browser - Chrome, Edge
- Select the parameters from the dropdown lists.
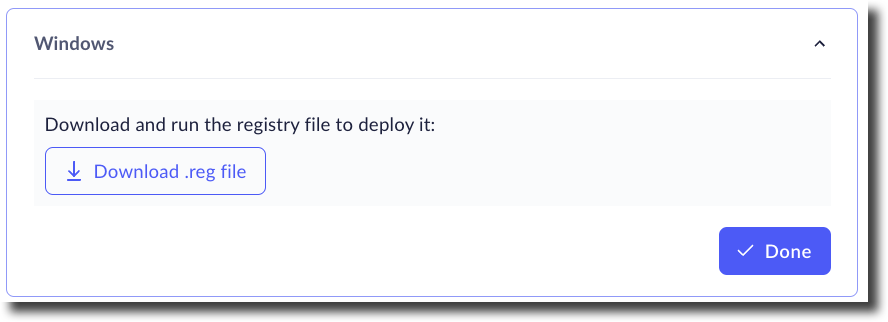
- Click Generate.Click Download .reg fileClick Done.
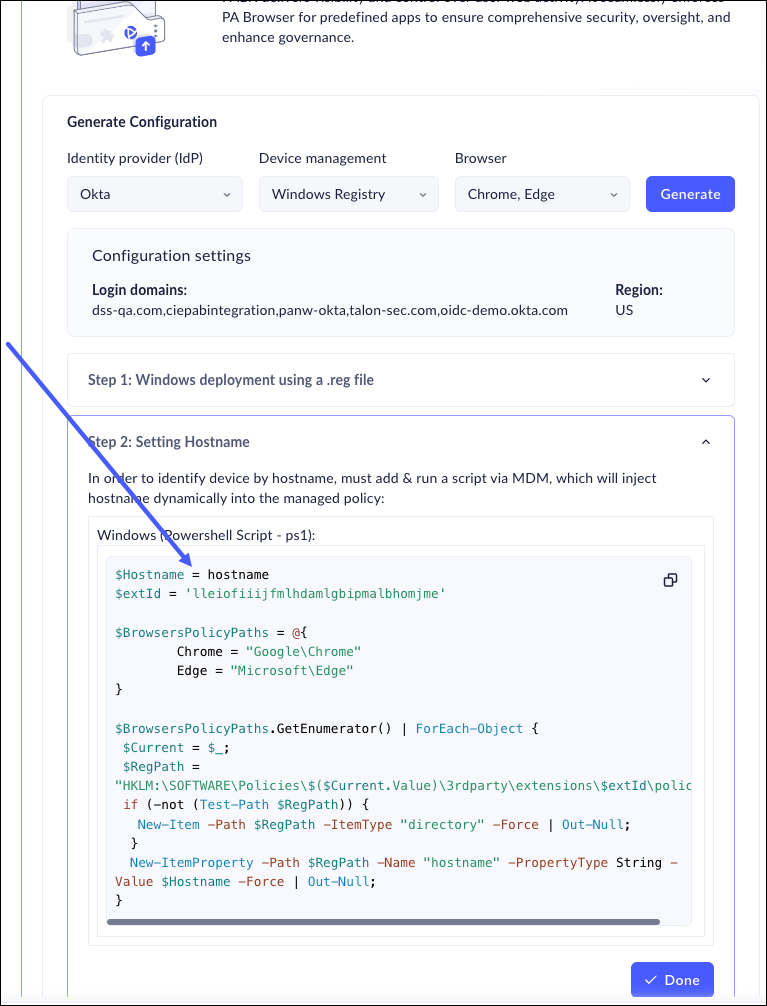
![]() Copy the generated script, and run it in Intune to identify the devices by hostname. Click Done.The script is generated according to the selections that you made. If you change the parameters (for example, adding a new browser) you will need to generate a new script and rerun it in Intune.
Copy the generated script, and run it in Intune to identify the devices by hostname. Click Done.The script is generated according to the selections that you made. If you change the parameters (for example, adding a new browser) you will need to generate a new script and rerun it in Intune.![]() Optionally, go to the Device Management page to make sure that the new devices are displayed.
Optionally, go to the Device Management page to make sure that the new devices are displayed.Manually Deploy the Prisma Browser Extension
Manual installations of Prisma Browser Extension are primarily intended for proof of concept (PoC) purposes. The primary Prisma Browser Extension deployment will be on managed devices via a mobile device management (MDM) platform, enabling scalable distribution to a large number of users.macOS Deployment
To manually install the Extension for iOS, follow these steps:- Go to System Settings, and search for Profiles. Approve the Profile (It will have a warning mark beside it) .Download the extension configuration file to the extension PAB-install-locally.mobile.confif.Go to System Settings, and search for Profiles. Approve the Profile (It will have a warning mark beside it) .Restart the browser to apply the settings.To install, navigate to your Download folder. Right-click and select Open with > Profile Installer.appi
![]() Go to System Settings, and search for Profiles.
Go to System Settings, and search for Profiles.![]() Double-click the object to open the installation option.
Double-click the object to open the installation option.![]() Click Install...Follow the instructions to verify the installation. You may be asked to authenticate as part of the installation.You will need to restart after the installation is complete.
Click Install...Follow the instructions to verify the installation. You may be asked to authenticate as part of the installation.You will need to restart after the installation is complete.![]() The Prisma Browser Extension will be visible in the browser. Click the extension to Connect Before Logon.
The Prisma Browser Extension will be visible in the browser. Click the extension to Connect Before Logon.![]()
Windows Deployment
To manually install the Extension for Windows, follow these steps:- Download the generated registry file.
![]() Install the registry file on Windows 10 or Windows 11.
Install the registry file on Windows 10 or Windows 11.- Double-click on the .reg file.If User Account Control is enabled, you might be asked if you want to allow the program to make changes to your computer. If it does, click Yes.You will be asked "Are you sure you want to continue?" Click Yes.You can also manually deploy the Prisma Browser Extension by doing the following:
- Send the registry file to your users via email.Save the registry file on a shared network location.Add a command to your users' login script.Add the registry command to your command prompt.Specify the name and path of the registry file that needs to be copied into the registry.After importing the registry file on Windows machines, users will need to restart their browser to make sure that the Prisma Browser Extension installed on their browser.

