Configure Security Risk for the Cloud Identity Engine
Table of Contents
Configure Security Risk for the Cloud Identity Engine
Find out how to configure Security Risk in the Cloud Identity Engine to obtain risk
information about users, groups, and devices to automatically remediate them.
Security Risk for the Cloud Identity Engine obtains specific information to evaluate
risk (such as an outdated OS, failed password attempts, or suspicious device
activity) for users and devices. By using telemetry and receiving risk scores for
these sources, the Cloud Identity Engine allows you to define the risk criteria for
a group, then the Cloud Identity Engine automatically assigns users and devices to
that group using the information it receives from your risk assessment sources. This
enables closed-loop automation, since after you address the source of the risk for a
user or device, the Cloud Identity Engine removes it from the group.
Microsoft Azure analyzes user behavior and sign-in events to determine a user risk
score and create a list of risky users. By identifying suspicious or anomalous user
activity and assigning a risk score, you can quickly assess user risk level,
evaluate priority, and take actions to reduce risk.
SentinelOne reviews all device activity (such as processes) on the endpoint to assign
specific attributes that determine the risk level of the endpoint.
The SentinelOne Endpoint Detection and Response (EDR) agent monitors device activity
and behavior. By specifying the attributes you want the agent to collect, you can
identify at-risk device endpoints.
The bidirectional integration between Prisma Access and SentinelOne helps ensure your
Zero Trust Security policy by continuously receiving device information and risk
signals from SentinelOne and automatically enforcing access restrictions, such as
quarantining the device.
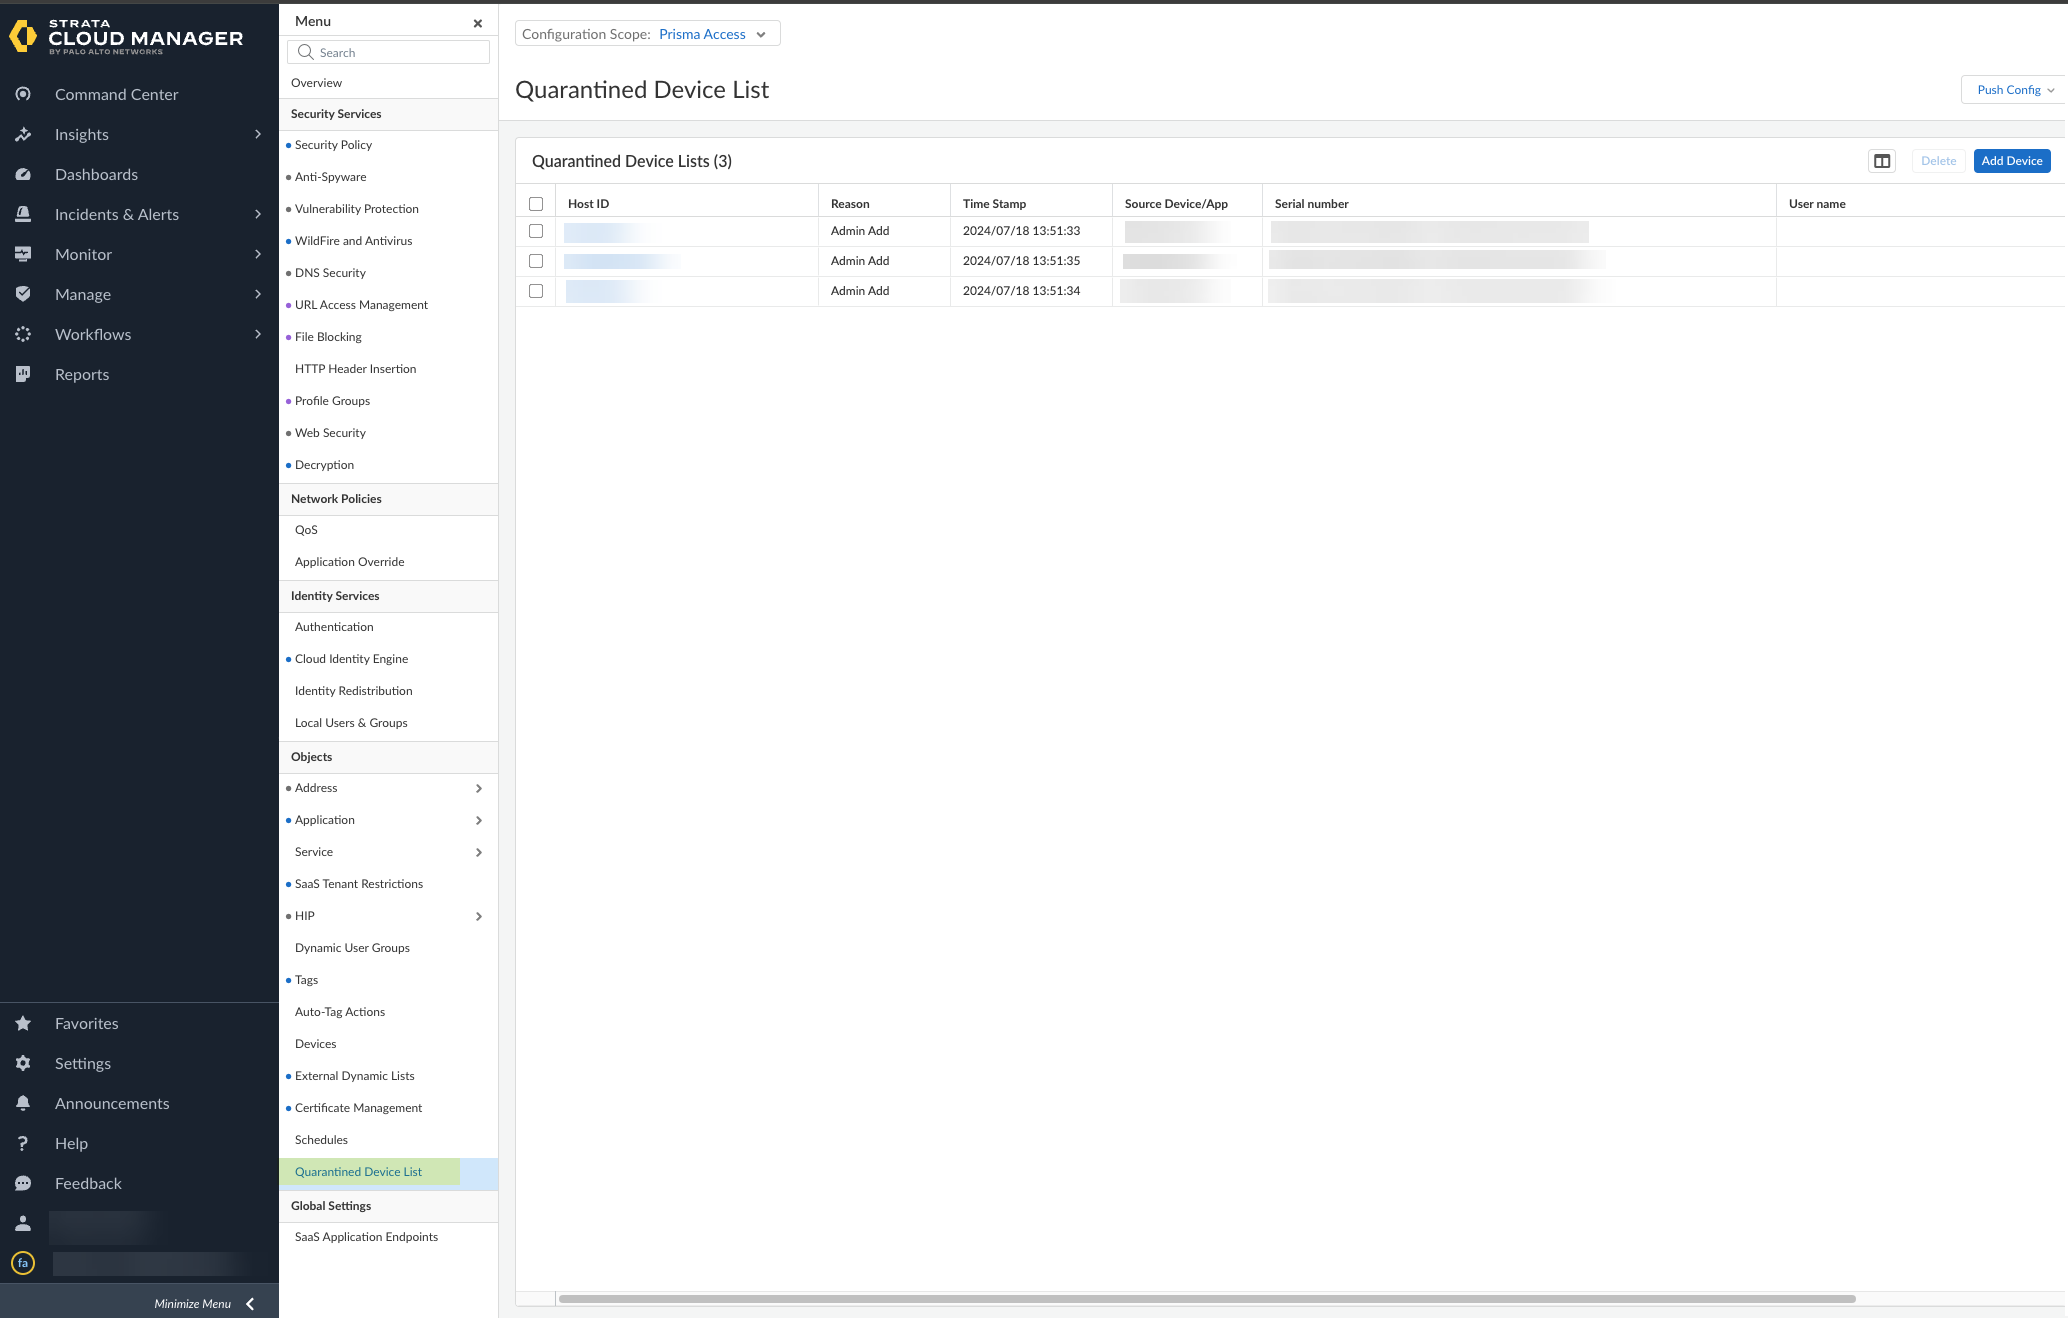
You can also use the Strata Cloud Manager to view the list of devices currently in
quarantine.
- If you want to obtain risk information about users, Configure Azure for Security Risk in the Cloud Identity Engine.
- If you want to obtain security posture and risk information about devices, Configure SentinelOne for Security Risk in the Cloud Identity Engine.
By continuously monitoring the device security posture and risk information from
SentinelOne, updating and enforcing quarantine lists across all devices, and
removing devices after remediation, Security Risk for the Cloud Identity Engine
helps you enforce adaptive Security policy and just-in-time access.
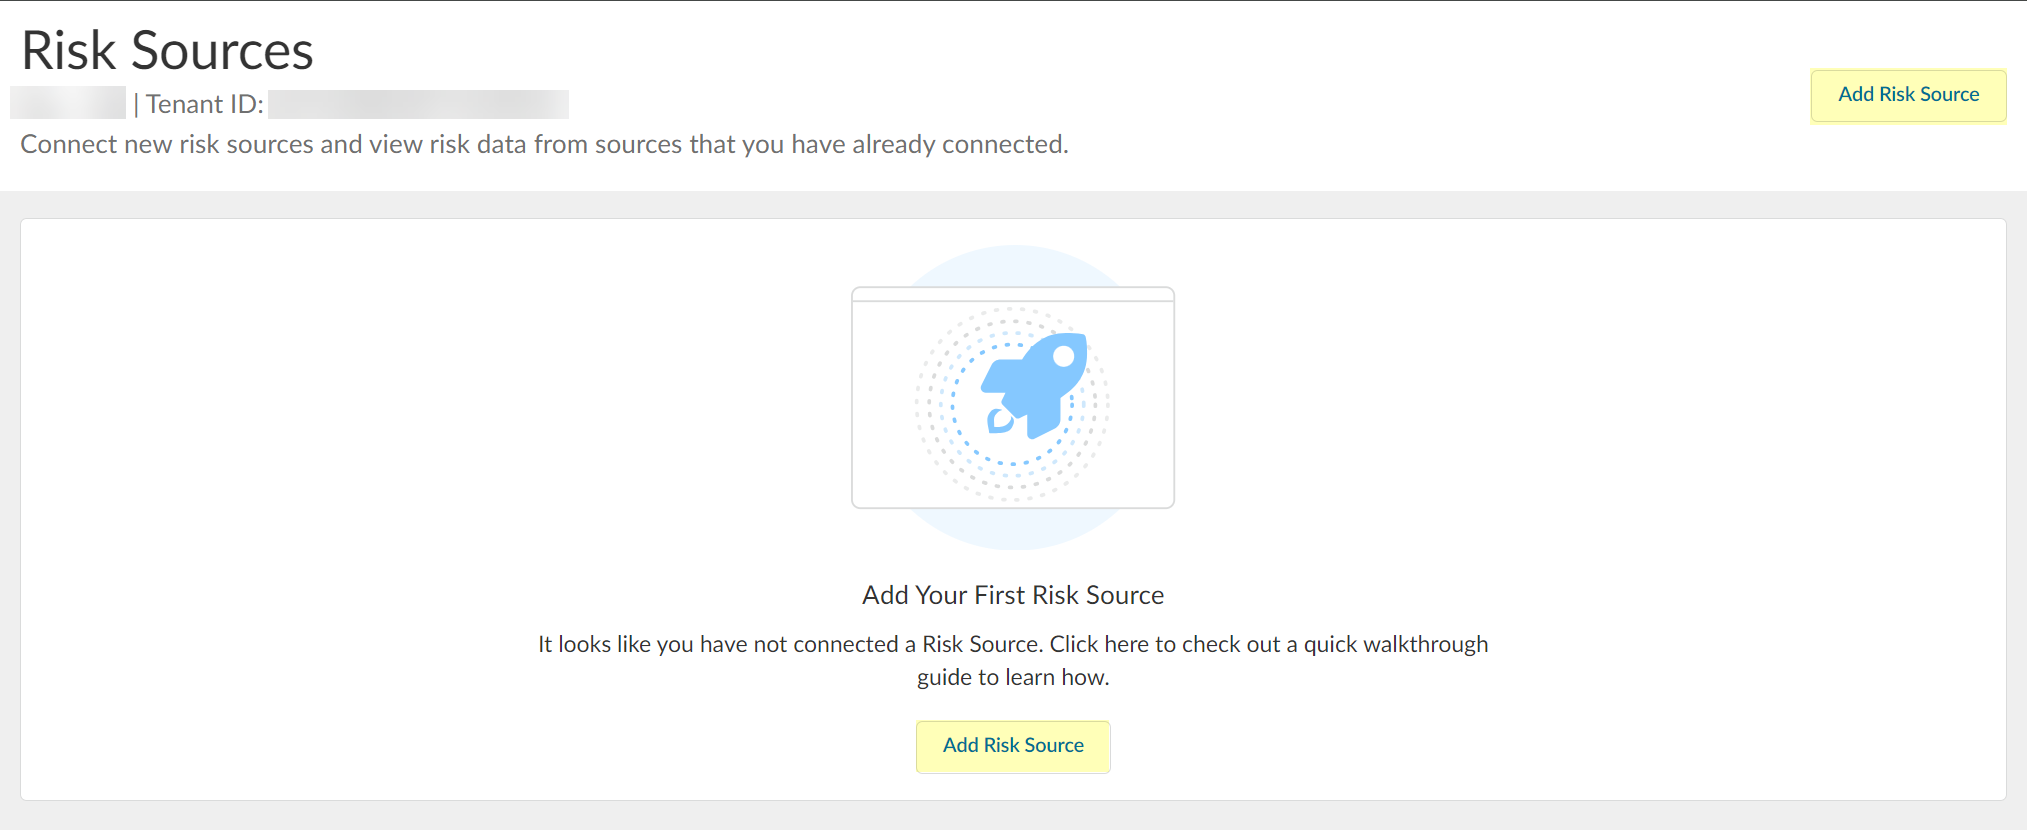
- In the Cloud Identity Engine, select .Click Add Risk Source.
![]() Select the type of risk source you want to configure.You can configure up to one Azure Active Directory source and up to one SentinelOne source.
Select the type of risk source you want to configure.You can configure up to one Azure Active Directory source and up to one SentinelOne source.![]() The Cloud Identity Engine uses the risk source you configure to obtain risk information.
The Cloud Identity Engine uses the risk source you configure to obtain risk information.- Azure— Click
Connect and Configure a new Azure
directory or select an Existing
Directory to obtain risk information about users.
![]() If you configure Security Risk to use a directory and you want to remove the directory from the Cloud Identity Engine, you must first remove the directory from the Security Risk configuration.
If you configure Security Risk to use a directory and you want to remove the directory from the Cloud Identity Engine, you must first remove the directory from the Security Risk configuration. - SentinelOne—Click Connect and continue to Configure SentinelOne for Security Risk in the Cloud Identity Engine as a risk source to obtain risk information about devices.
Configure Azure for Security Risk in the Cloud Identity Engine
- View and optionally edit the dynamic risky user groups.
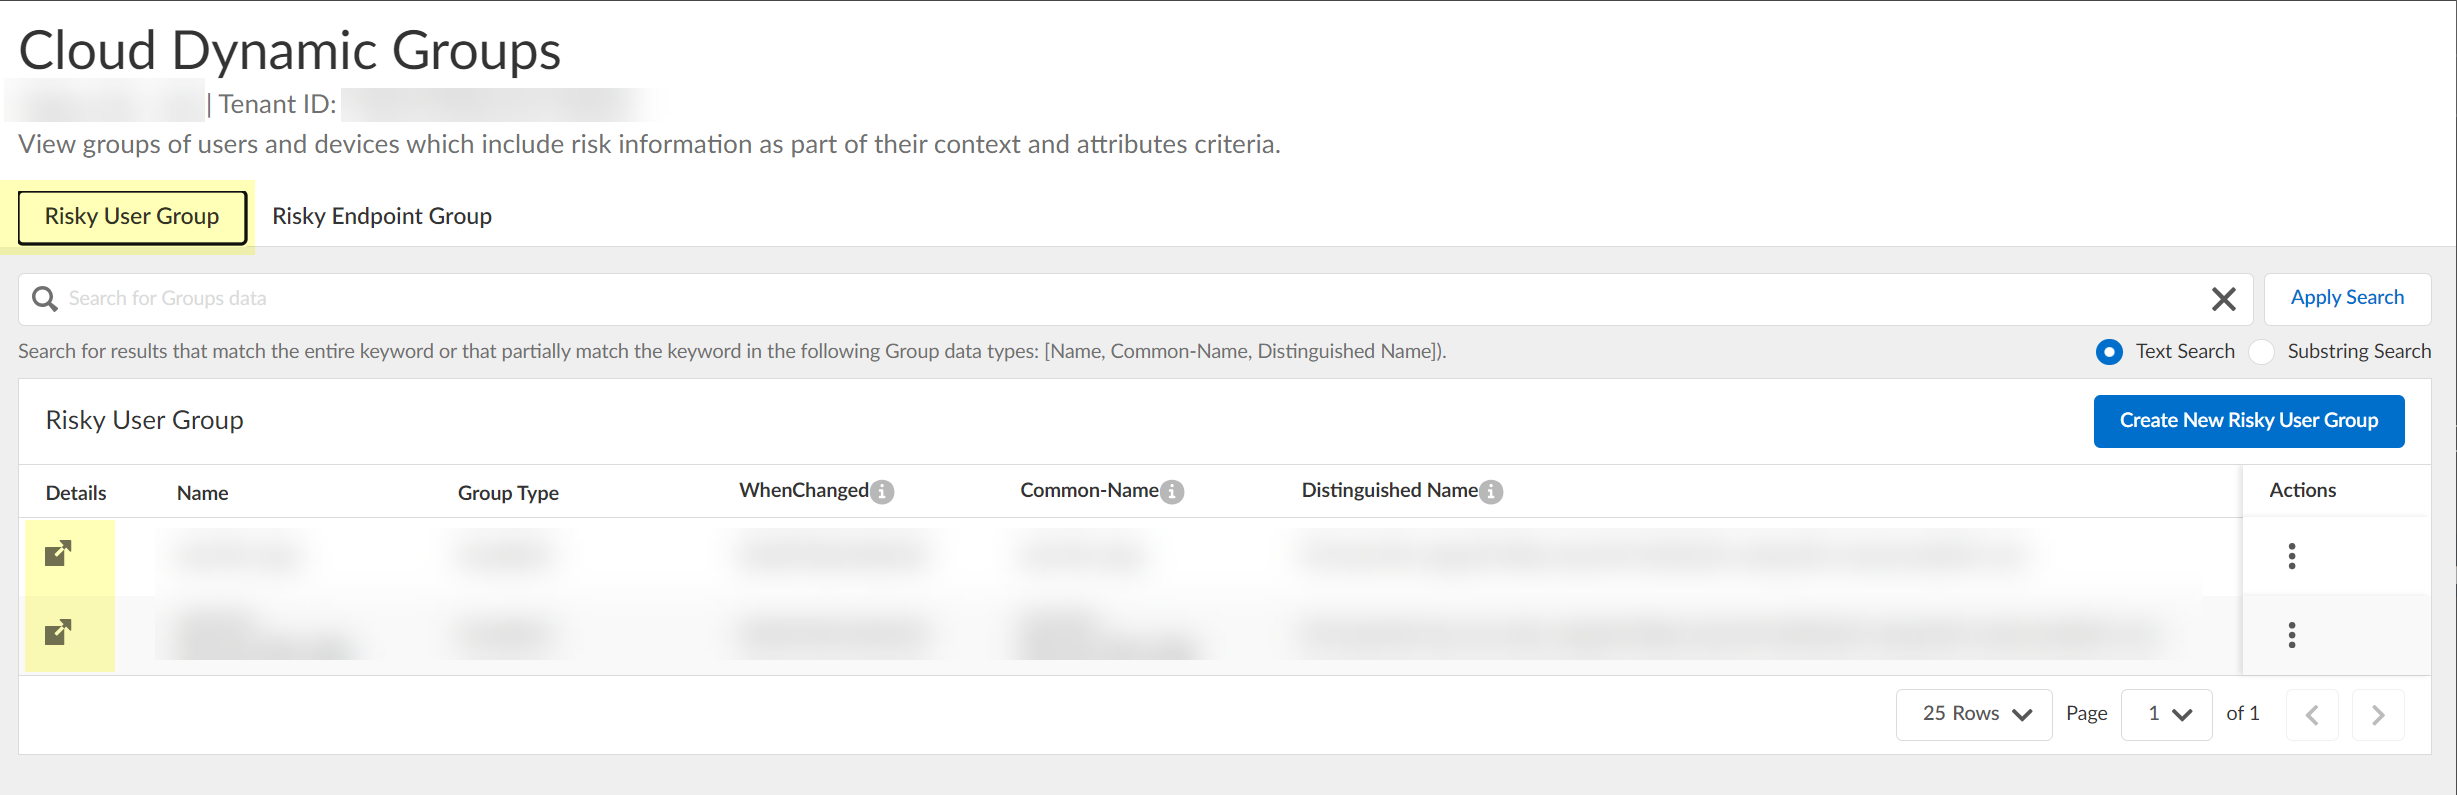
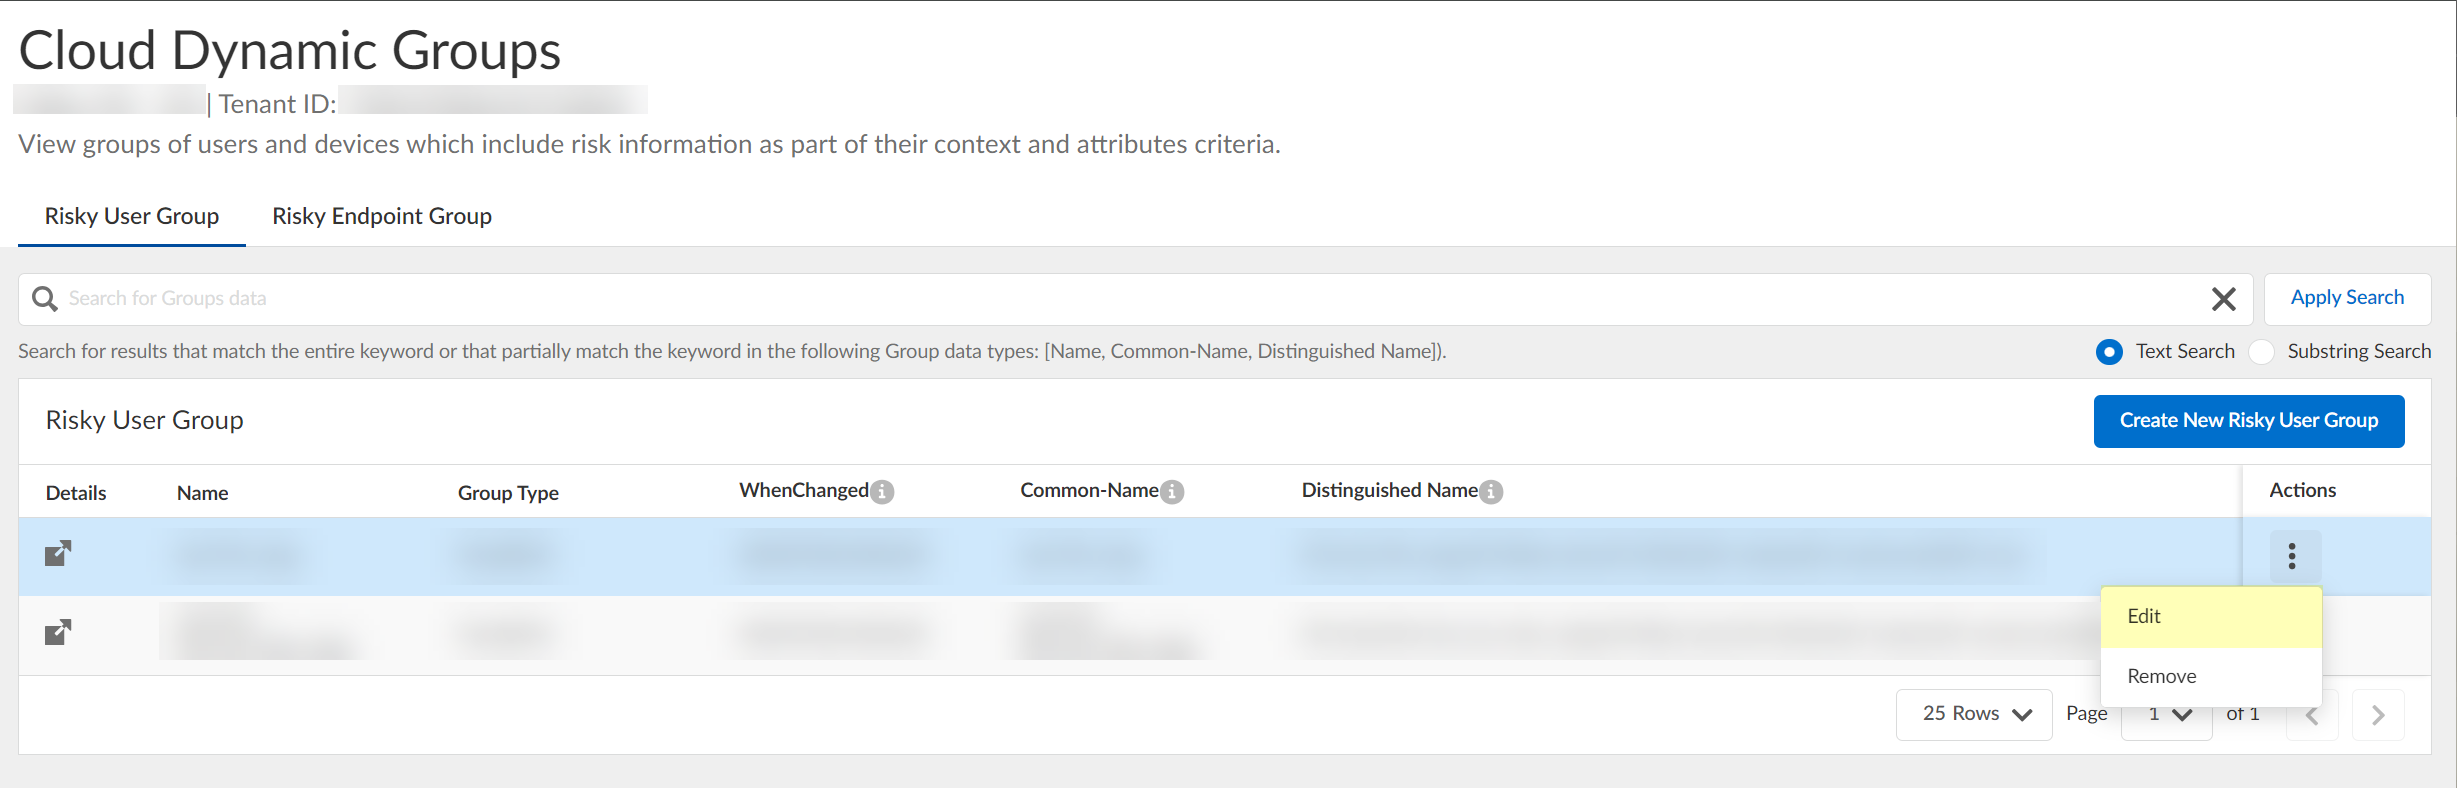
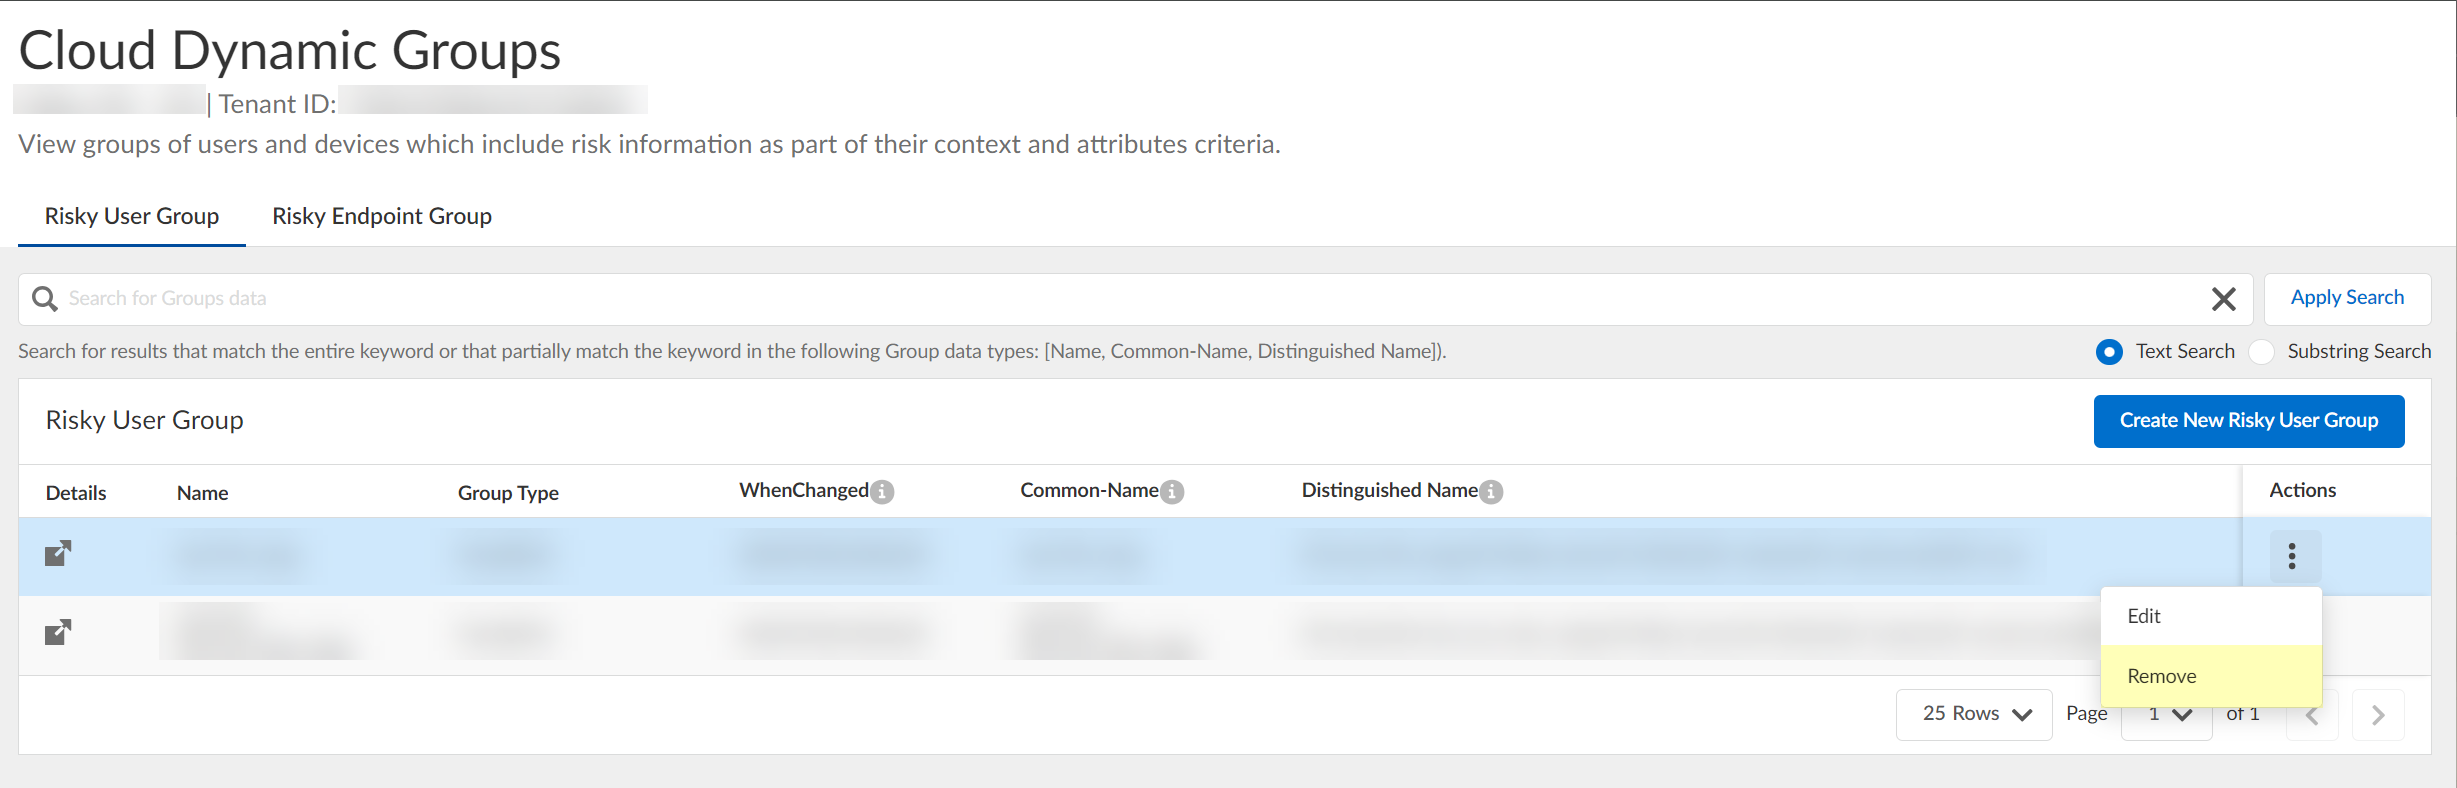
- In the Cloud Identity Engine, select .Select the Risky User Group tab to view the groups that the Cloud Identity Engine creates to isolate users who it identifies as risky. You can optionally click the Details icon to view more information about the specific group.
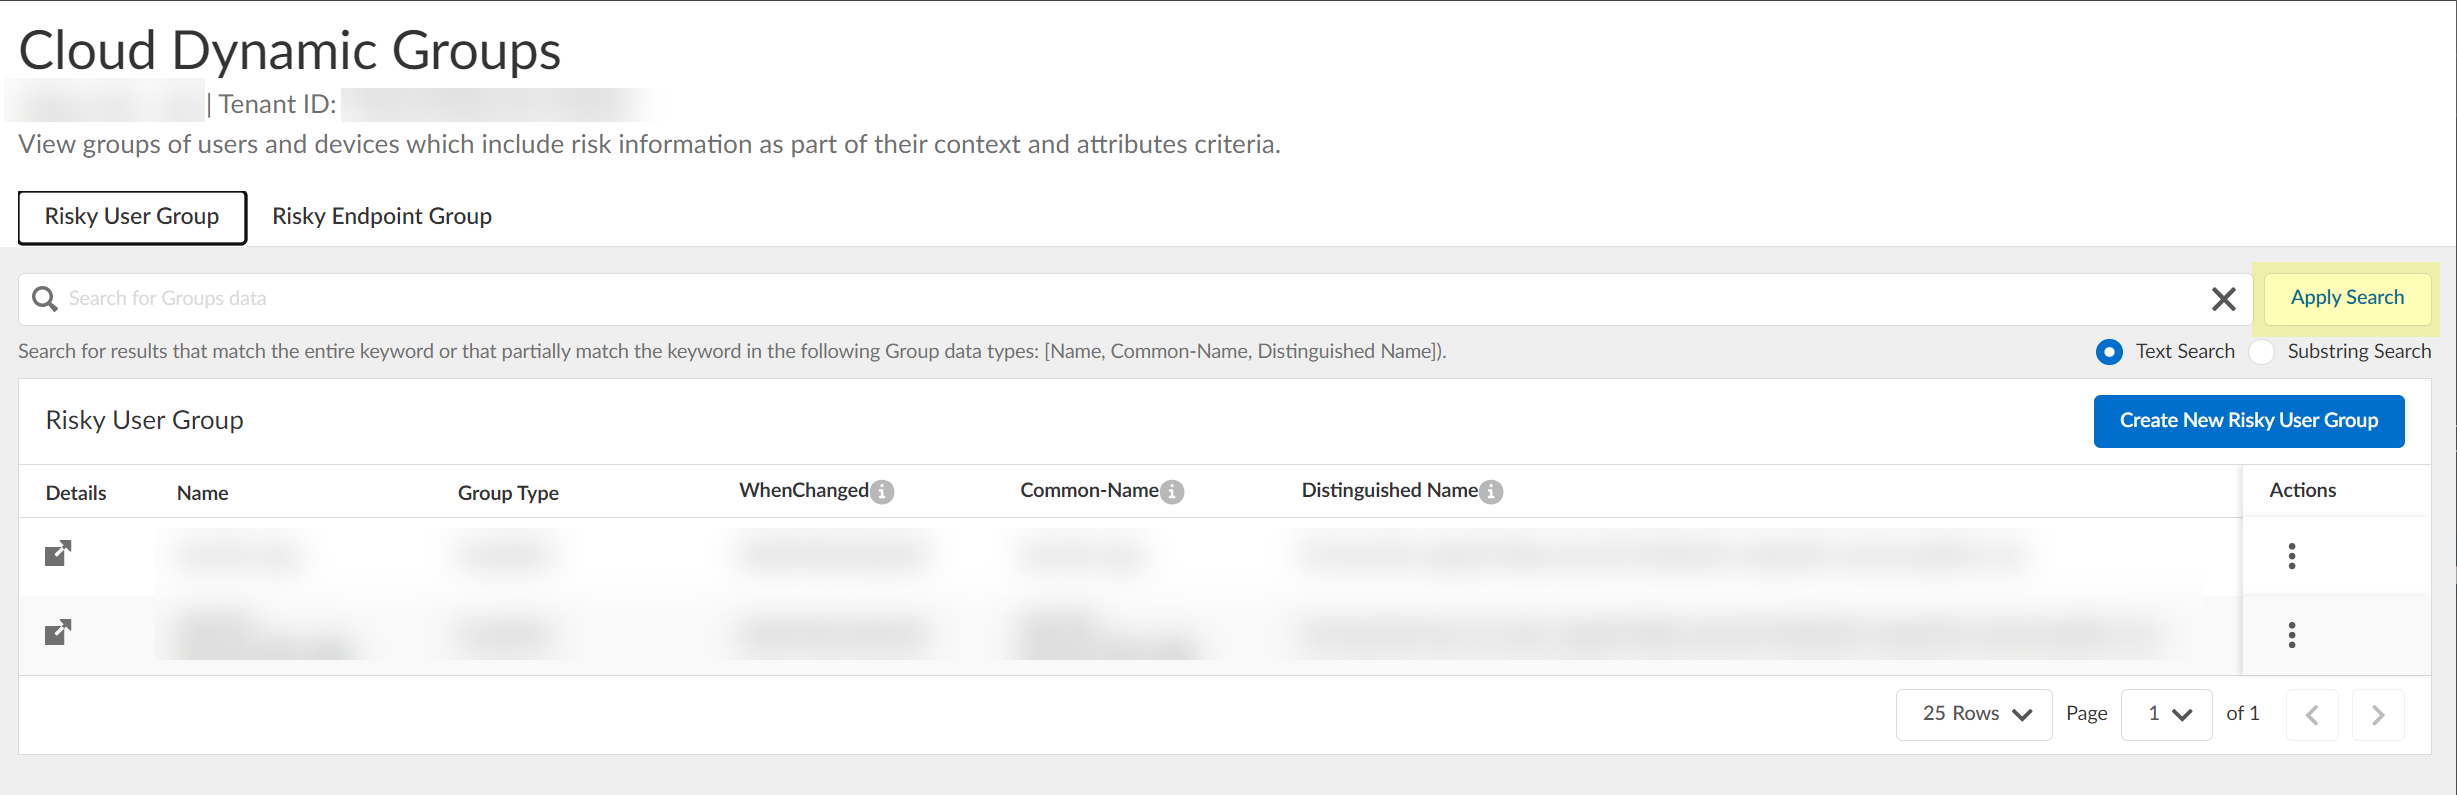
![]() (Optional) Search the groups by entering a search query then click Apply Search.
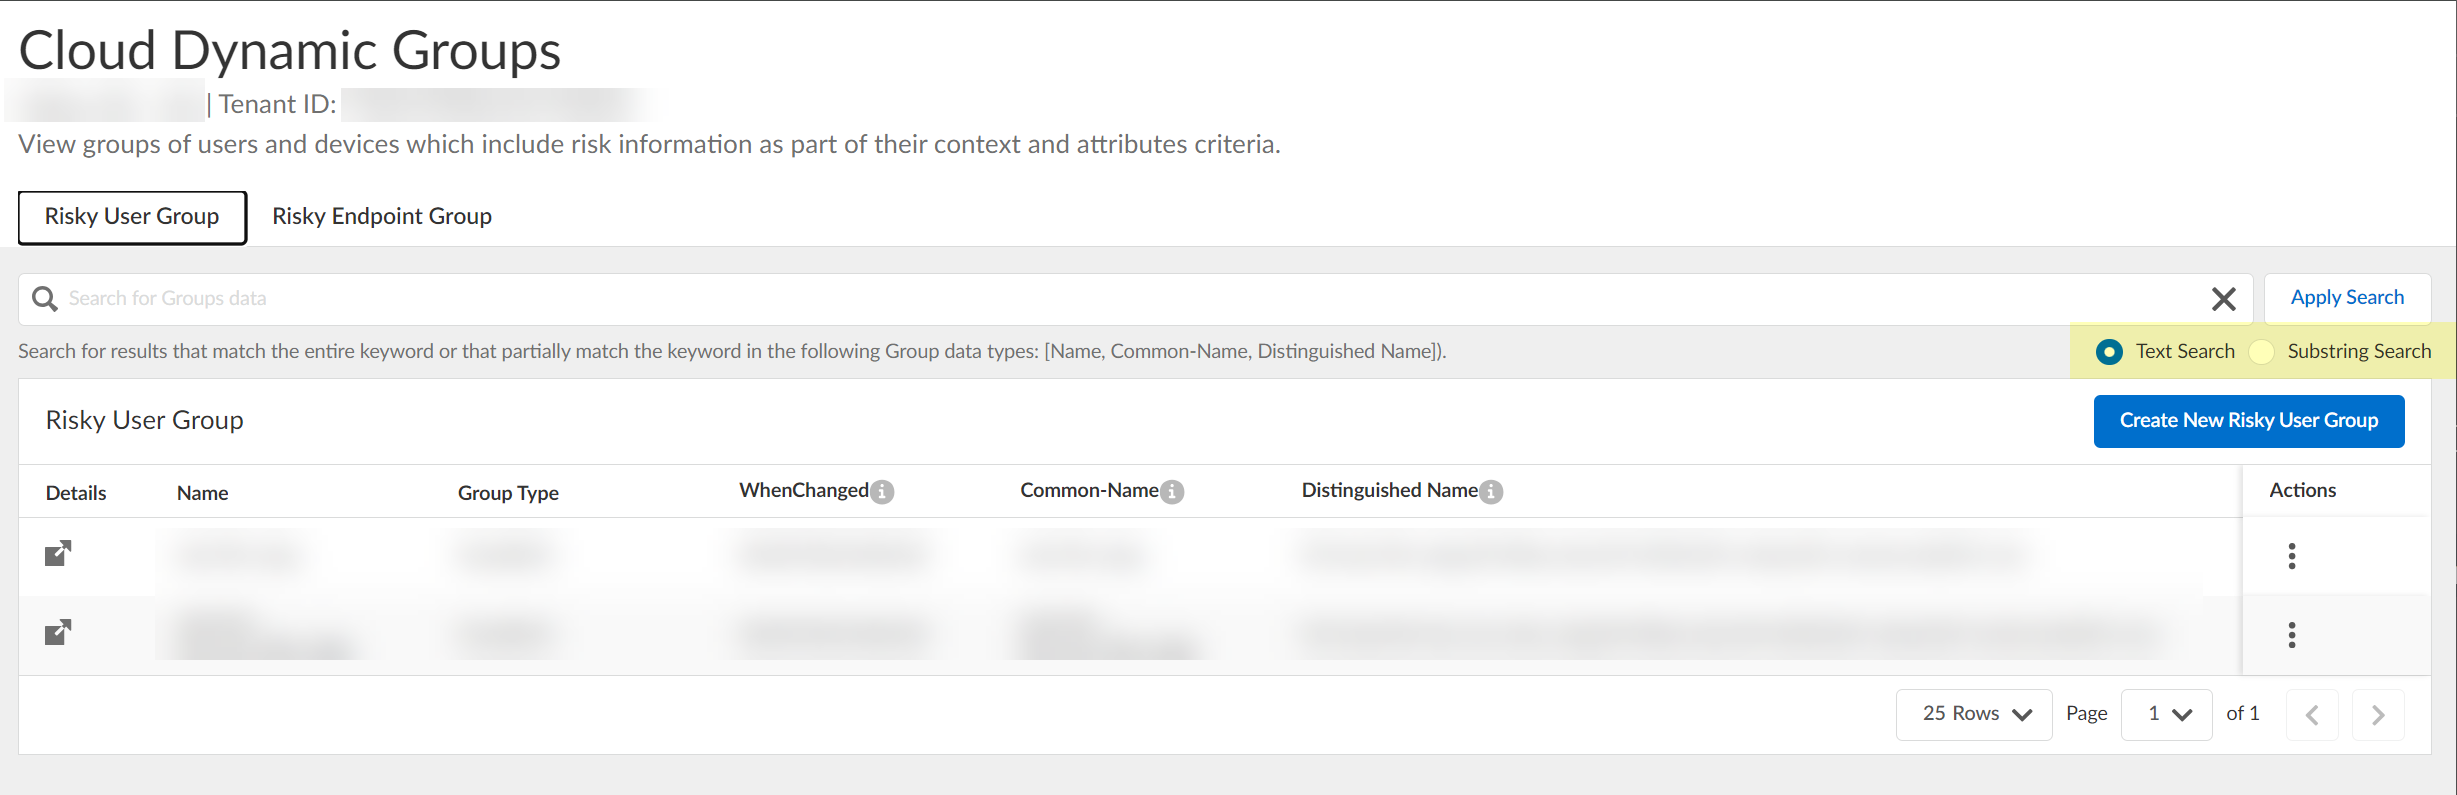
(Optional) Search the groups by entering a search query then click Apply Search.![]() You can specify a Text Search or a Substring Search.
You can specify a Text Search or a Substring Search.![]() (Optional) To include additional context and attributes for the cloud dynamic risky user group, select , add the additional context and attributes, and Submit the changes.
(Optional) To include additional context and attributes for the cloud dynamic risky user group, select , add the additional context and attributes, and Submit the changes.![]() (Optional) To delete a group, select and click Yes to confirm removal of the group.
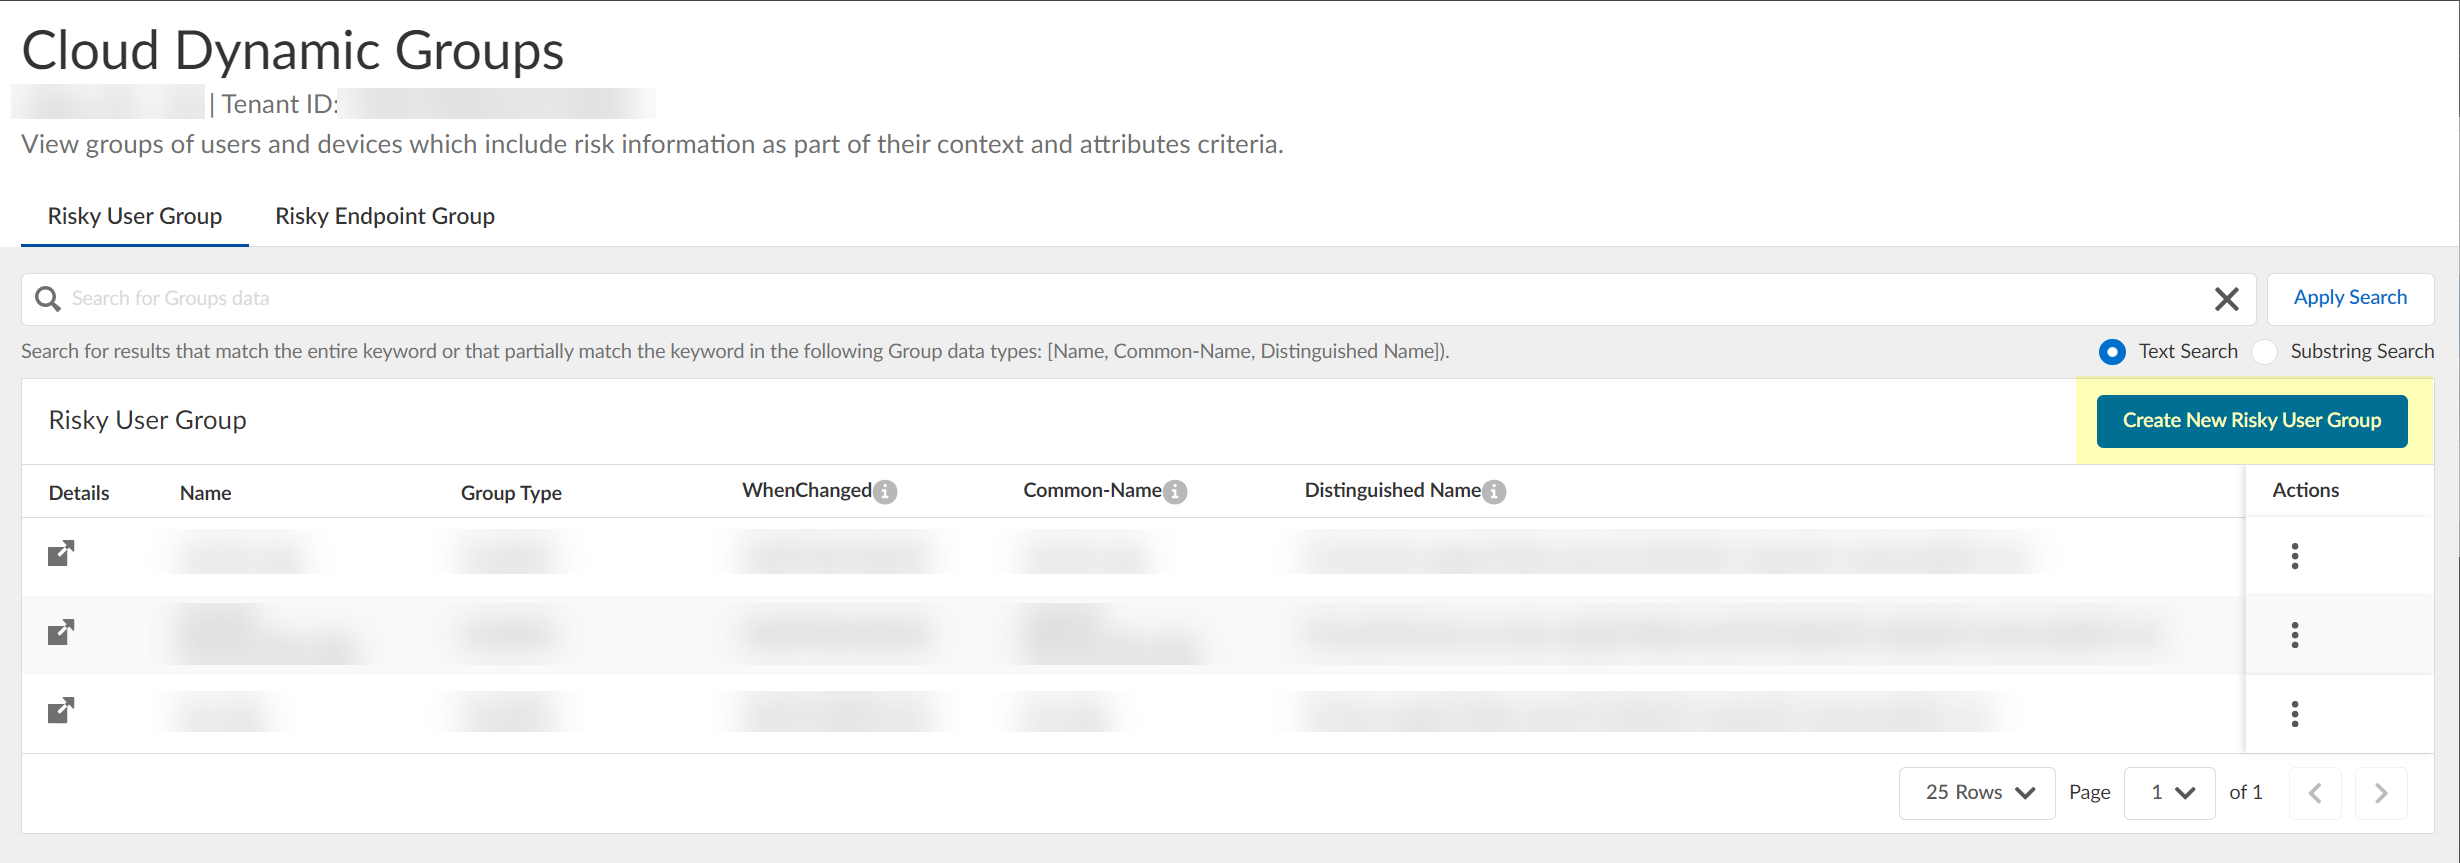
(Optional) To delete a group, select and click Yes to confirm removal of the group.![]() (Optional) Create a new cloud dynamic risky user group.
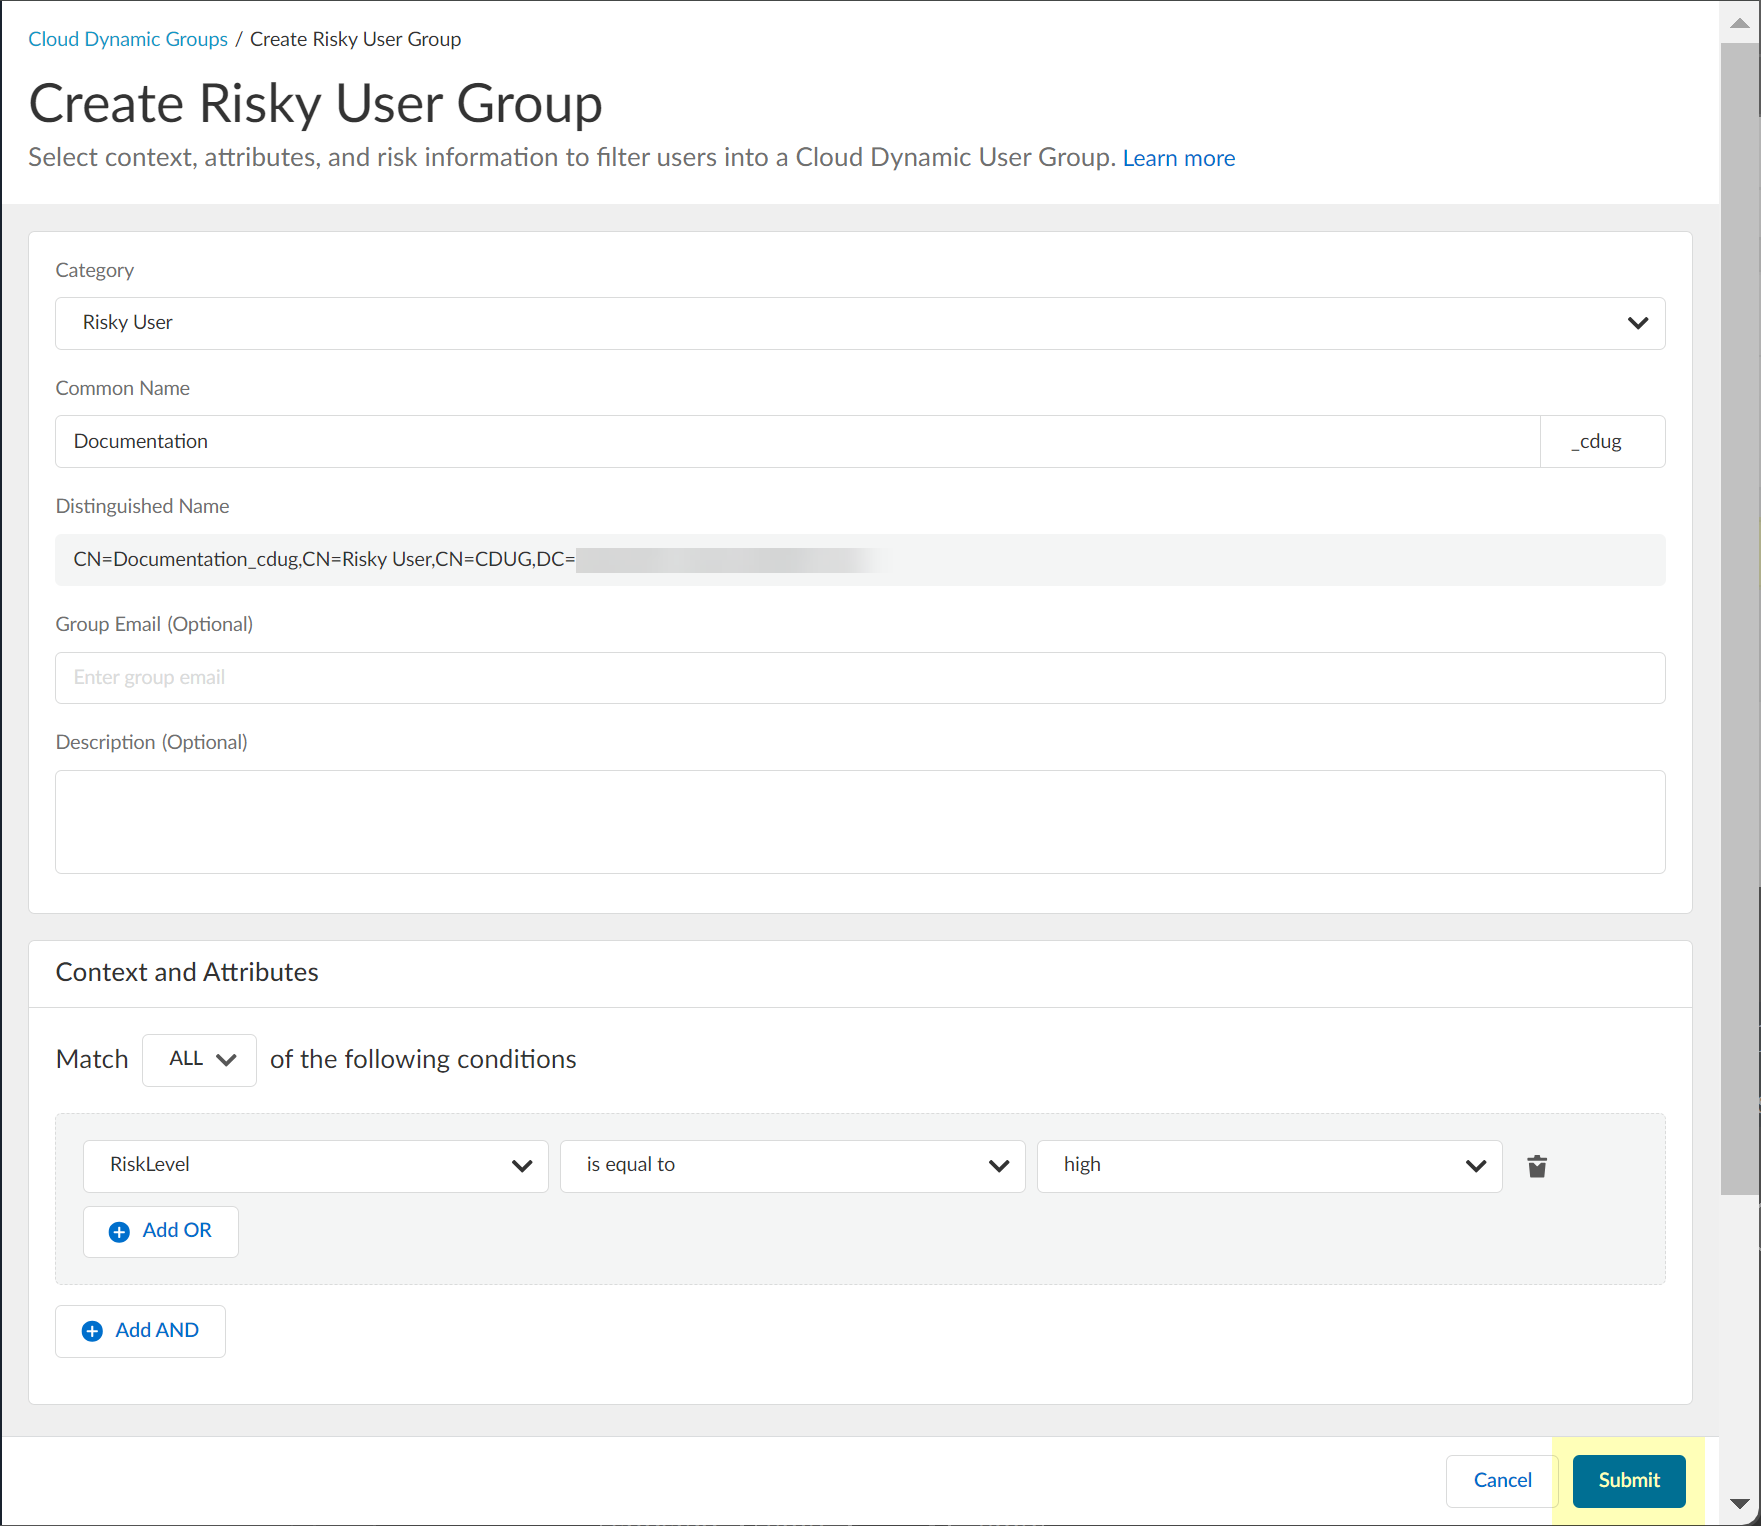
(Optional) Create a new cloud dynamic risky user group.- Click Create New Risky User Group.
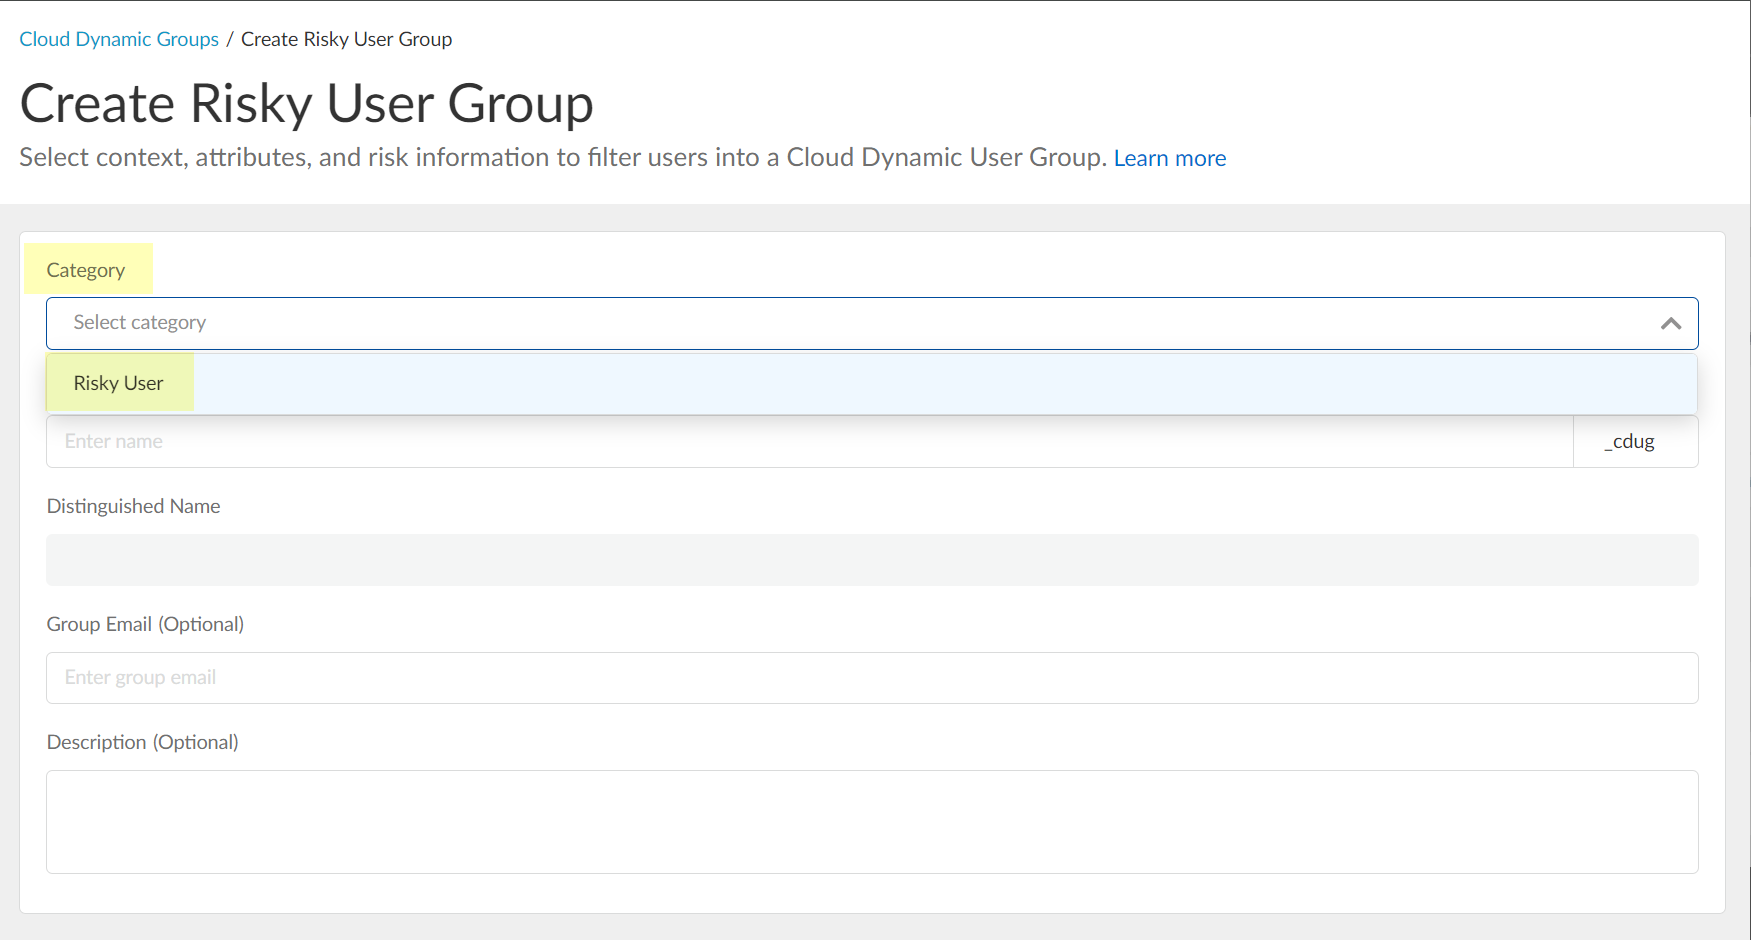
![]() Select Risky User as the Category.
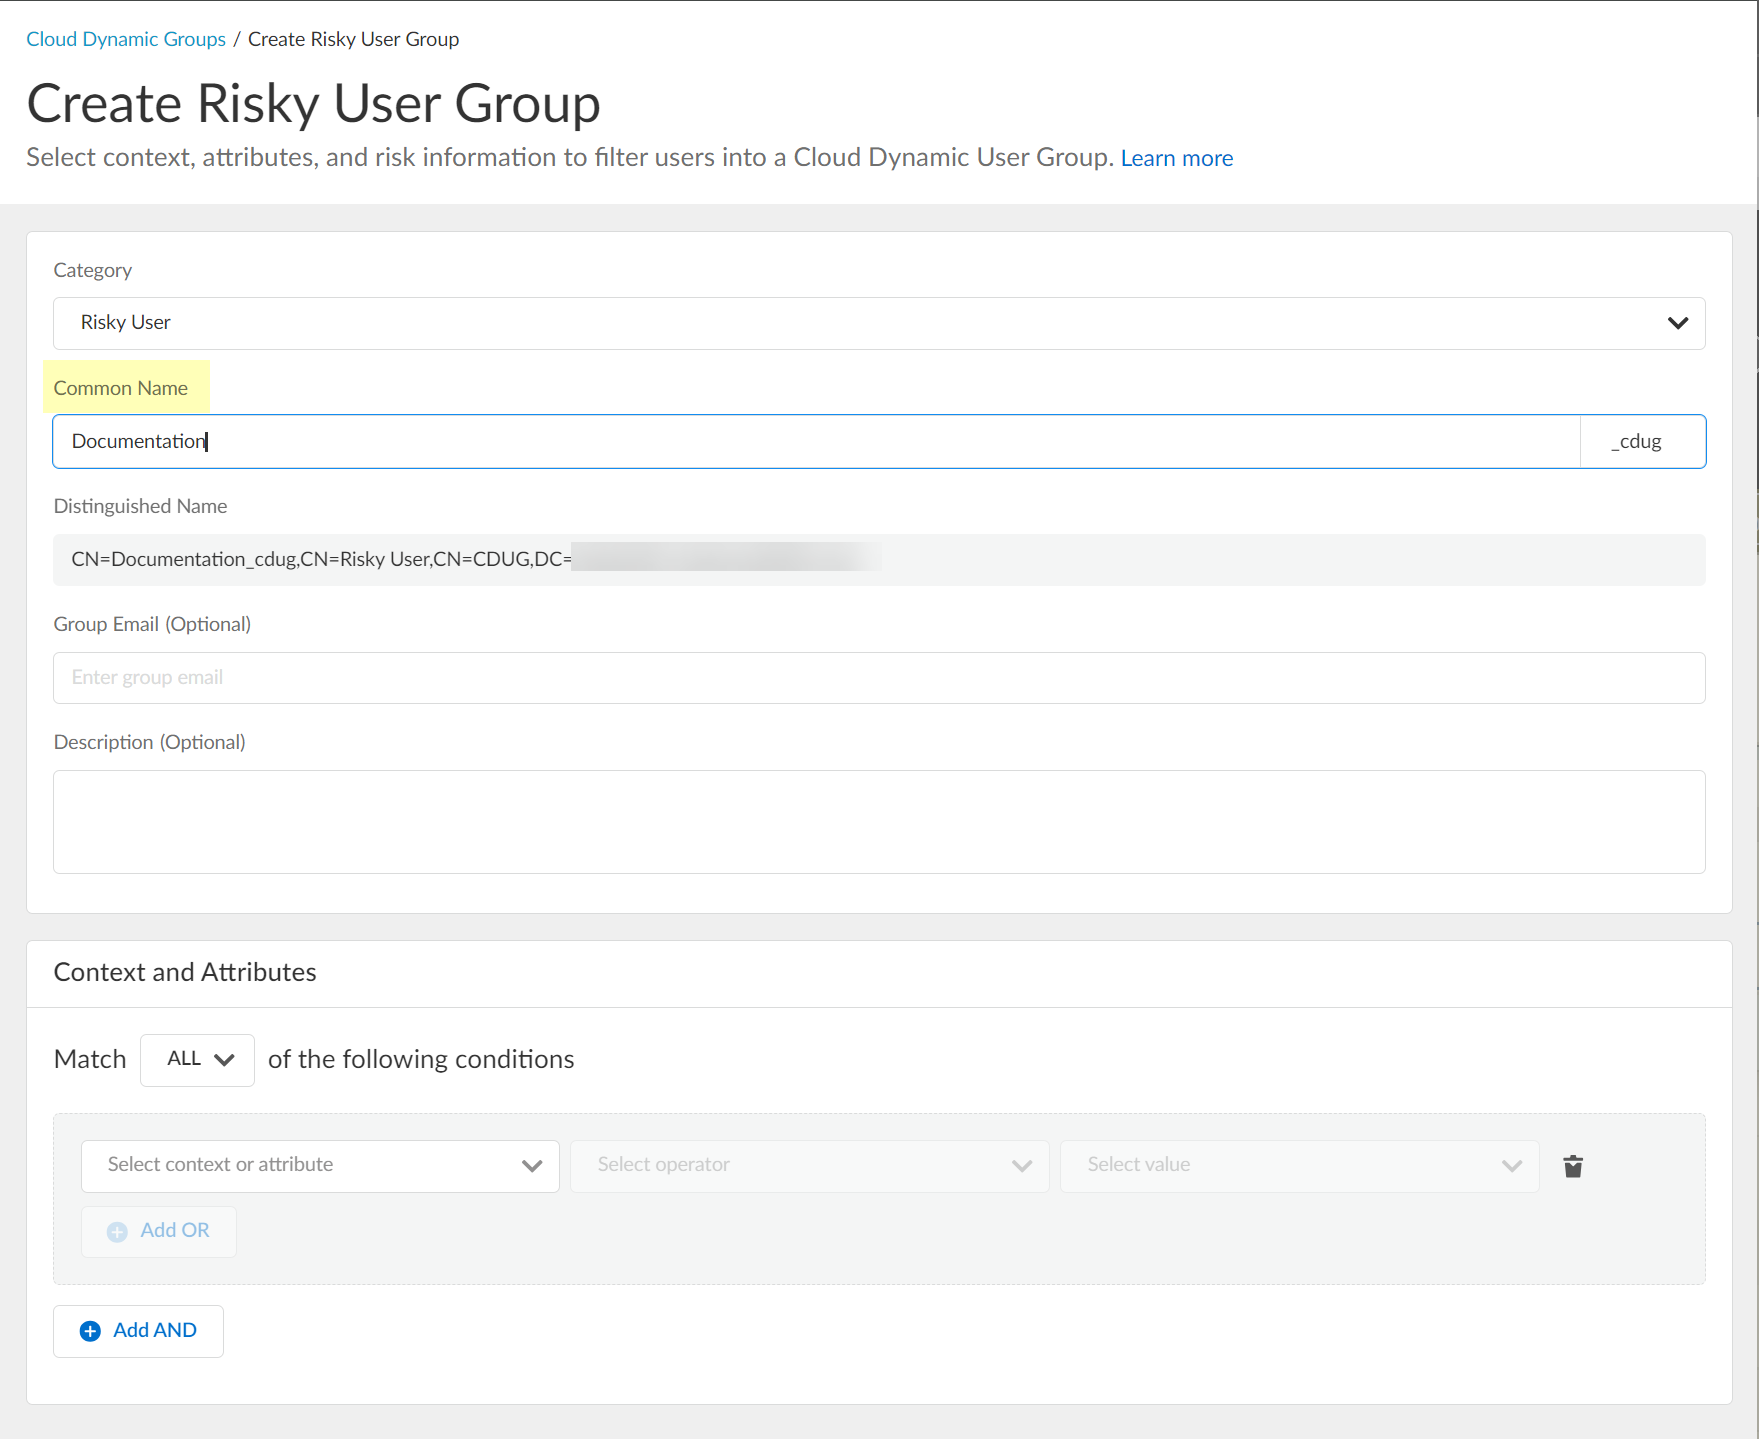
Select Risky User as the Category.![]() Enter the Common Name you want to use for the dynamic risky user group.
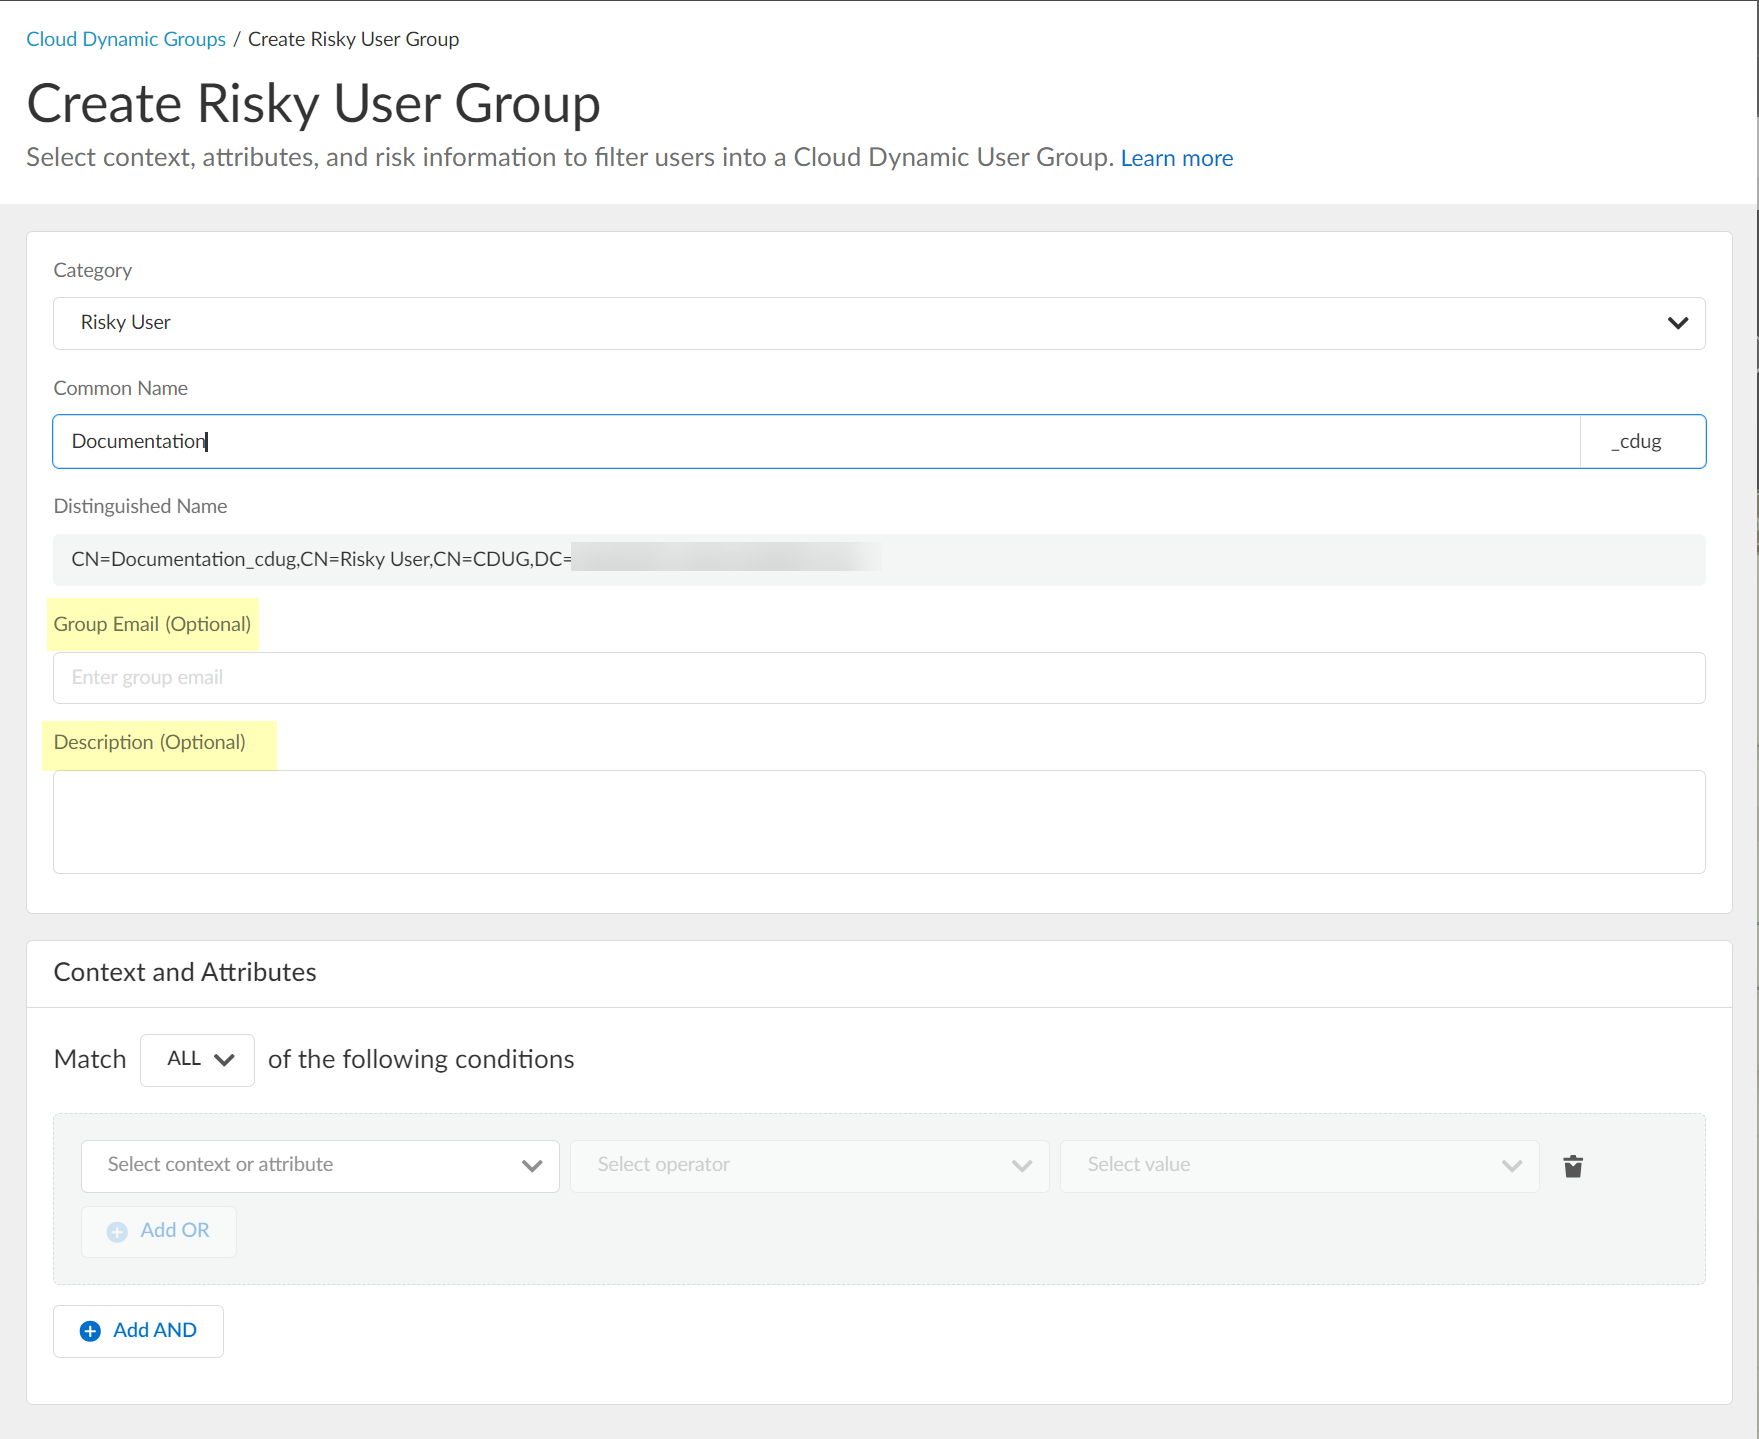
Enter the Common Name you want to use for the dynamic risky user group.![]() (Optional) Enter a Group Email a Description for the group.
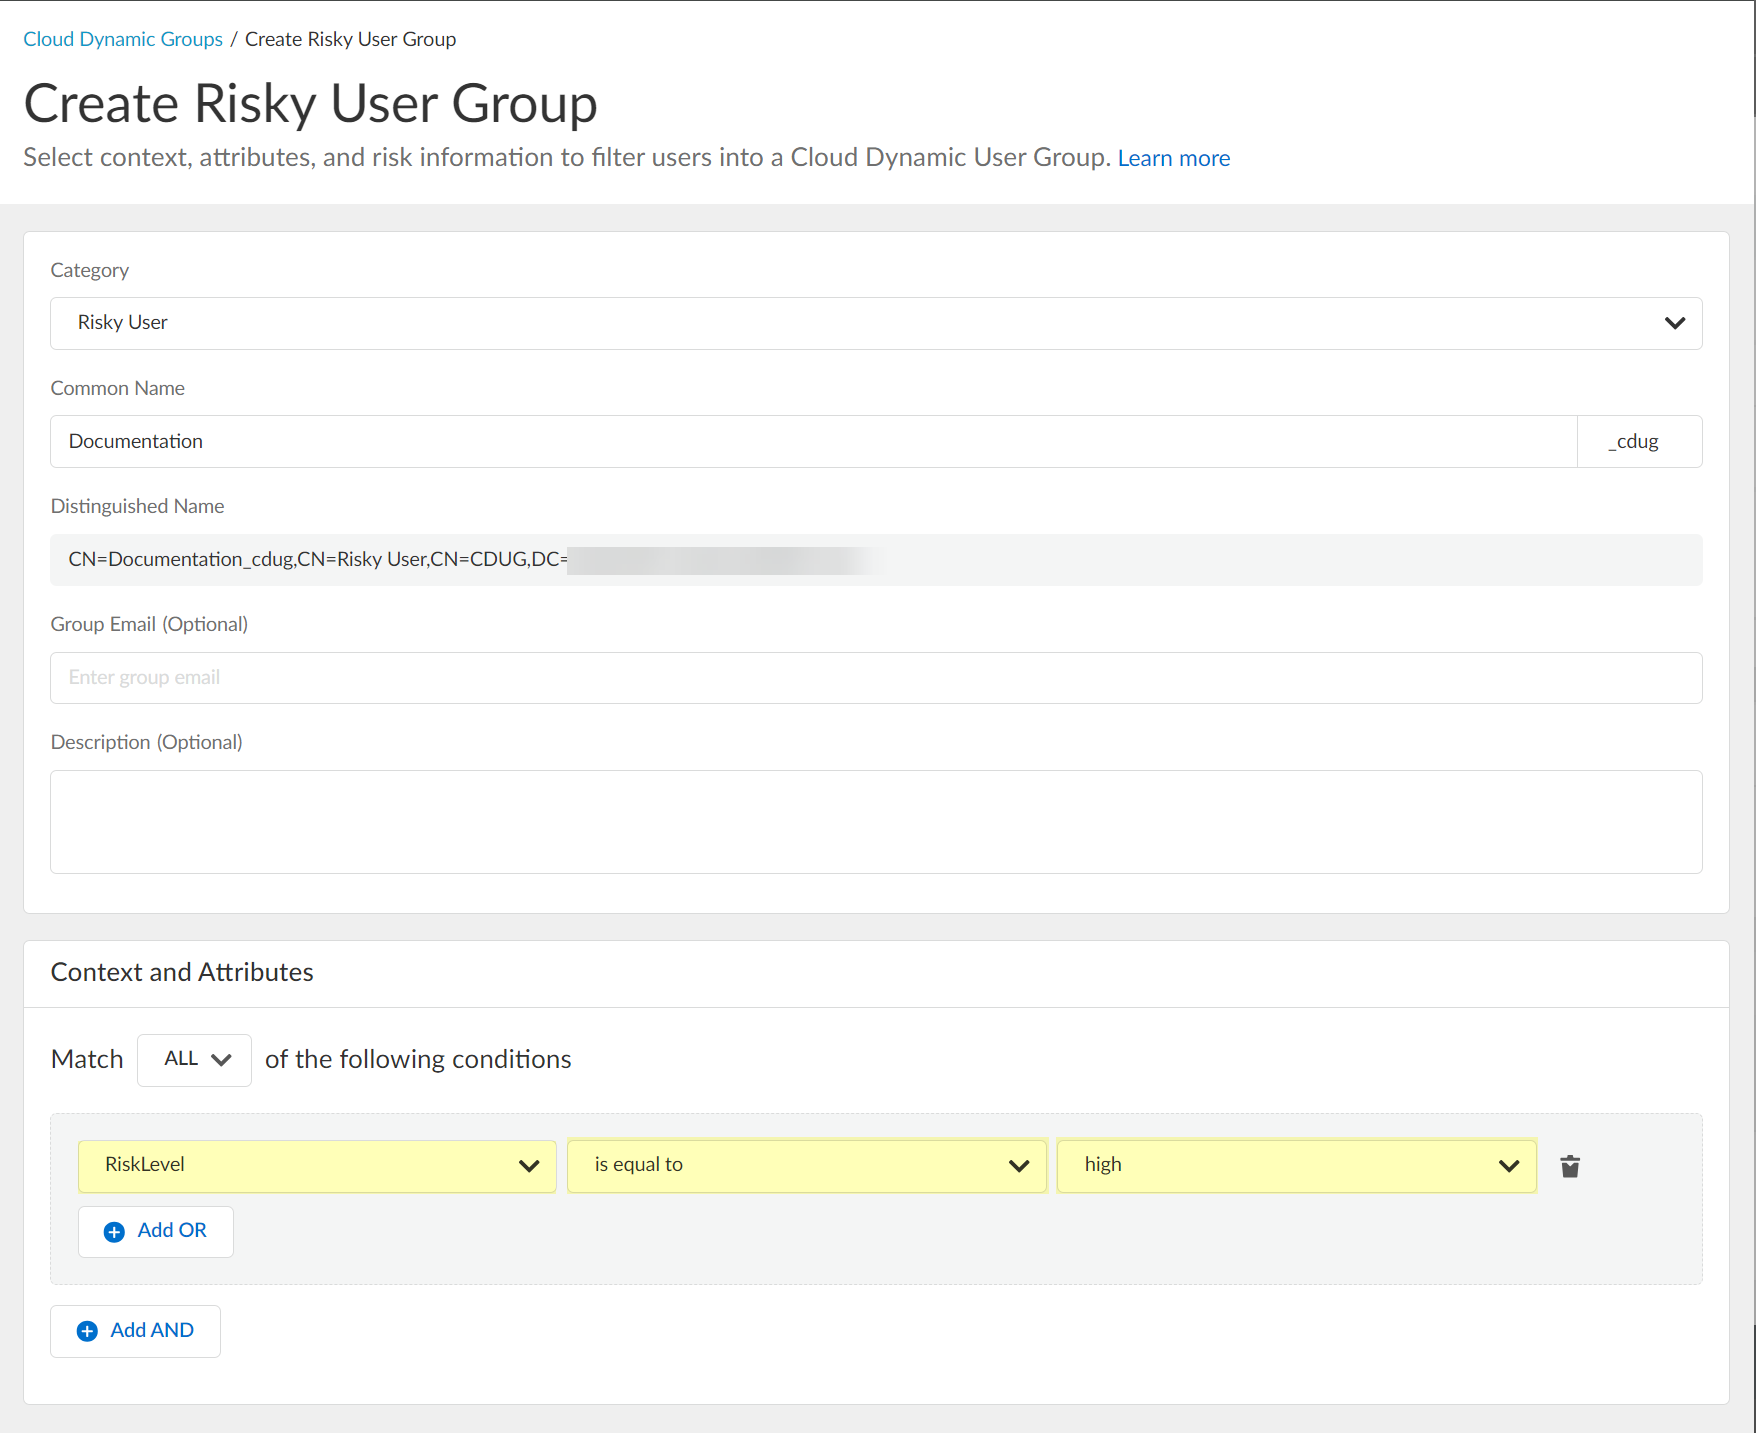
(Optional) Enter a Group Email a Description for the group.![]() Select the context and attributes to use for the dynamic risky user group.
Select the context and attributes to use for the dynamic risky user group.![]() (Optional) To include additional context and attributes, click Add OR and optionally Add AND and select the context and attributes to use for the dynamic risky user group.
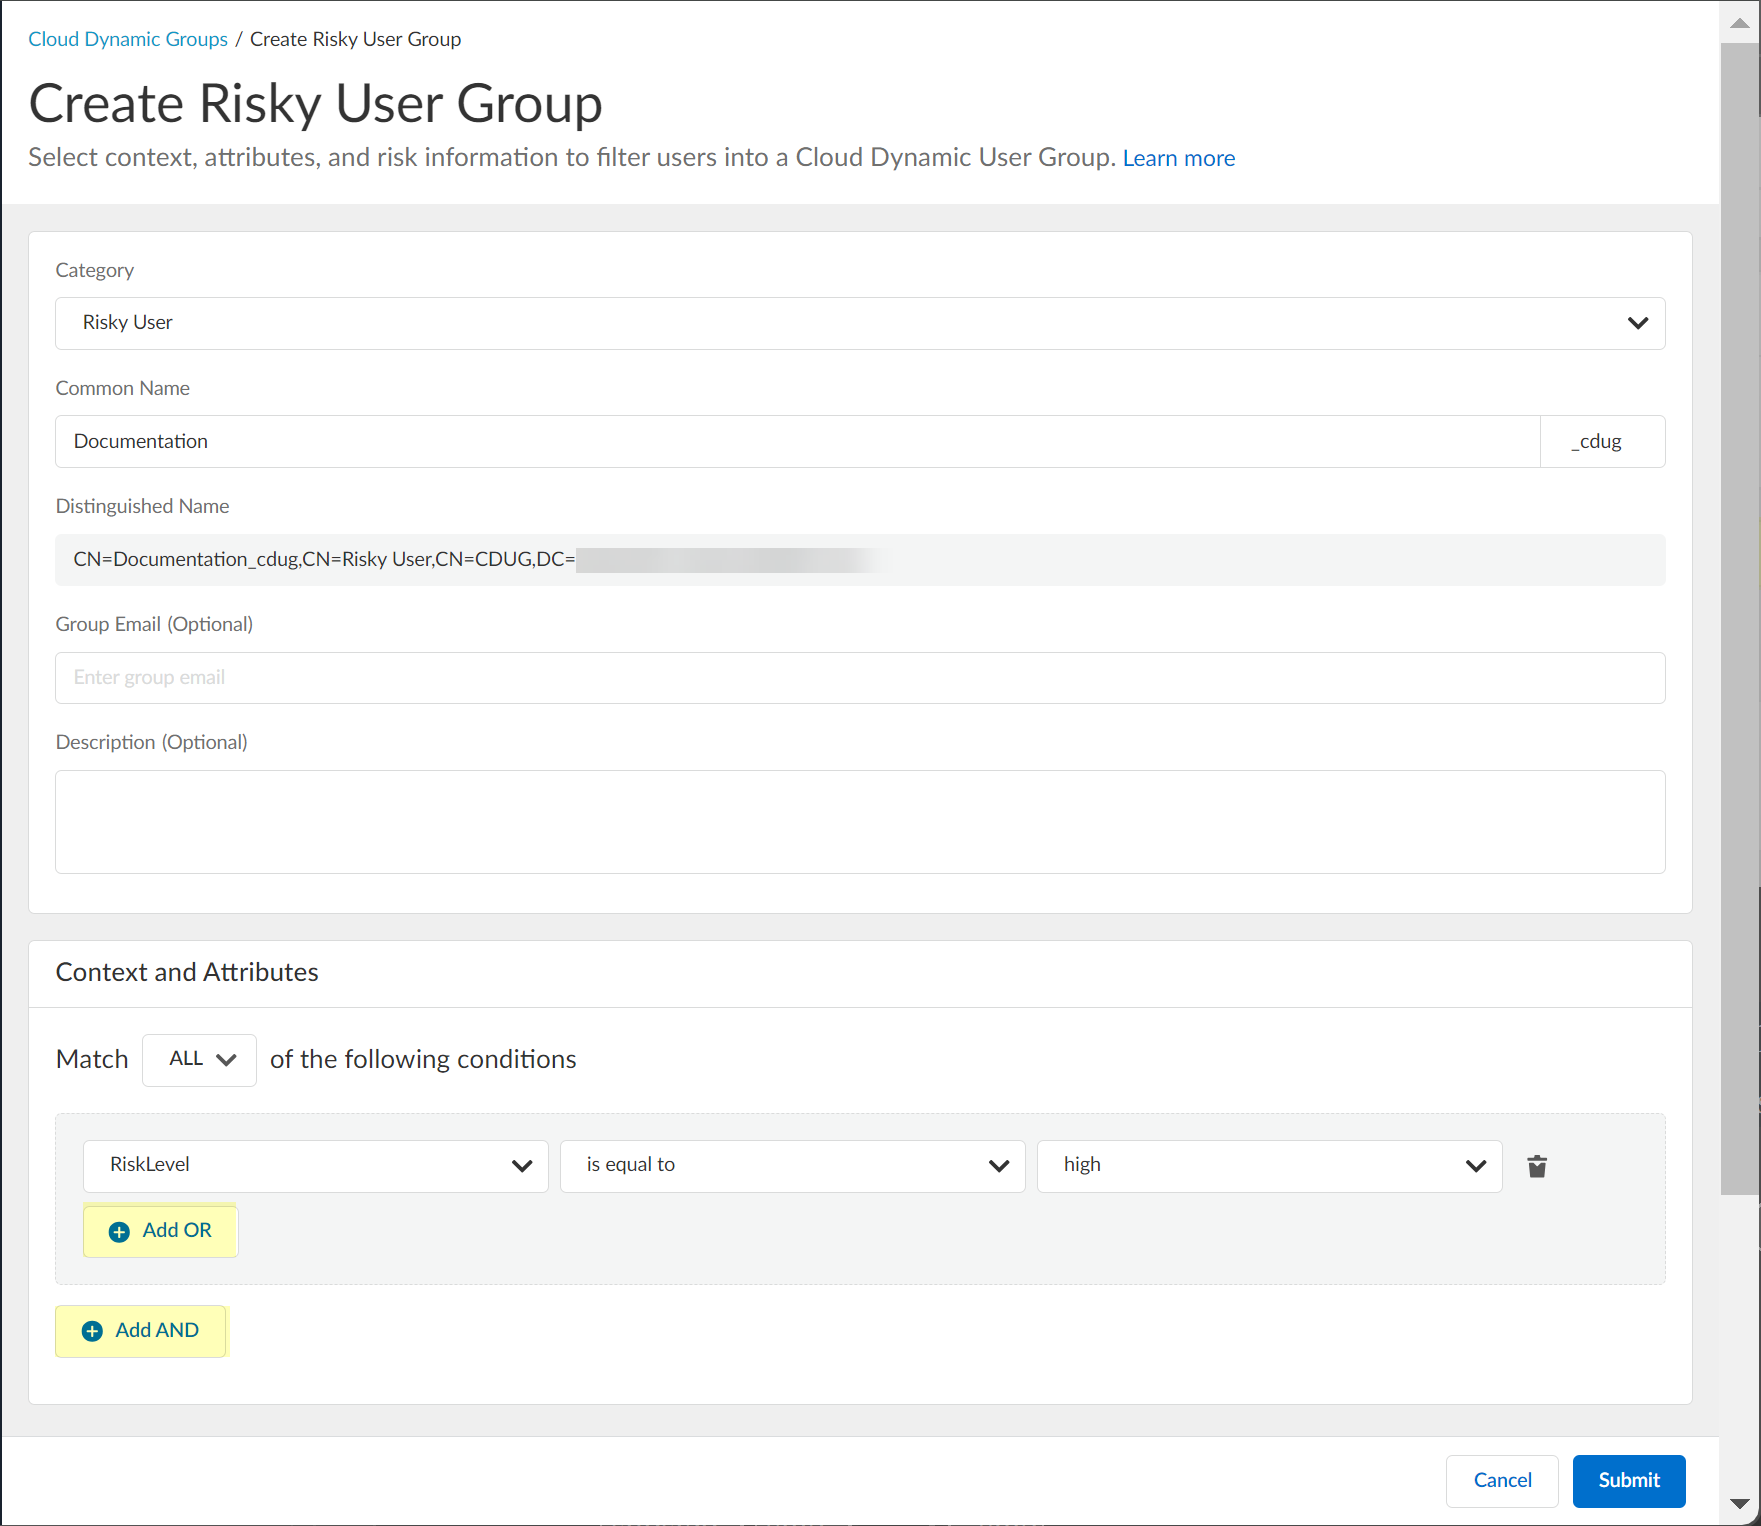
(Optional) To include additional context and attributes, click Add OR and optionally Add AND and select the context and attributes to use for the dynamic risky user group.![]() Submit the configuration.
Submit the configuration.![]()
Configure SentinelOne for Security Risk in the Cloud Identity Engine
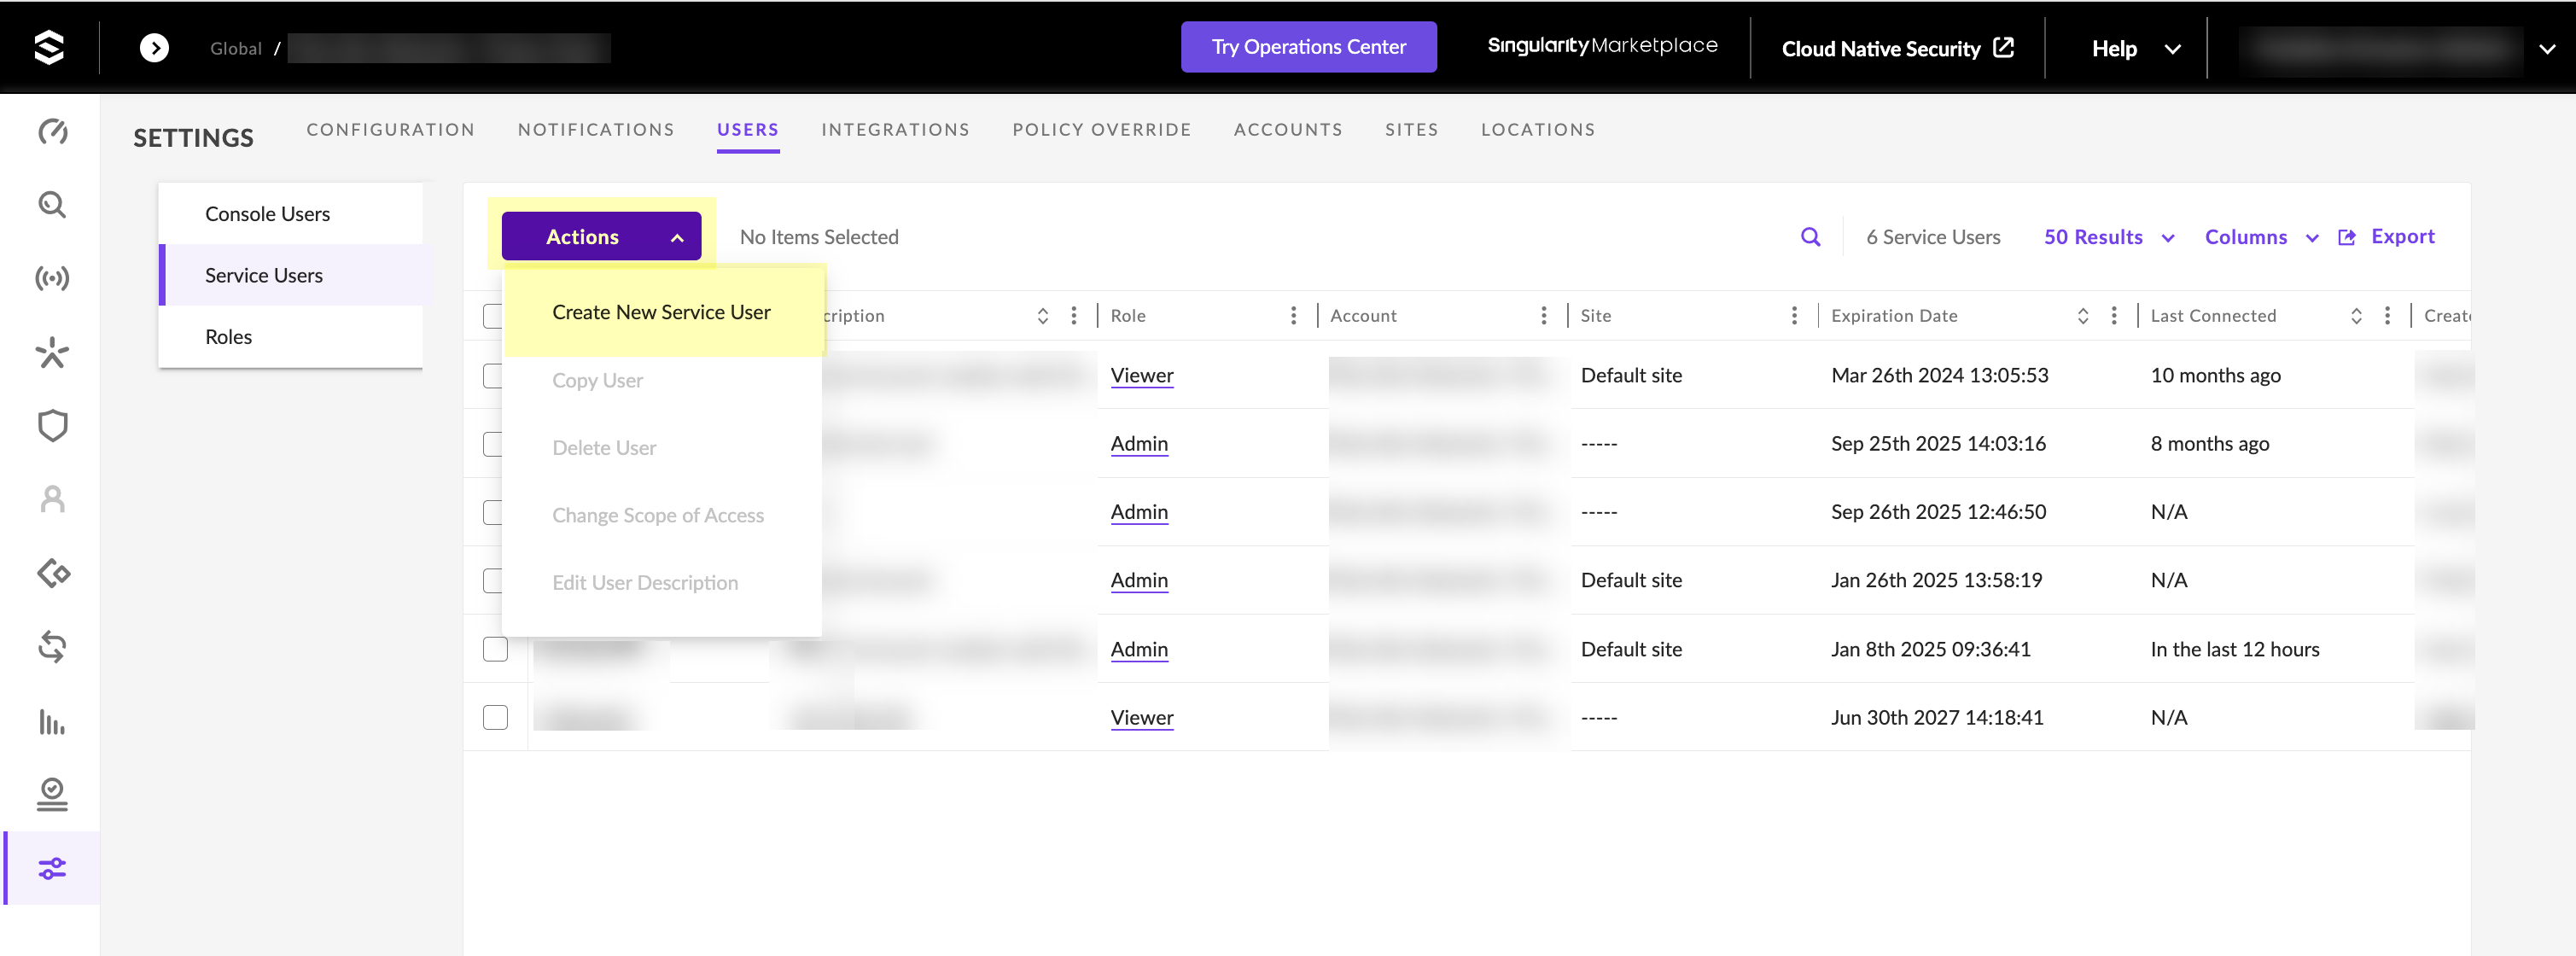
- To configure SentinelOne as a risk source for Security Risk, collect the necessary information from your SentinelOne configuration.
- Before logging in to SentinelOne, copy the URL without the /login part of the address and save it in a secure location.
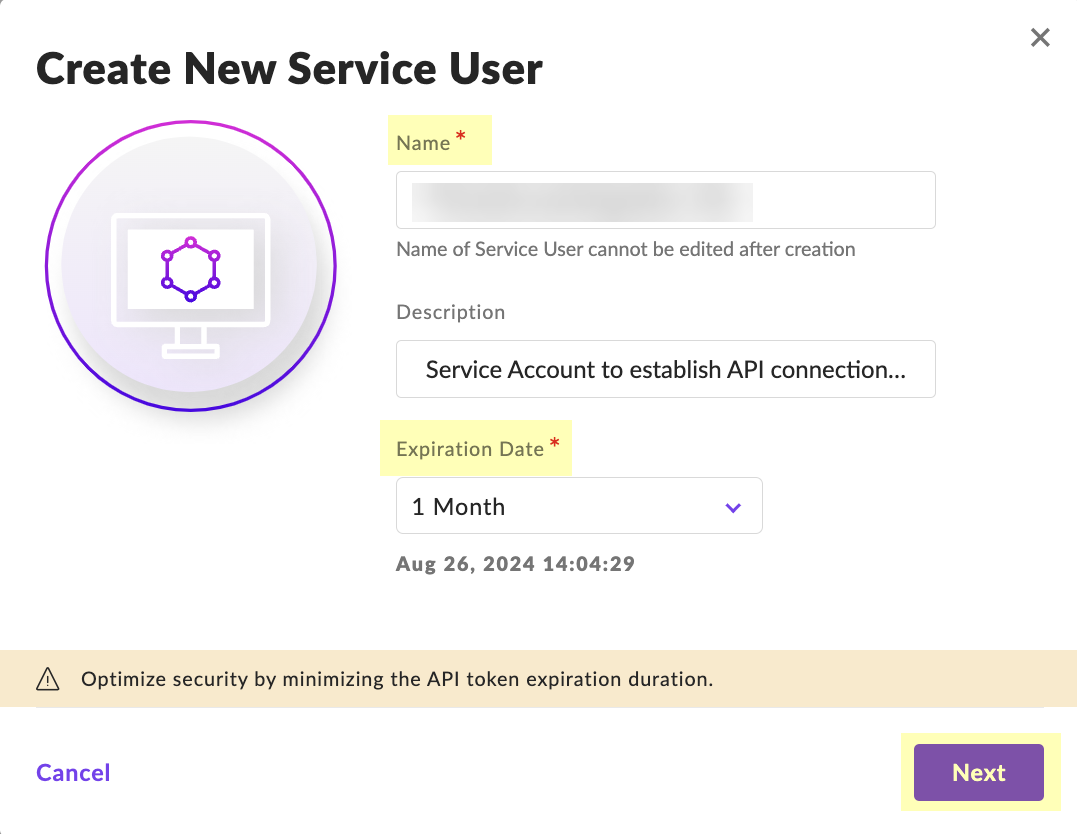
![]() Log in to SentinelOne and select .Click .
Log in to SentinelOne and select .Click .![]() Enter a Name for the service user account and select the Expiration Date then click Next.
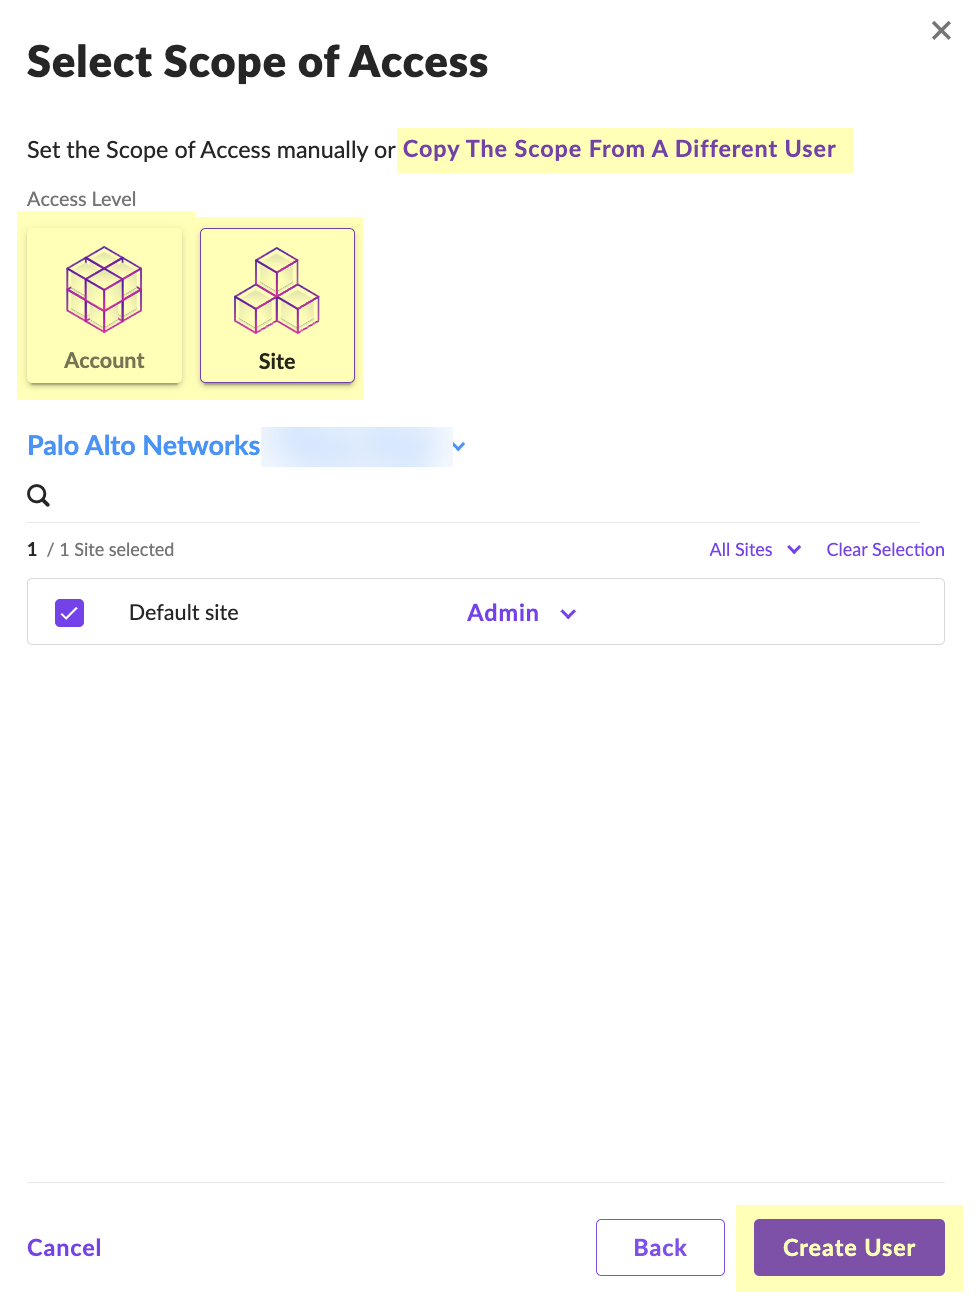
Enter a Name for the service user account and select the Expiration Date then click Next.![]() Select Scope of Access and click Create User.
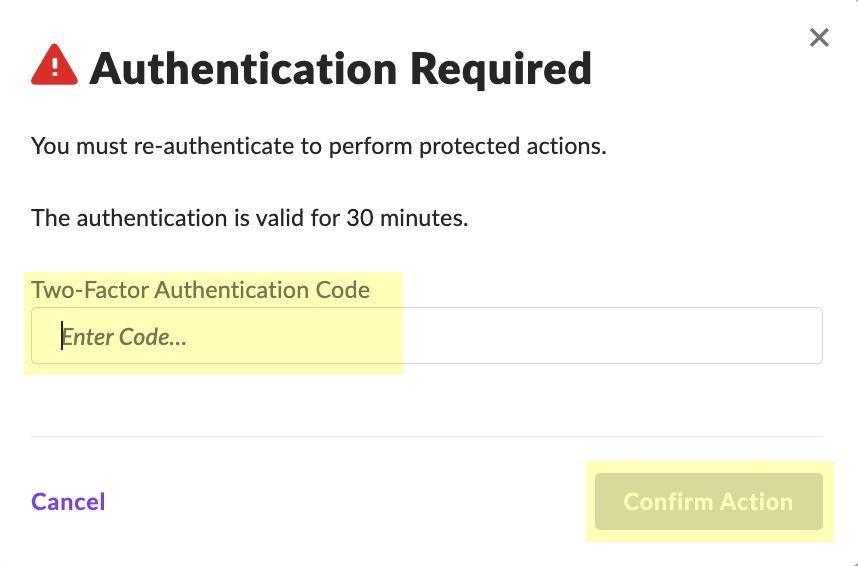
Select Scope of Access and click Create User.![]() Enter the Two-Factor Authentication Code within the 30-minute duration and click Confirm Action.
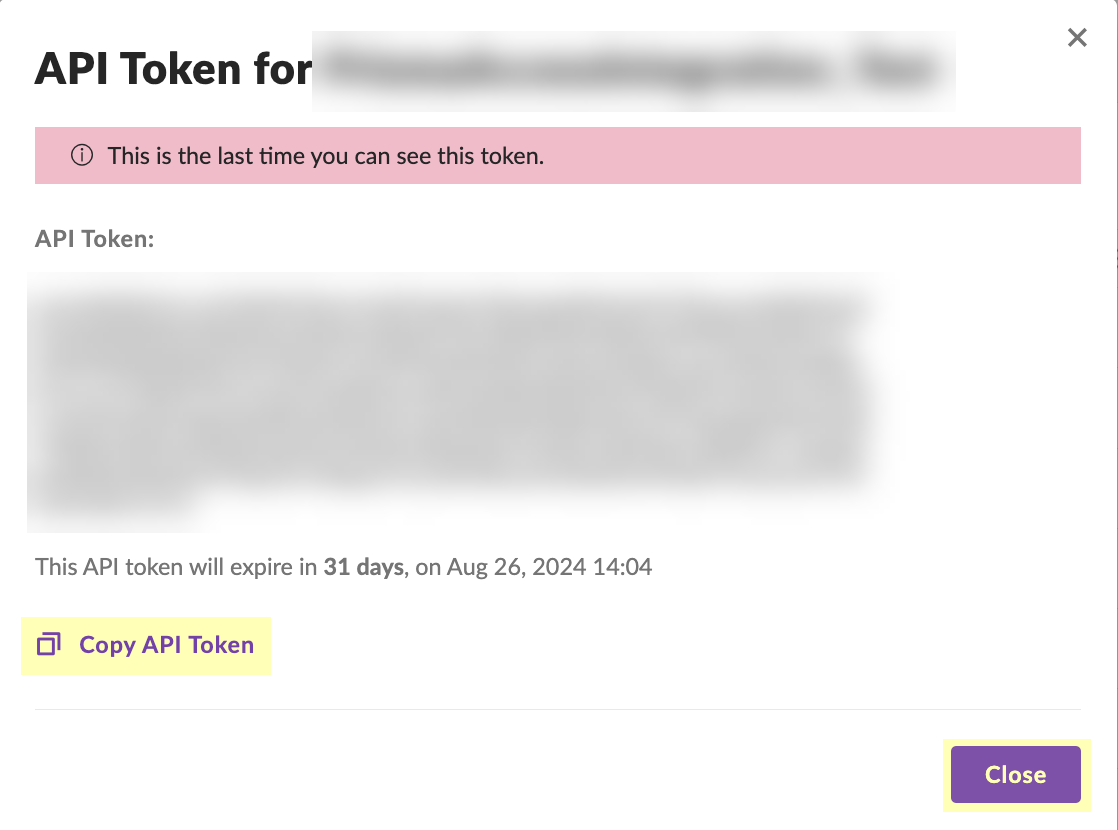
Enter the Two-Factor Authentication Code within the 30-minute duration and click Confirm Action.![]() Click Copy API Token to copy the API token and save it in a secure location. Because the API token only displays once, ensure you copy the token before clicking the Close button.
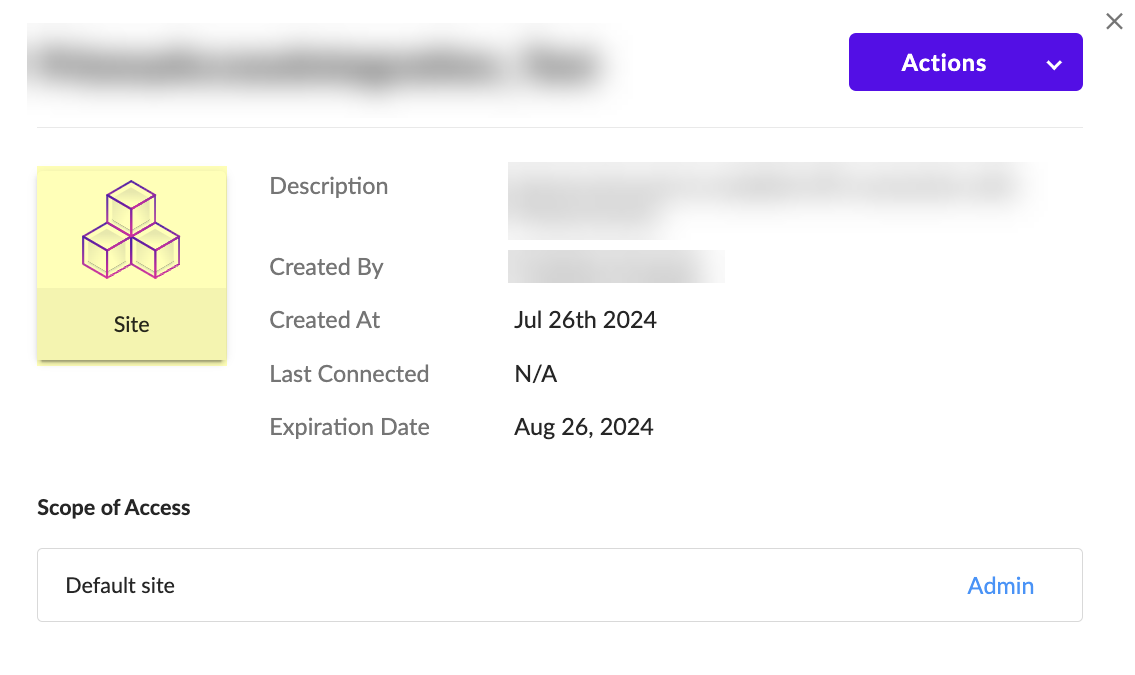
Click Copy API Token to copy the API token and save it in a secure location. Because the API token only displays once, ensure you copy the token before clicking the Close button.![]() (Optional but recommended) Click the Site button to confirm the creation of the site.
(Optional but recommended) Click the Site button to confirm the creation of the site.![]() Configure SentinelOne as a risk source in the Cloud Identity Engine.
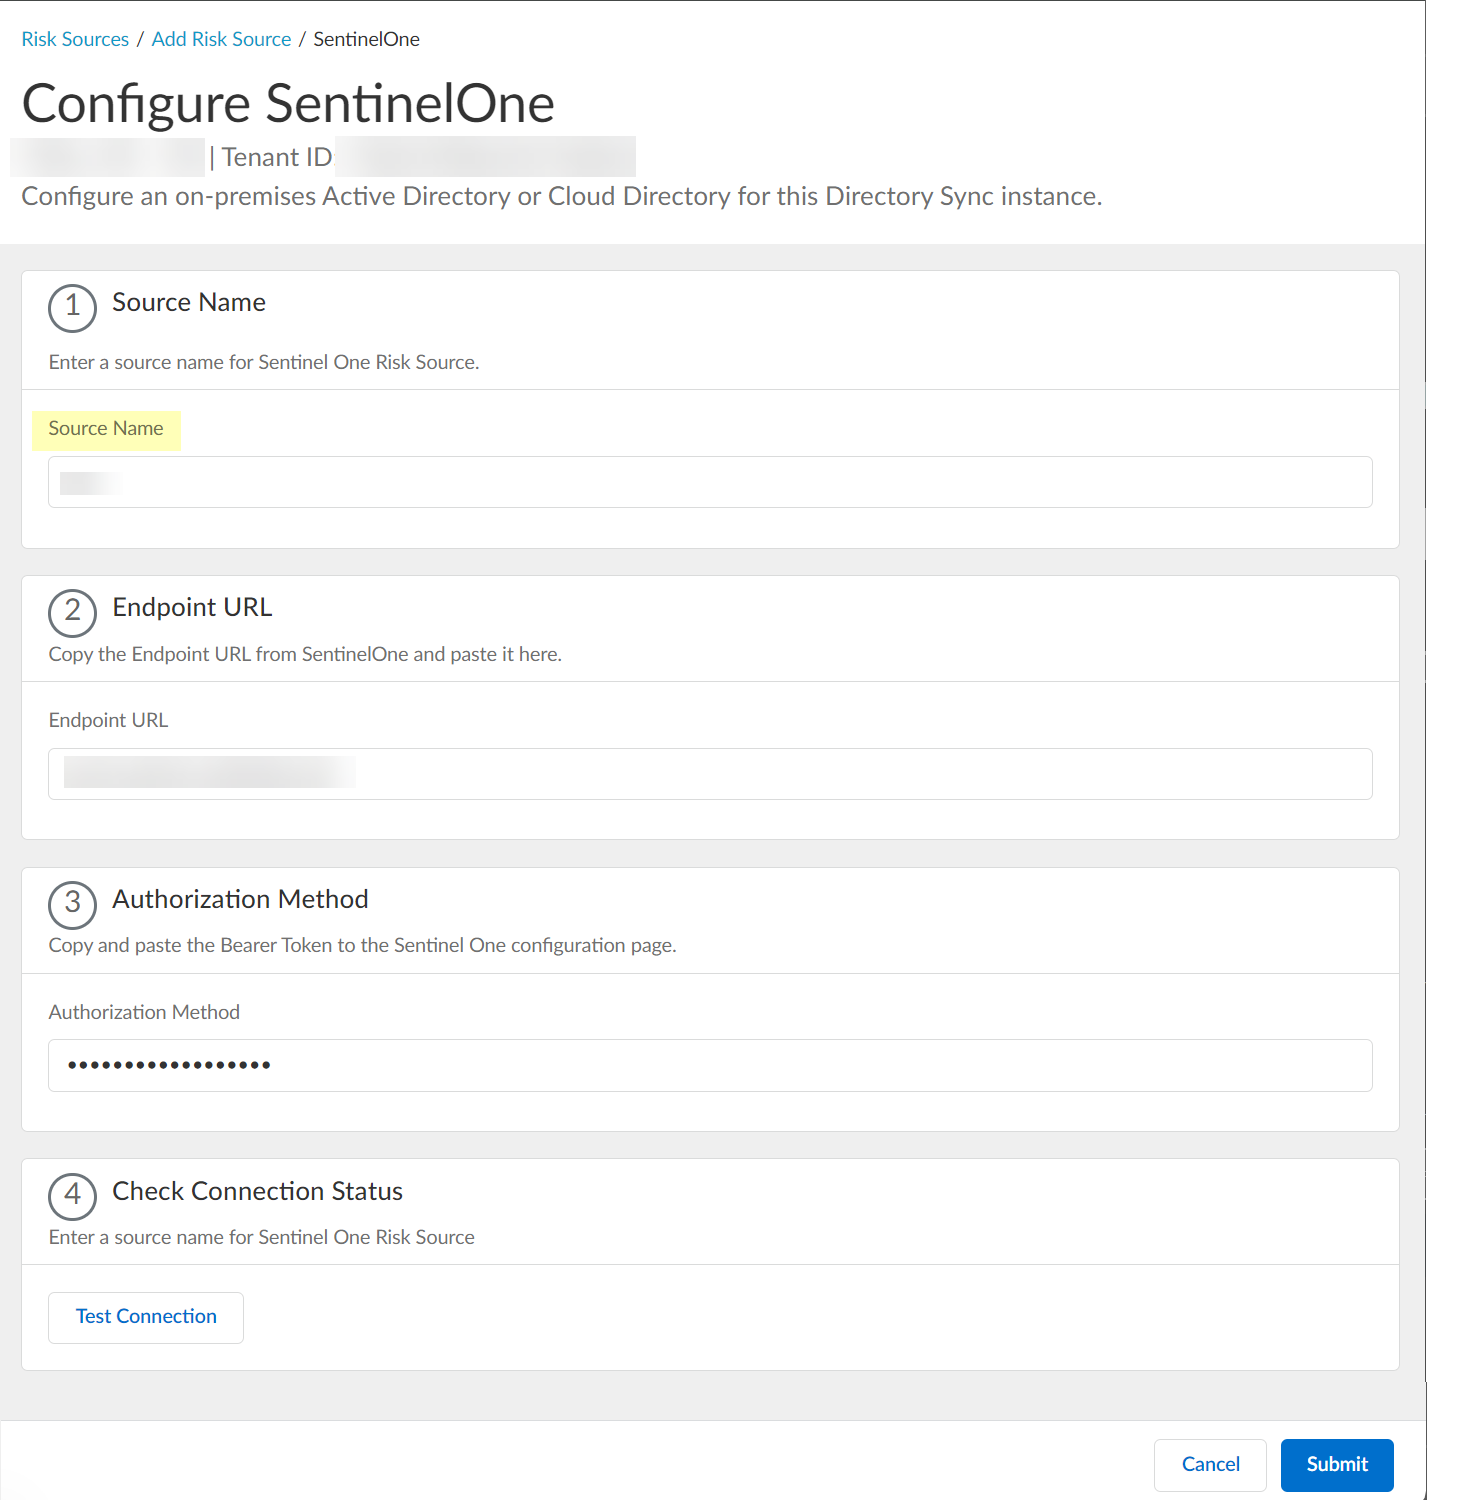
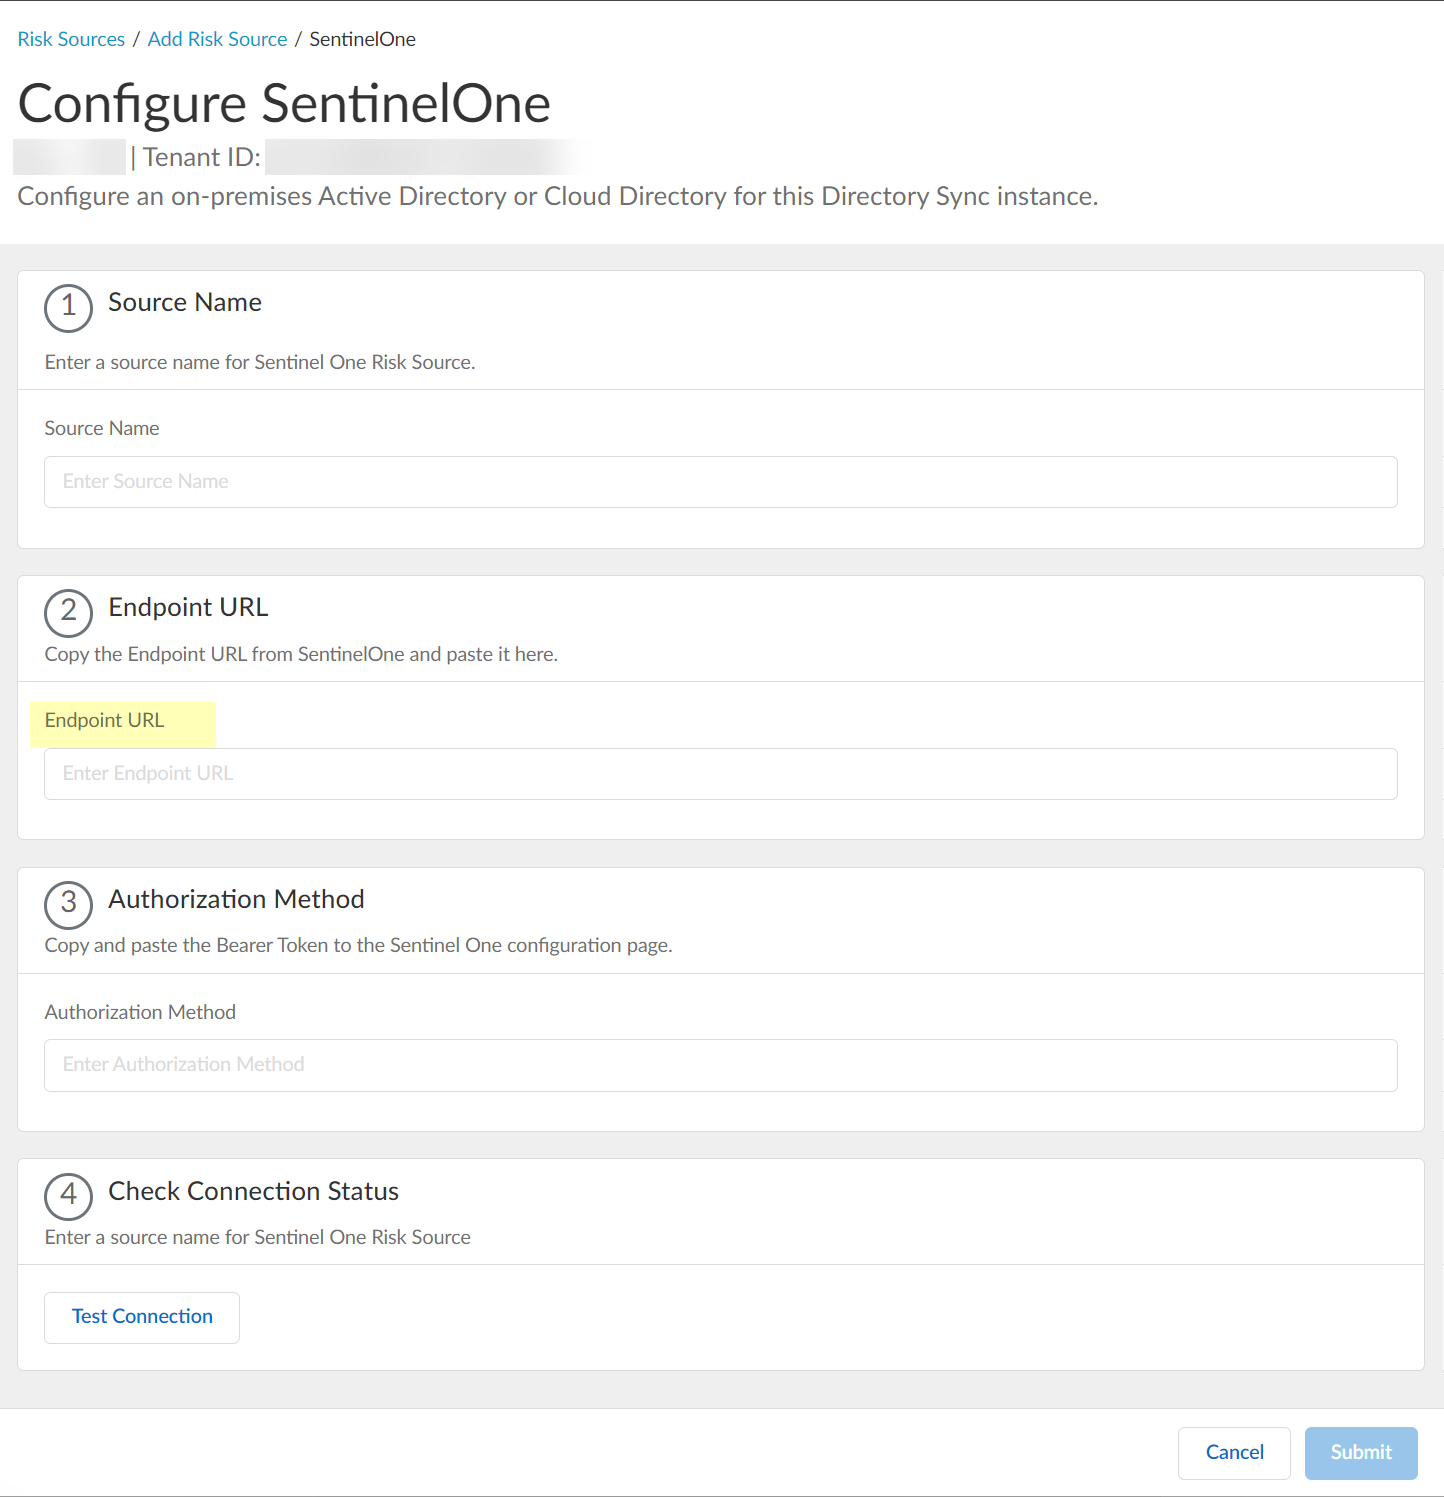
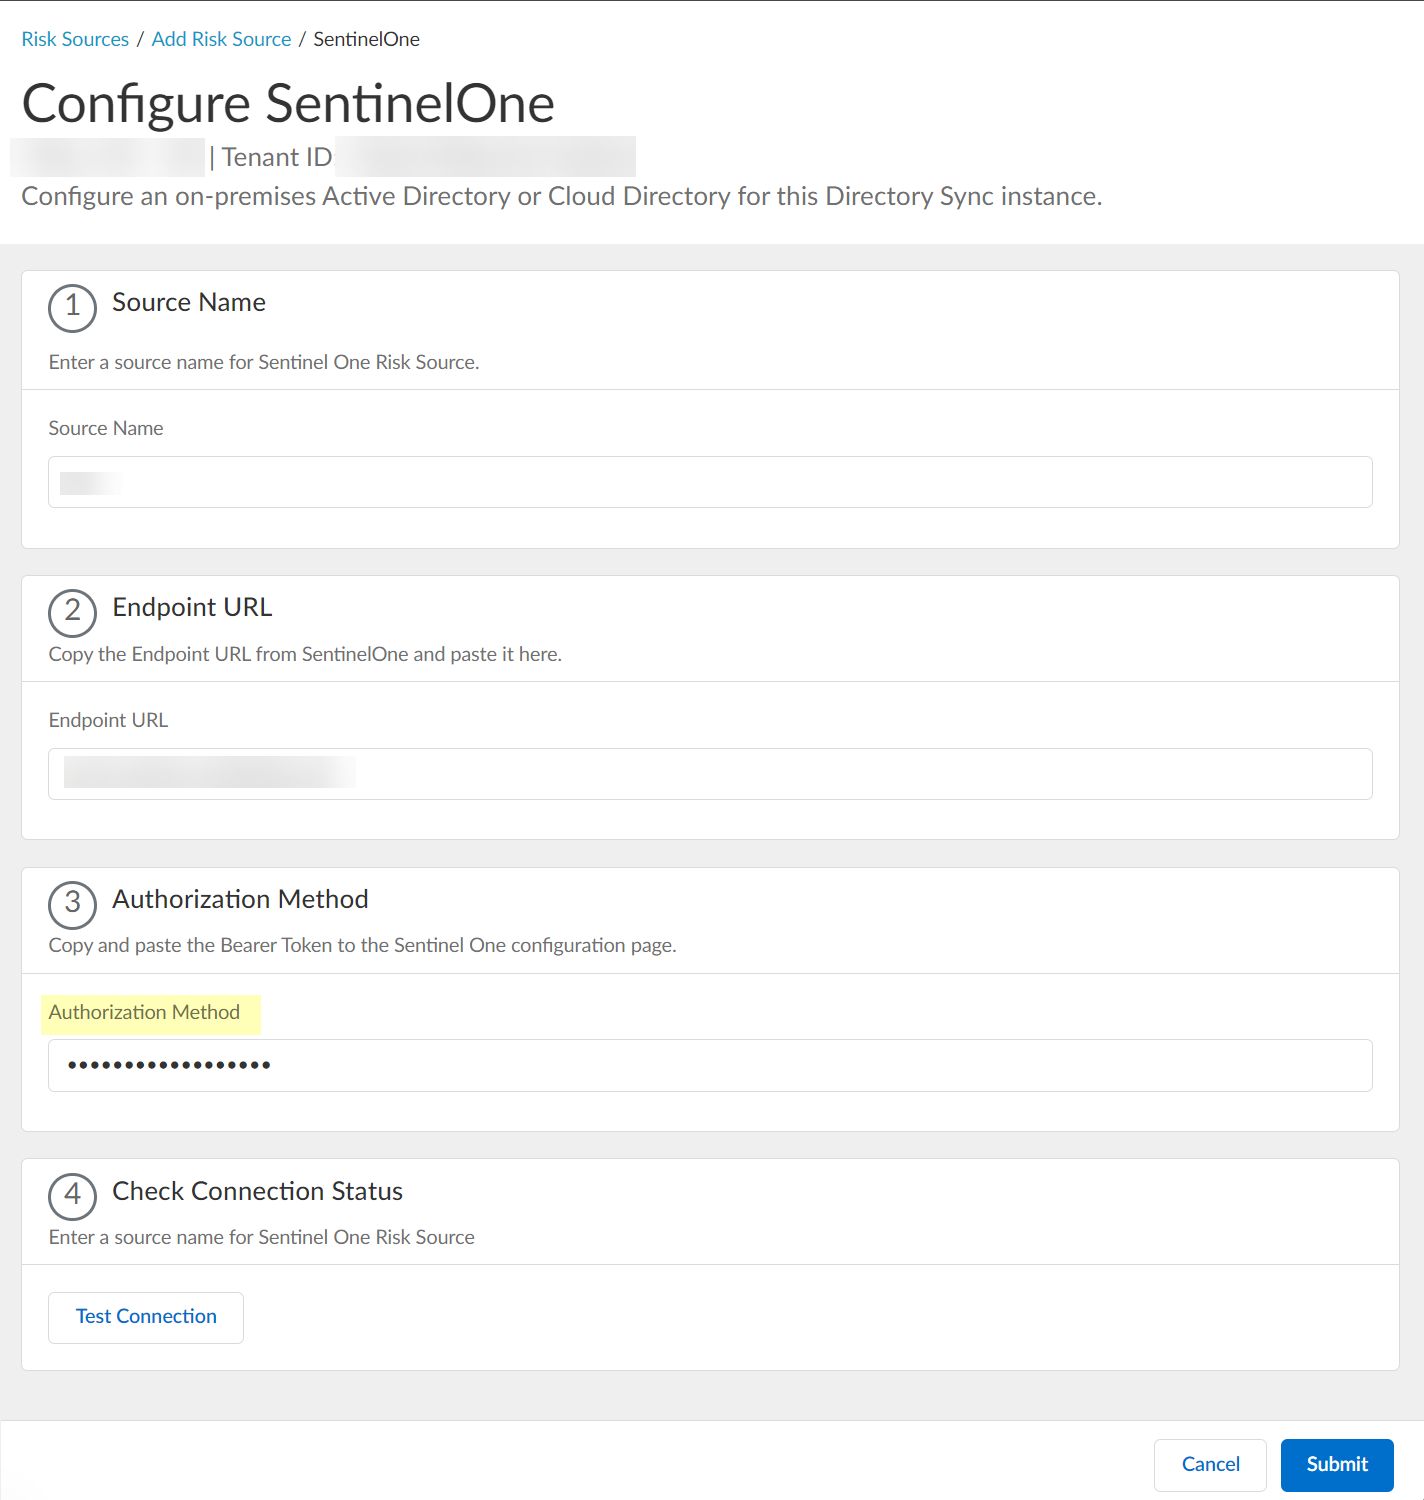
Configure SentinelOne as a risk source in the Cloud Identity Engine.- Enter the SentinelOne Source Name.The source name must use lowercase.
![]() Paste the Endpoint URL you copied from SentinelOne in step 1.a.
Paste the Endpoint URL you copied from SentinelOne in step 1.a.![]() Paste the Authorization Method API token you copied in step 1.7 and paste it in your SentinelOne configuration.
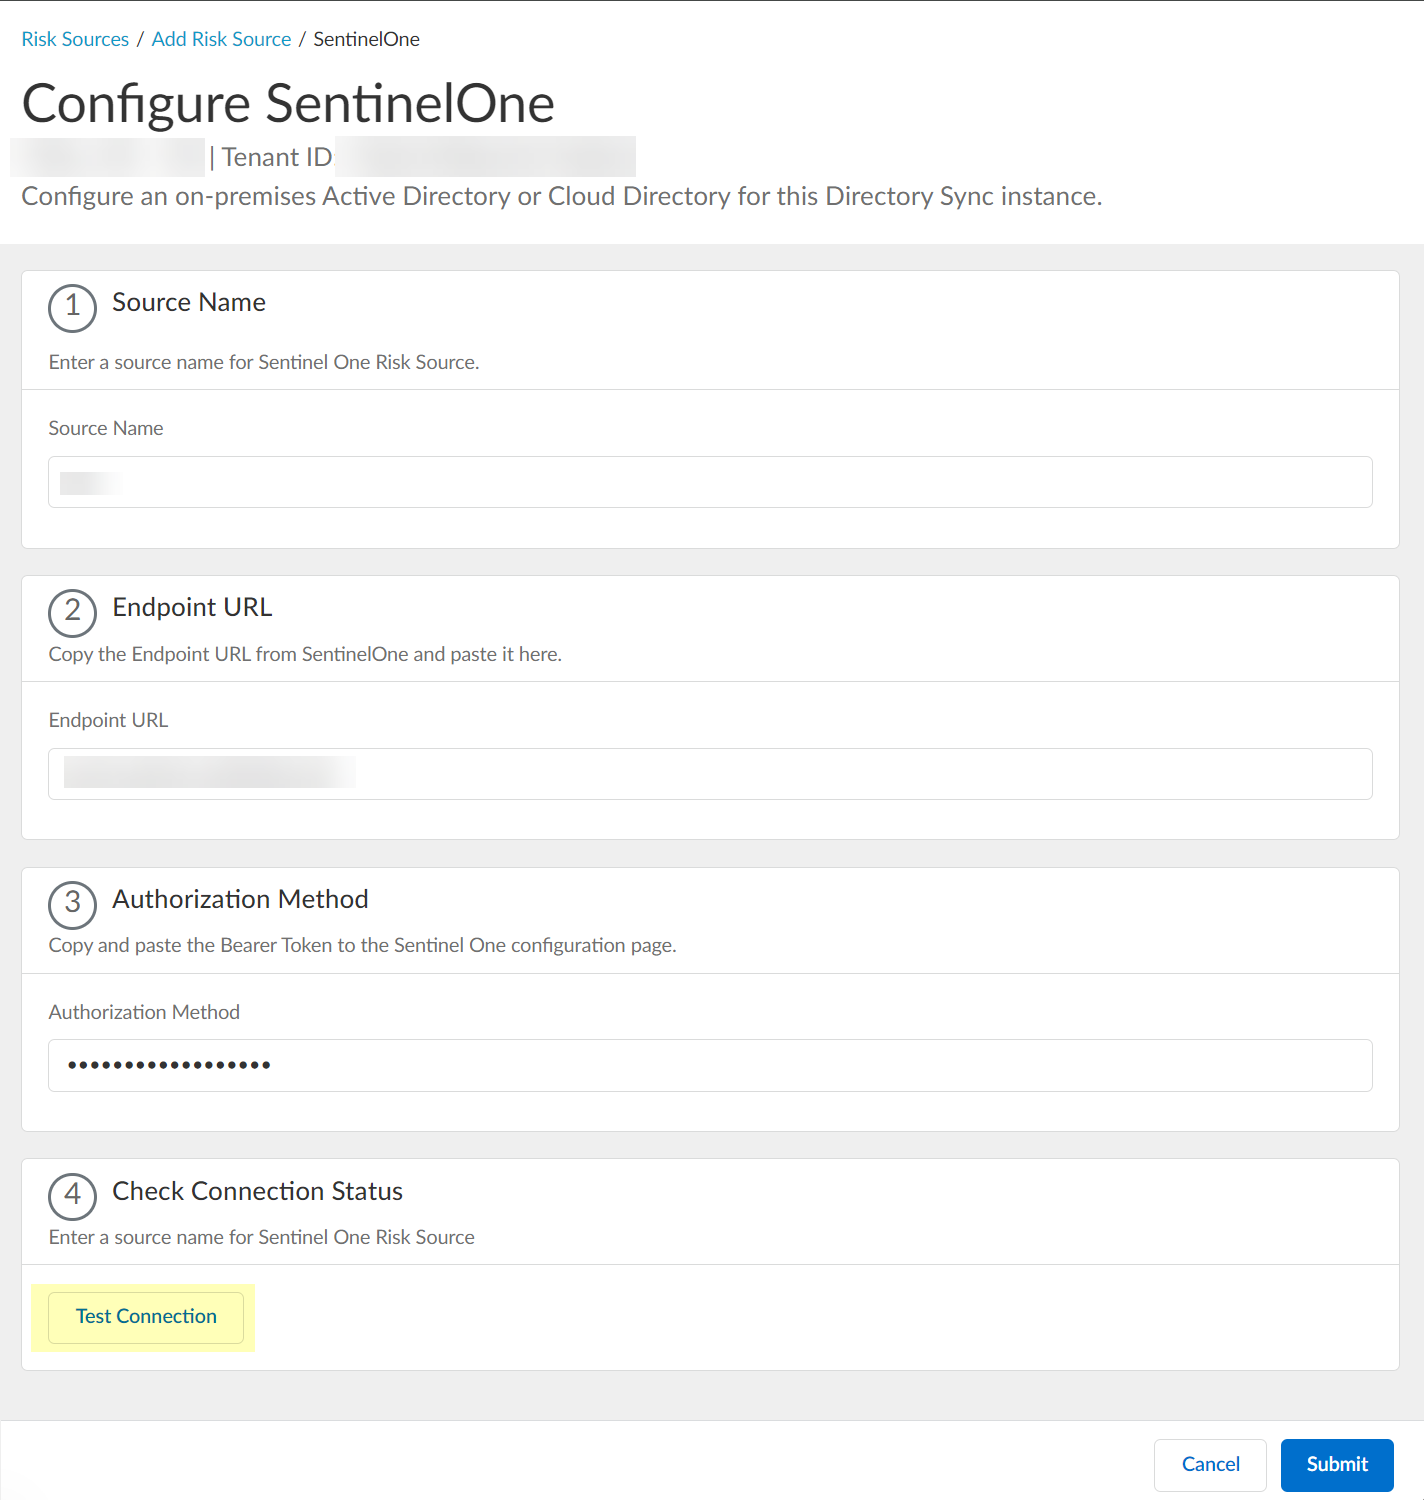
Paste the Authorization Method API token you copied in step 1.7 and paste it in your SentinelOne configuration.![]() Click Test Connection to verify that the Cloud Identity Engine can communicate with your SentinelOne configuration.
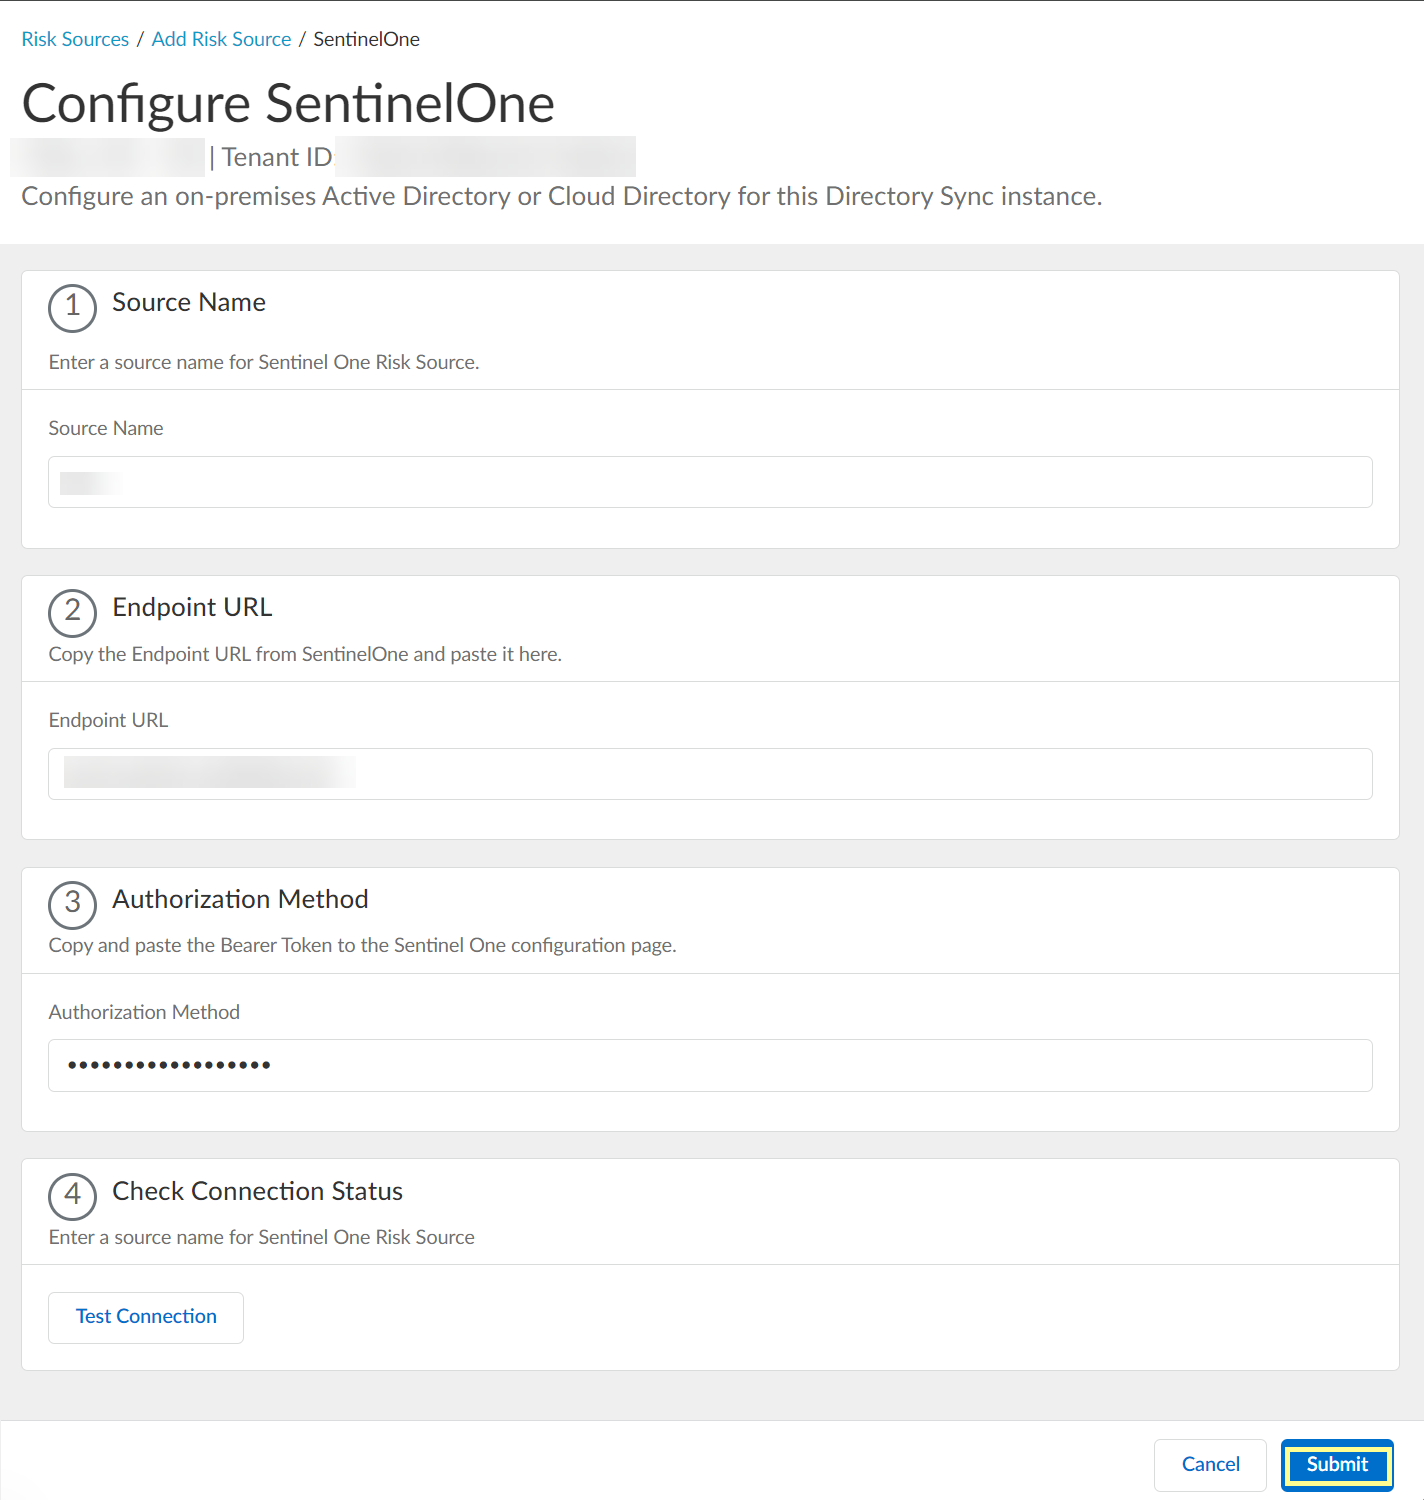
Click Test Connection to verify that the Cloud Identity Engine can communicate with your SentinelOne configuration.![]() After confirming that the Cloud Identity Engine can successfully communicate with your provider using your SentinelOne configuration, Submit the SentinelOne configuration.
After confirming that the Cloud Identity Engine can successfully communicate with your provider using your SentinelOne configuration, Submit the SentinelOne configuration.![]() View or edit the dynamic risky endpoint groups.
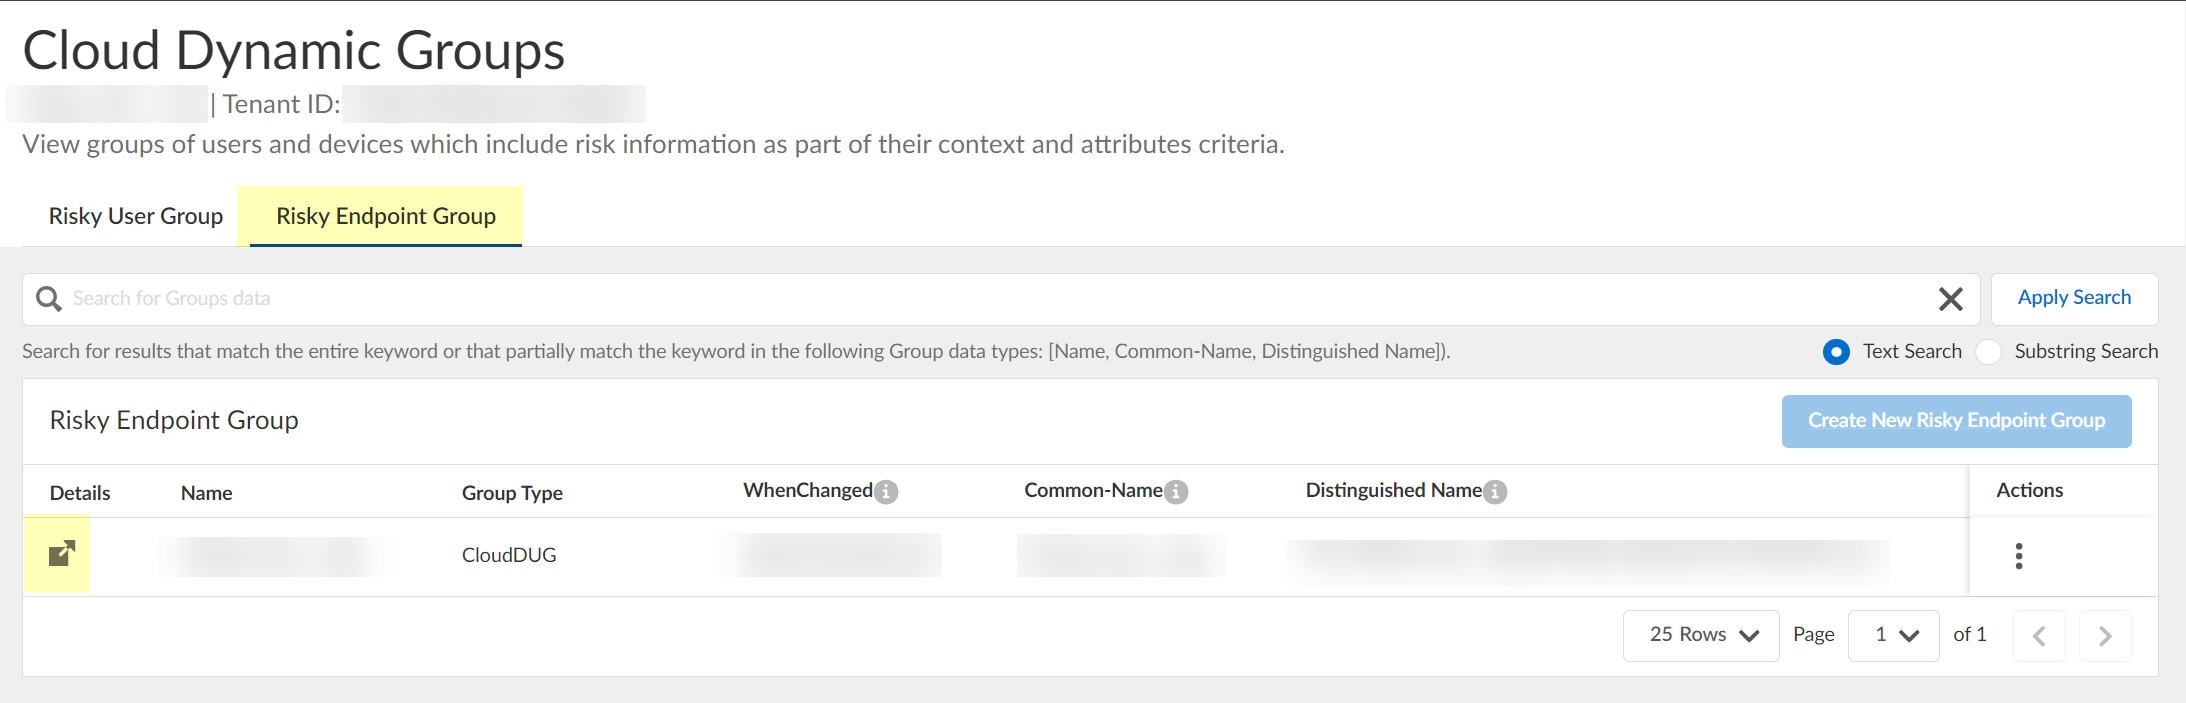
View or edit the dynamic risky endpoint groups.- In the Cloud Identity Engine, select .Select the Risky Endpoint Group tab to view the groups that the Cloud Identity Engine creates to isolate endpoints that it identifies as risky. You can optionally click the Details icon to view more information about the specific endpoint group.The Cloud Identity Engine creates a default group without any attributes; you must specify the attributes you want to use for the group (see step 3.4).
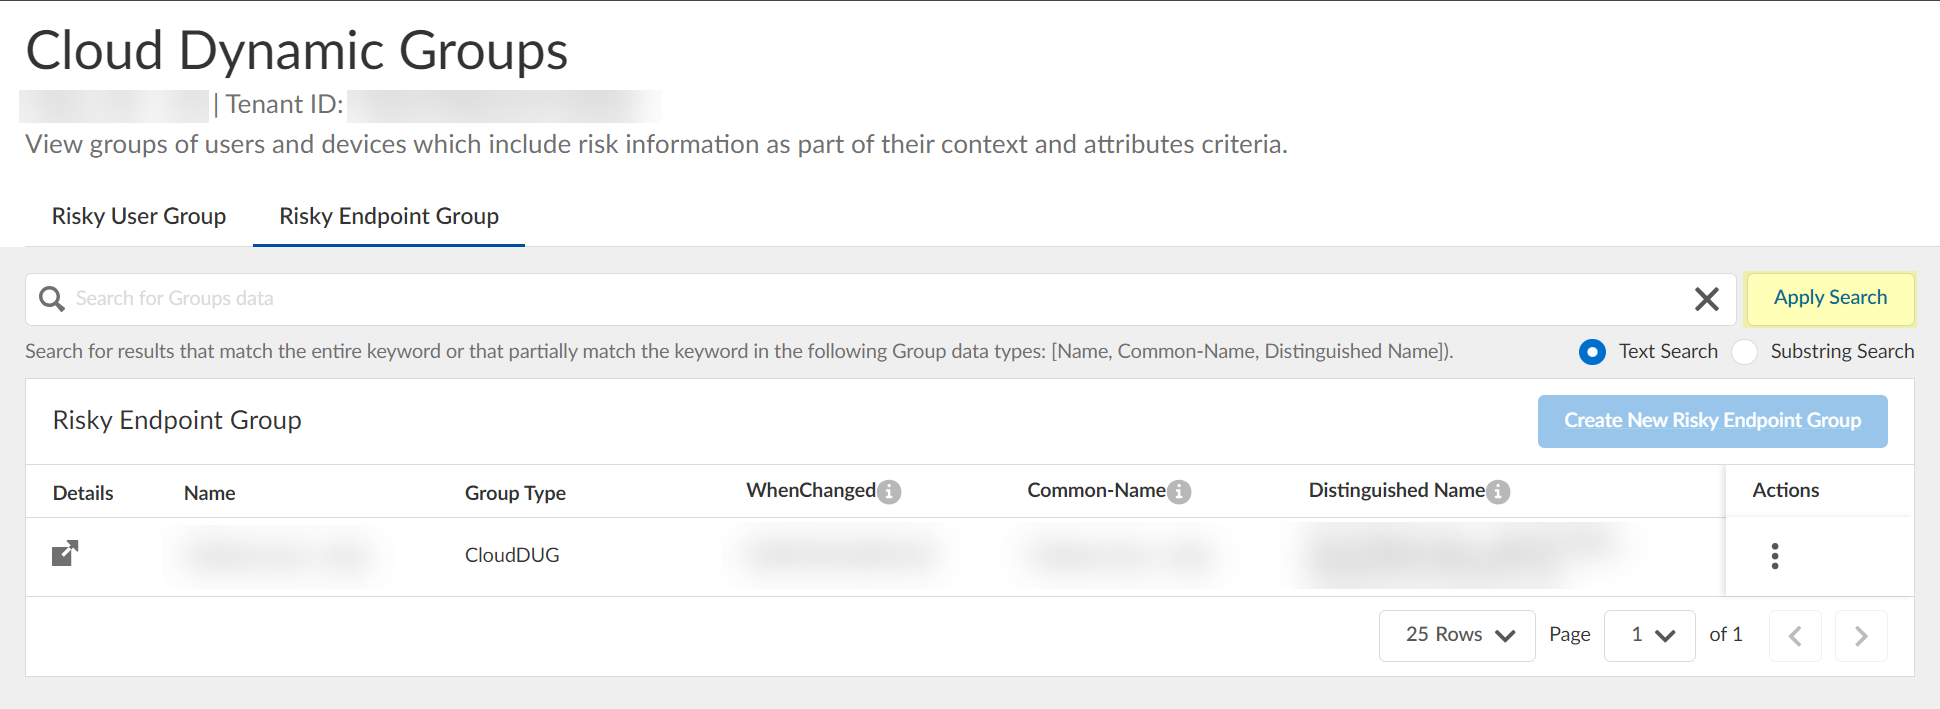
![]() (Optional) Search the groups by entering a search query then click Apply Search.
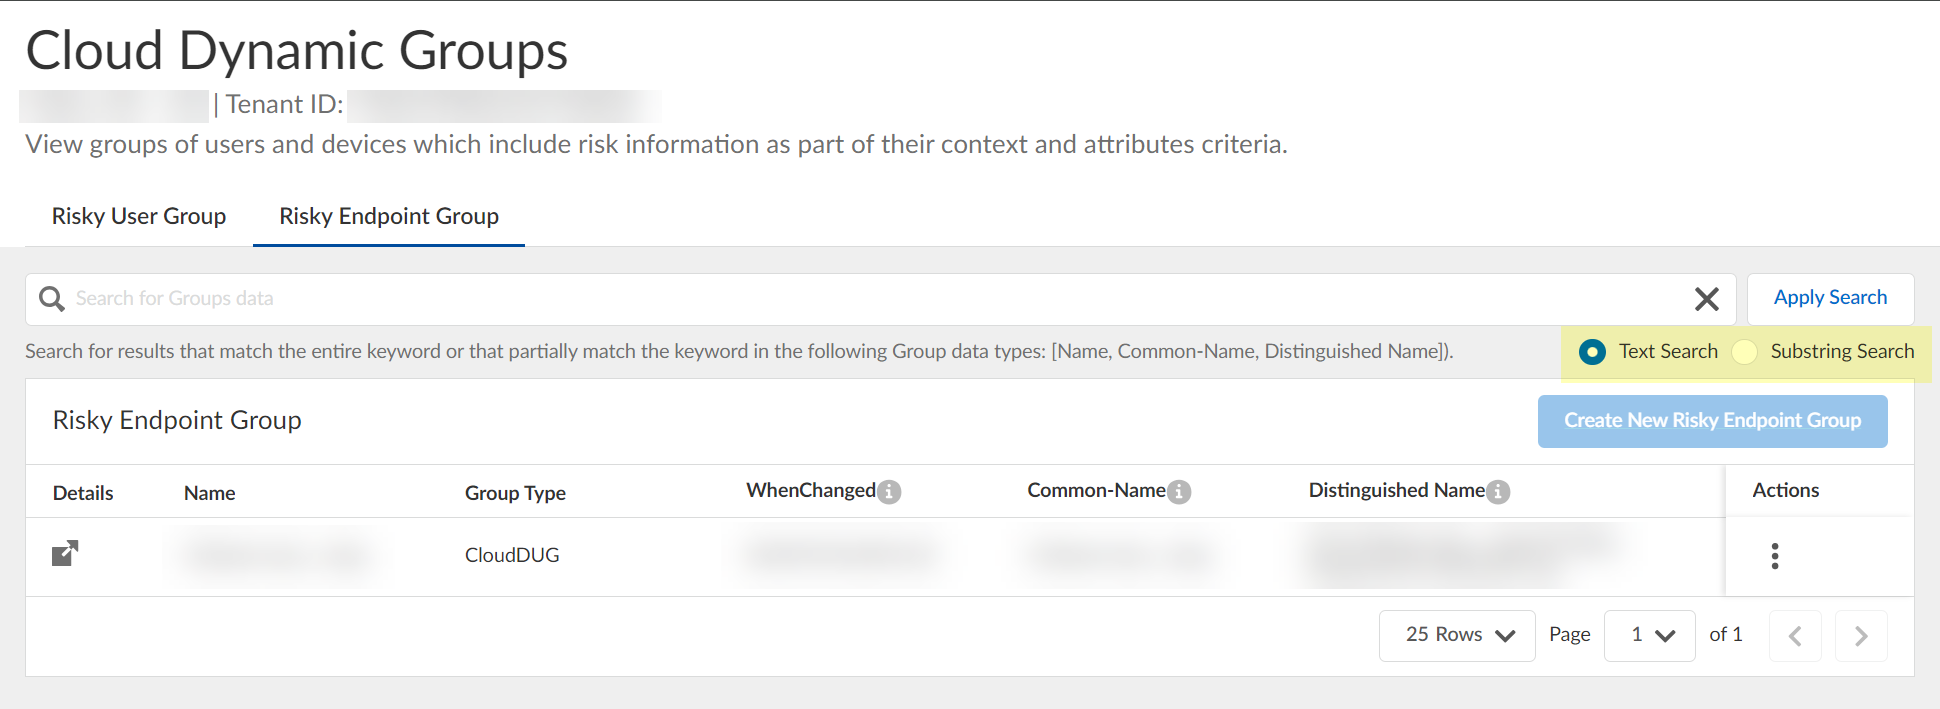
(Optional) Search the groups by entering a search query then click Apply Search.![]() You can specify a Text Search or a Substring Search.
You can specify a Text Search or a Substring Search.![]() Specify the context and attributes for the cloud dynamic risky endpoint group by selecting , adding the context and attributes, and clicking Submit to confirm the changes.
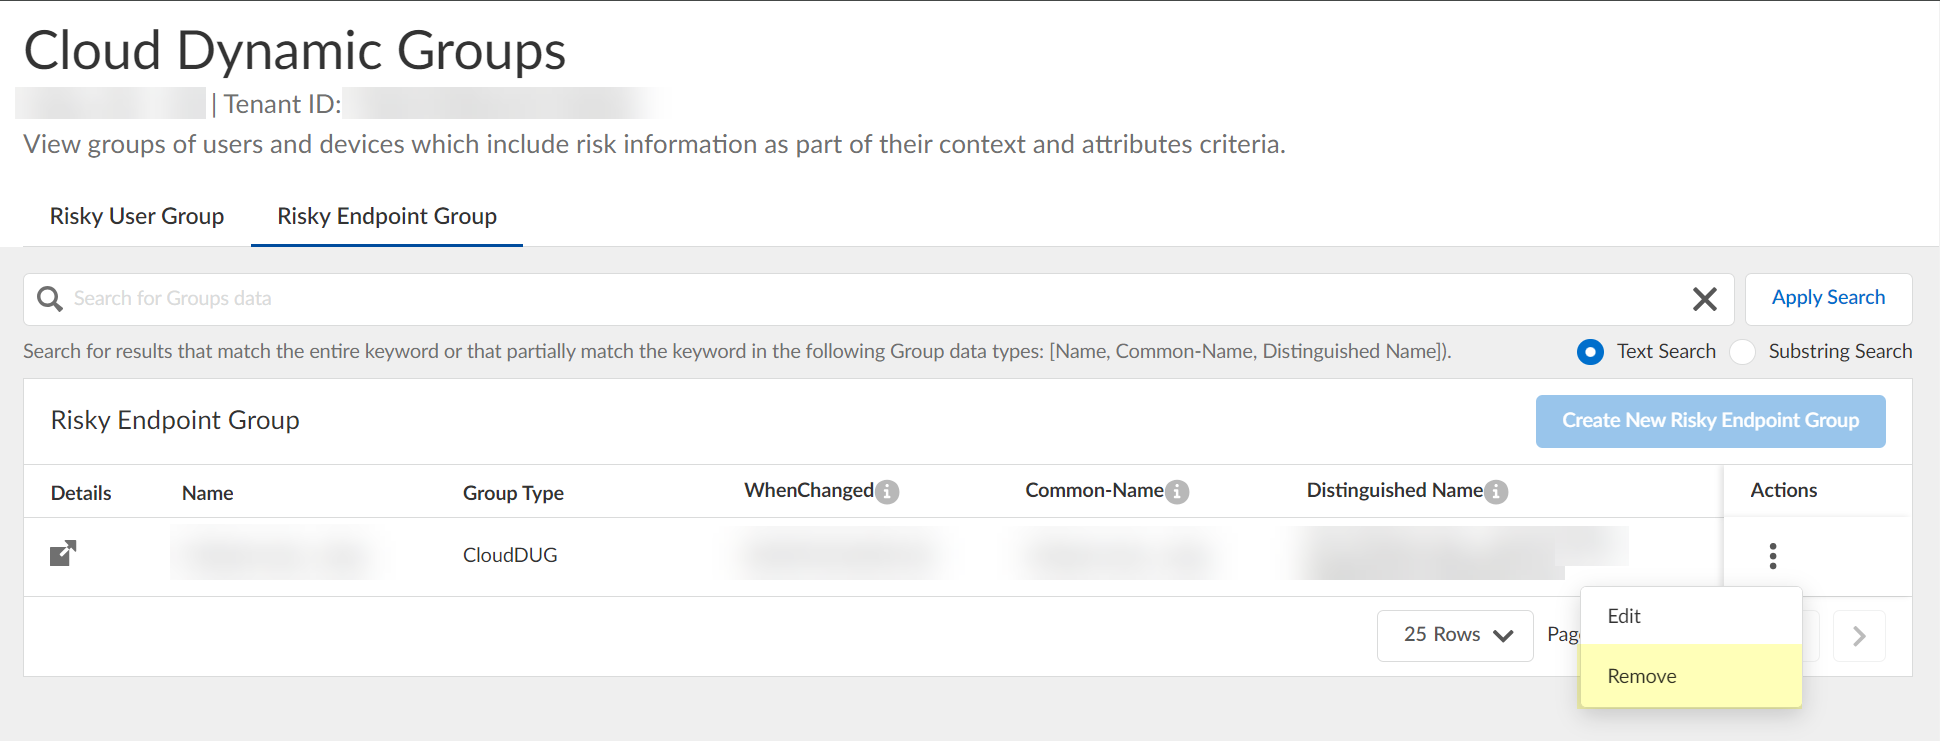
Specify the context and attributes for the cloud dynamic risky endpoint group by selecting , adding the context and attributes, and clicking Submit to confirm the changes.![]() (Optional) To delete a group, select and click Yes to confirm removal of the group.
(Optional) To delete a group, select and click Yes to confirm removal of the group.![]() The Cloud Identity Engine does not currently support creation of a dynamic risky endpoint group if there is an existing group.Use Strata Cloud Manager to view the devices that have been quarantined.The Cloud Identity Engine places devices in quarantine using device security posture information and risk signals from SentinelOne. It removes devices from the quarantine list only when the device no longer meets any of the match criteria in the Cloud Identity Engine configuration. If a device is in quarantine due to SentinelOne information, Palo Alto Networks does not recommend manually removing the device from the quarantine list using Strata Cloud Manager or Panorama.
The Cloud Identity Engine does not currently support creation of a dynamic risky endpoint group if there is an existing group.Use Strata Cloud Manager to view the devices that have been quarantined.The Cloud Identity Engine places devices in quarantine using device security posture information and risk signals from SentinelOne. It removes devices from the quarantine list only when the device no longer meets any of the match criteria in the Cloud Identity Engine configuration. If a device is in quarantine due to SentinelOne information, Palo Alto Networks does not recommend manually removing the device from the quarantine list using Strata Cloud Manager or Panorama.- Log in to Strata Cloud Manager.Select .Select Prisma Access as the Configuration Scope.
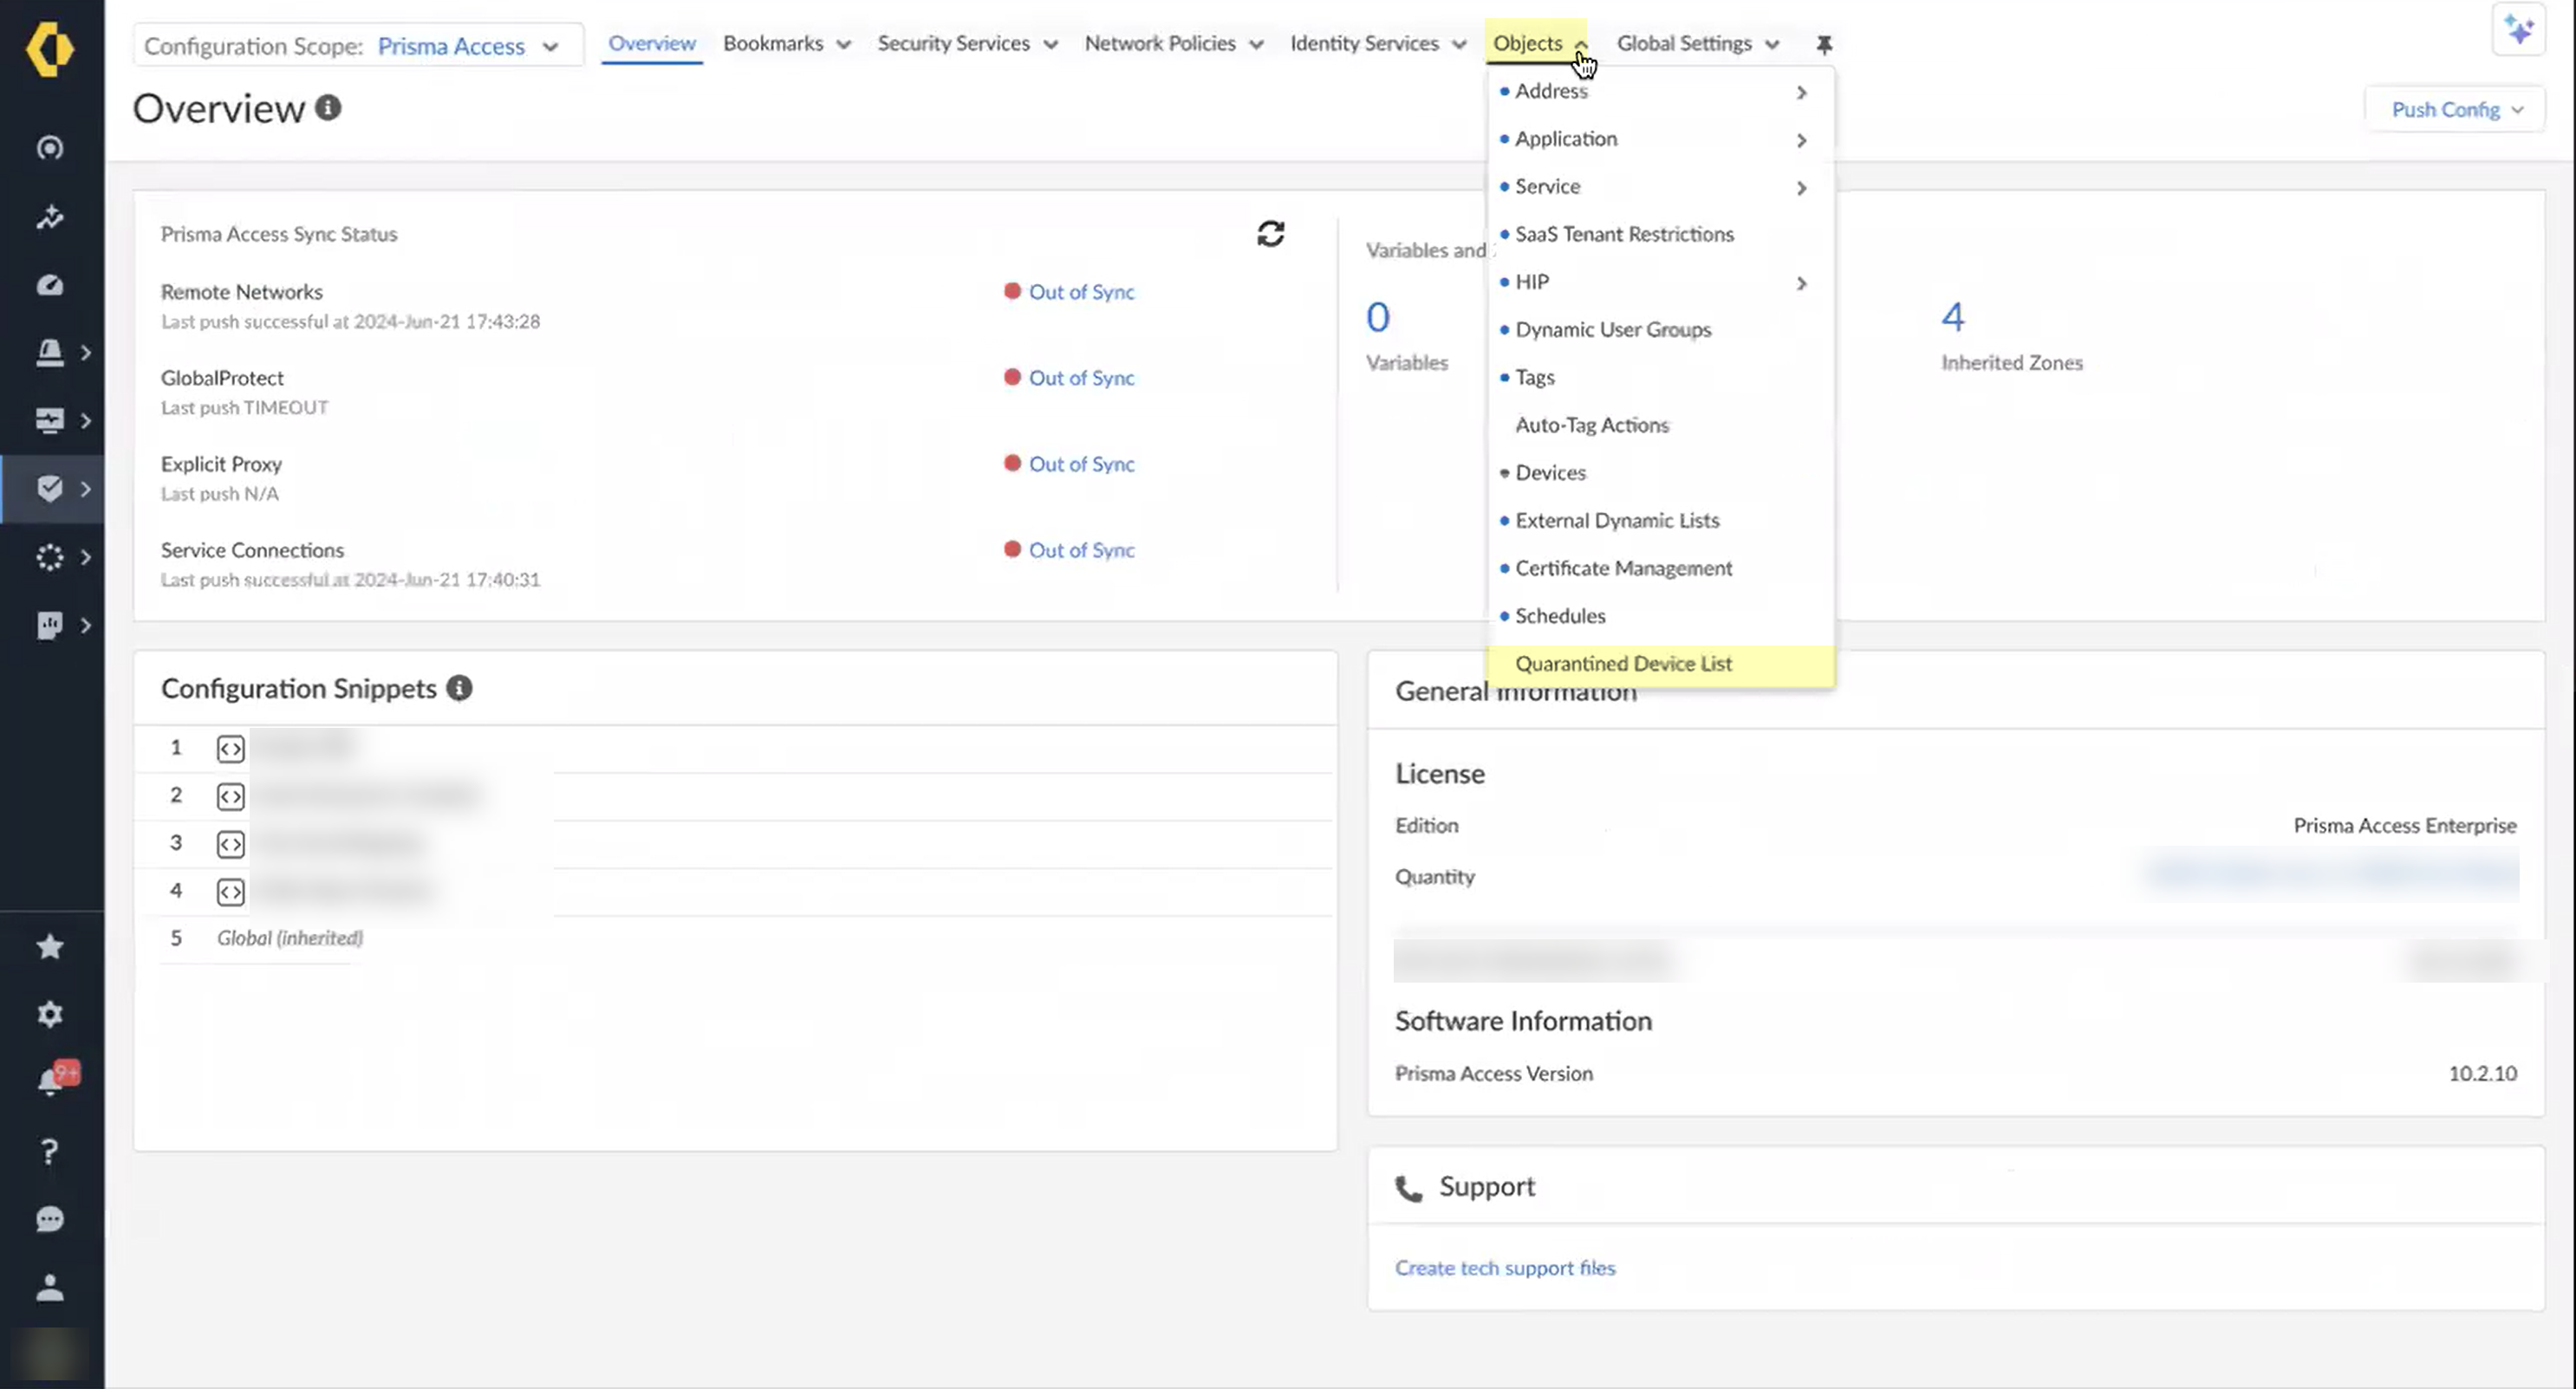
![]() Select .
Select .![]() Review the devices in the quarantine list to determine what remediation actions to take.
Review the devices in the quarantine list to determine what remediation actions to take.![]()