Add a ZTP Firewall to Panorama
Table of Contents
Add a ZTP Firewall to Panorama
Add a ZTP firewall to be managed by the Panorama management
server.
Log in to the web interface of the Panorama™
management server as a Superuser, Panorama admin, or as the ZTP installer admin to
add a ZTP firewall to Panorama. To add the ZTP firewall, you must
enter the firewall serial number and claim key provided by Palo
Alto Networks and then register the firewall with the ZTP service. Registering
the firewall claims the firewall as an asset in your account in
the Customer Support Portal and allows the ZTP service to associate
the firewall with the Panorama.
Before you can successfully
add a ZTP firewall to Panorama, you must ensure that a Dynamic Host
Configuration Protocol (DHCP) server is deployed on the network.
A DHCP server is required to successfully onboard a ZTP firewall
to Panorama. The ZTP firewall is unable to connect to the Palo Alto
Networks ZTP service to facilitate onboarding without a DHCP server.
Migrating a
firewall added to Panorama management using ZTP from one Panorama
to another is not supported.
Firewalls onboarded to Panorama management using ZTP do not support high
availability (HA) configuration.
You must disable ZTP on your firewalls to configure them in an
HA configuration. After disabling ZTP, add your firewalls as managed devices and set up your
firewalls in an active/passive or active/active HA configuration.
While
adding ZTP firewalls to Panorama, do not perform any commits on the
ZTP firewall before you verify that the firewall is successfully
added to Panorama in Step 4. Performing
a local commit on the ZTP firewall disables ZTP functionality and
results in the failure to successfully add the firewall to Panorama.
- Log in to the Panorama Web Interface using the ZTP installer admin credentials.
- Add a ZTP firewall to Panorama.You must connect the Eth1/1 interface on ZTP firewalls to successfully register ZTP firewalls with the CSP and push the policy and network configurations.
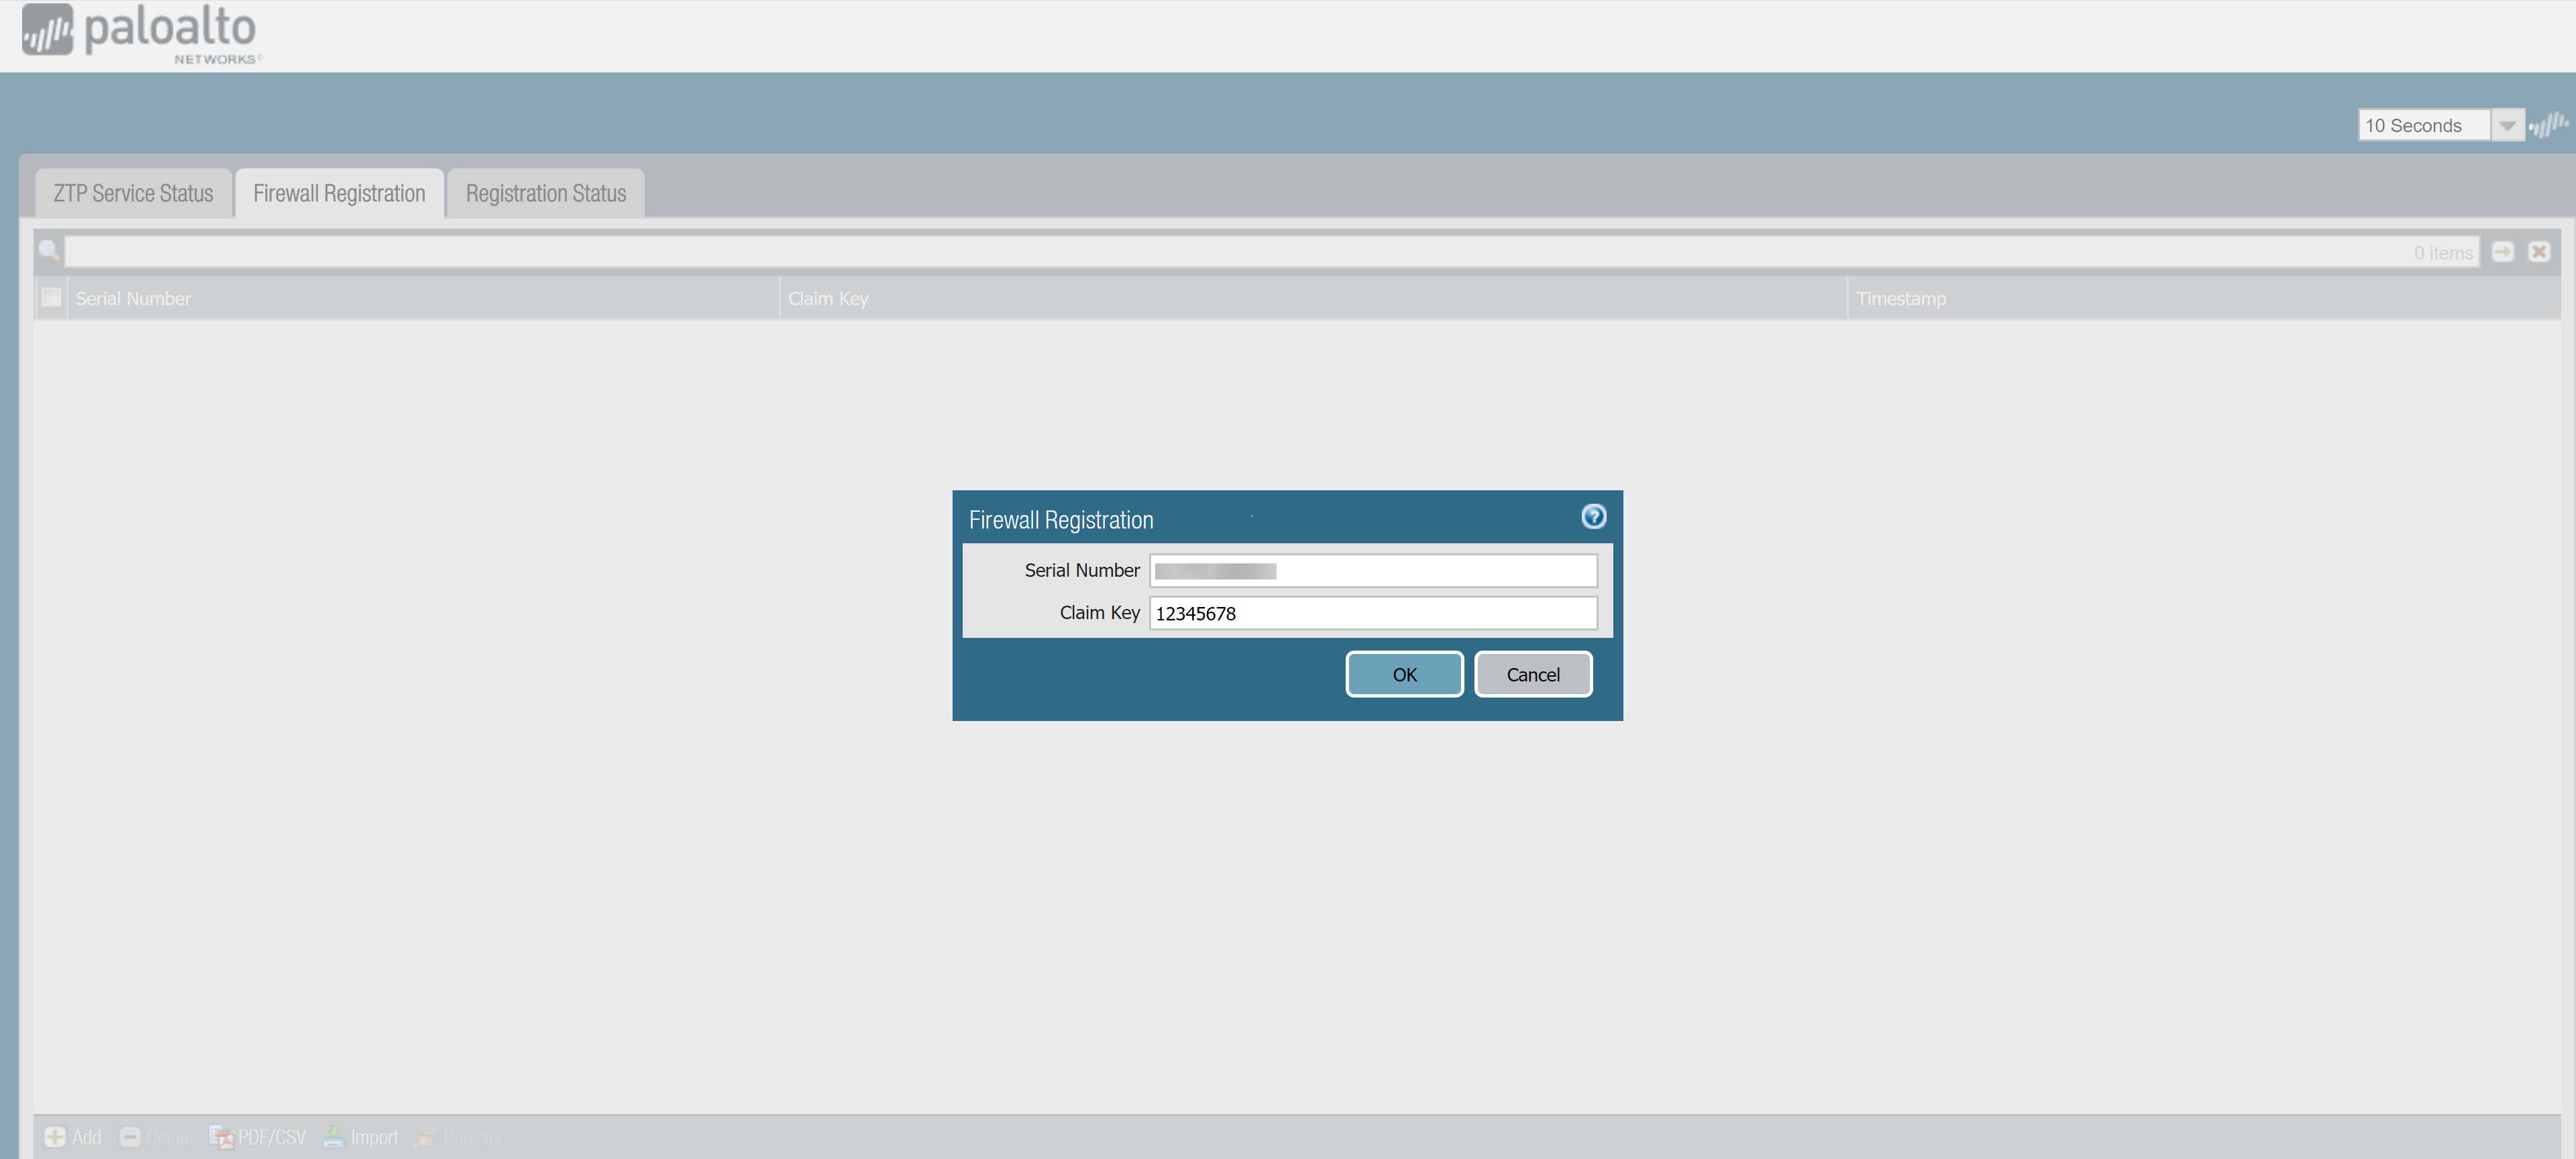
- Select Firewall Registration and Add a new ZTP firewall.
- Enter the Serial Number of the ZTP firewall.
- Enter the Claim Key for the
ZTP firewall provided by Palo Alto Networks.The eight digit numeric claim key is printed on a physical label attached to the back of the ZTP firewall you received from Palo Alto Networks.
![]()
- Click OK to save your configuration
changes.
![]()
- Register the ZTP firewall.
- Select the newly added ZTP firewall and Register the firewall.
- When prompted, click Yes to confirm registering the ZTP firewall.
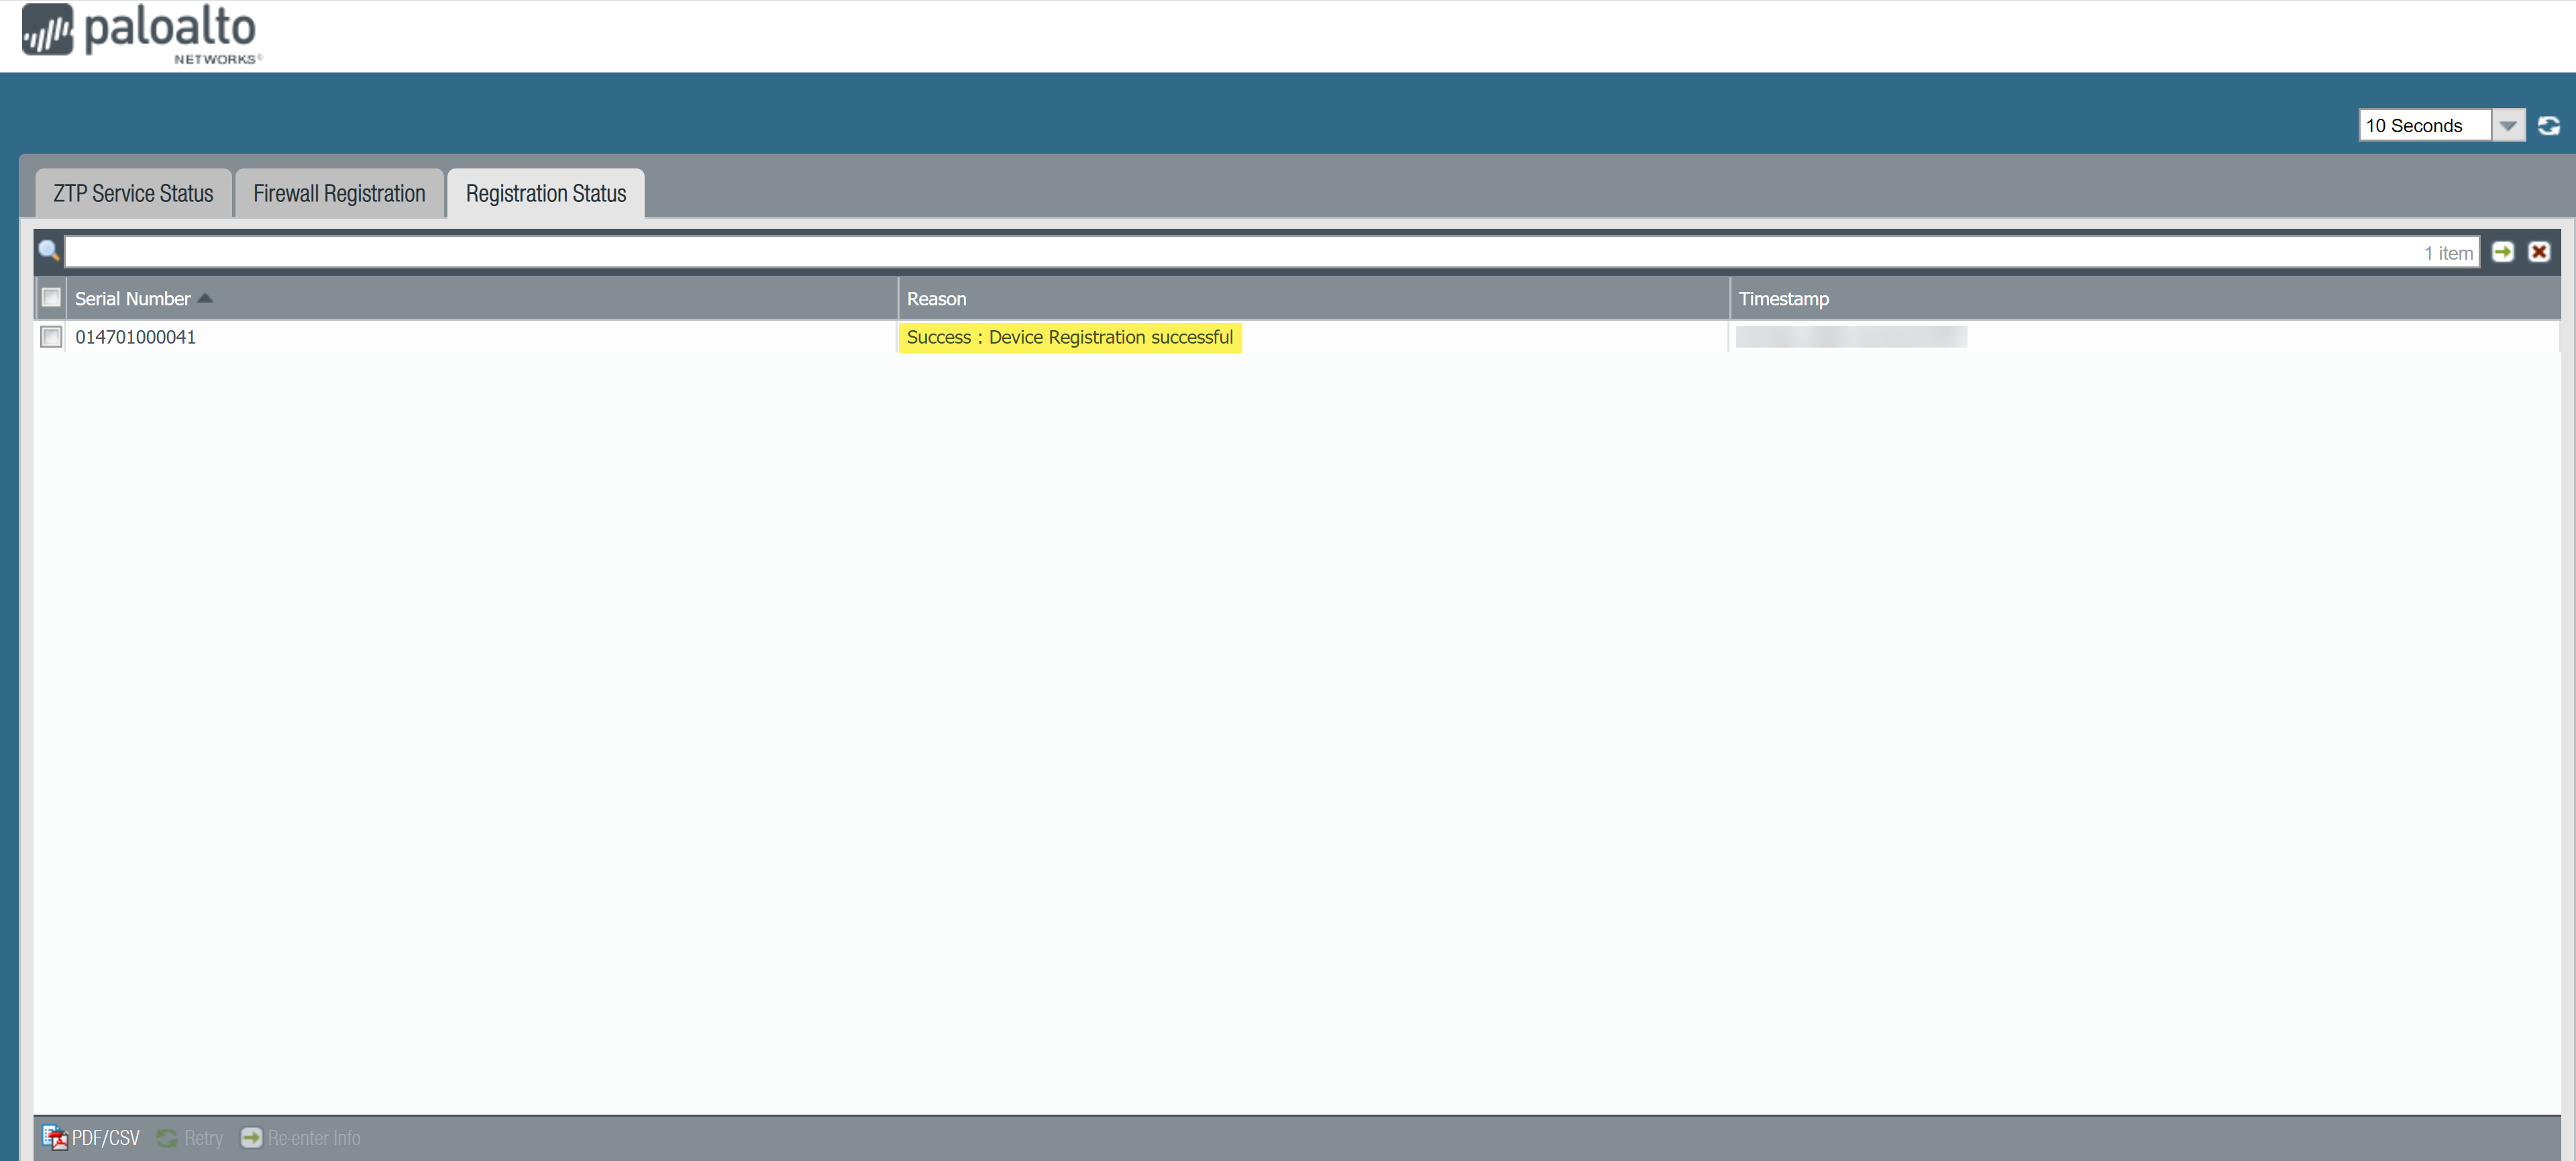
- Verify
the firewall successfully registered with the ZTP service.The firewall must successfully register with the CSP to successfully obtain device certificate.
- Select Registration Status and
verify that the ZTP firewall successfully registered with the CSP.
![]()
- Log in to the Panorama Web Interface using admin credentials.
- Select and
verify that the ZTP firewall is successfully added as a managed
firewall.Ensure that the To SW Version column is configured to the correct PAN-OS version so that the firewall does not upgrade or downgrade unintentionally. ZTP functionality is supported only for PAN-OS 9.1.3-h1 and later releases. Additionally, the PAN-OS version must be the same or an earlier version of the PAN-OS version running on Panorama.For more information, see Upgrade a ZTP Firewall.
- Select Registration Status and
verify that the ZTP firewall successfully registered with the CSP.
- Add the ZTP firewall to the device group and template
stack that contain the required ZTP configuration. You must add the ZTP firewall to a device group and template stack for your firewalls to display as Connected to push policy and network configurations.You must keep the ZTP firewall in the ZTP device group and template stack that the ZTP template is associated with. This is required for the firewall to maintain connectivity with Panorama and prevent any unintended configuration reverts on the firewall.
- Log in to the Panorama Web Interface using admin credentials.
- Select and add the ZTP
firewall to the device group created when you registered Panorama
with the ZTP service.This is required for the ZTP firewall to successfully connect to Panorama.
- Select , add the ZTP firewall
to the template stack you created when you registered Panorama
with the ZTP service. This is required for the ZTP firewall to successfully connect to Panorama.
- Complete setting up the newly onboarded firewall.
- Log in to the firewall web interface and activate the Support license.
- Log in to the Panorama web interface and activate any additional licenses on your managed firewall.
- Install the latest dynamic content updates on the
managed firewall.
- Select and Check Now for the latest updates
- Download the latest dynamic content release version.
- Install and select the newly added firewalls.Click OK when prompted.
- (Optional) Upgrade the managed firewall as needed.