Add a Virtual Disk to Panorama on Hyper-V
Table of Contents
Add a Virtual Disk to Panorama on Hyper-V
Add a virtual logging disk to Panorama™ in Panorama or
Log Collector mode on Hyper-V.
After you Install Panorama on Hyper-V,
add virtual logging disks to the Panorama™ virtual appliance instance
to provide storage for logs generated by managed firewalls. You
can add virtual disks to a local log Collector for a Panorama virtual
appliance in Panorama mode or for a Dedicated Log Collector. The
Panorama virtual appliance on Hyper-V supports only 2TB logging
disks and, in total, supports up to 24TB of log storage. You cannot
add a logging disk smaller than 2TB or a logging disk of a size
that is not evenly divisible by 2TB because the Panorama virtual
appliance partitions logging disks in to 2TB partitions. For example,
if you attach a 4TB logging disk, Panorama will create two 2TB partitions.
However, you cannot add a 5TB logging disk because the leftover
1TB is not supported as a partition.
- Power off the Panorama virtual appliance.
- On the Hyper-V Manager, select the Panorama virtual appliance instance from the list of Virtual Machines.
- Select to power off the Panorama virtual appliance.
- Add the virtual logging disk. Repeat this step as many
times as needed.In all modes, the first logging disk on the Panorama VM must be at least 2TB in order to add additional disks. If the first logging disk is smaller than 2TB, you will be unable to add additional disk space.
- Select the Panorama virtual appliance from the list of Virtual Machines, and select .
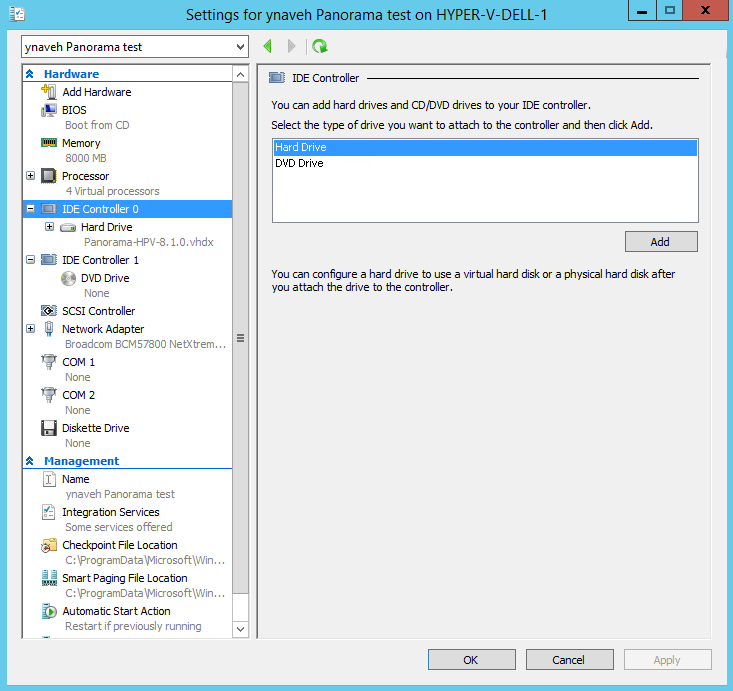
- In the Hardware list, select IDE Controller 0.
- From the IDE Controller drives
list, select Hard Drive and Add the
new virtual logging disk.
![]()
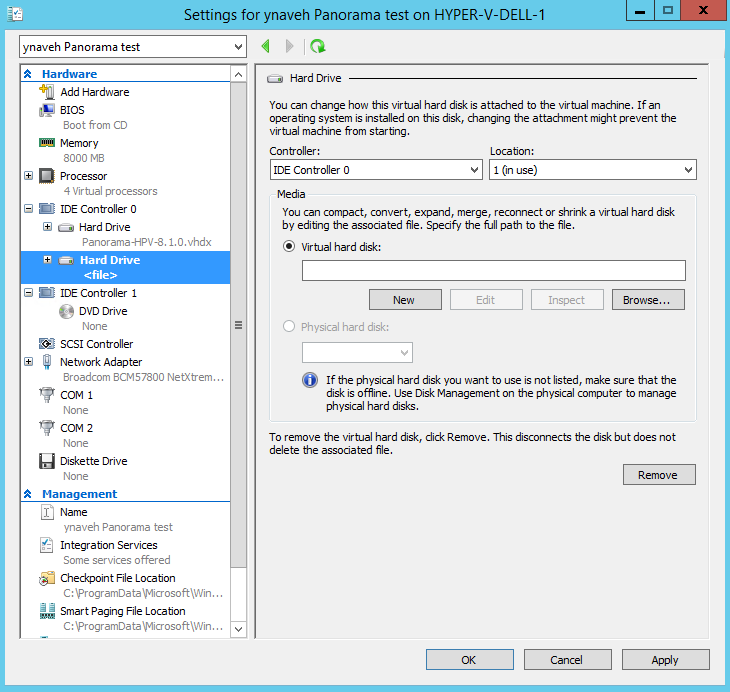
- Select the new Hard Drive created under IDE Controller 0.
- Under Media, add a New hard
disk.
![]()
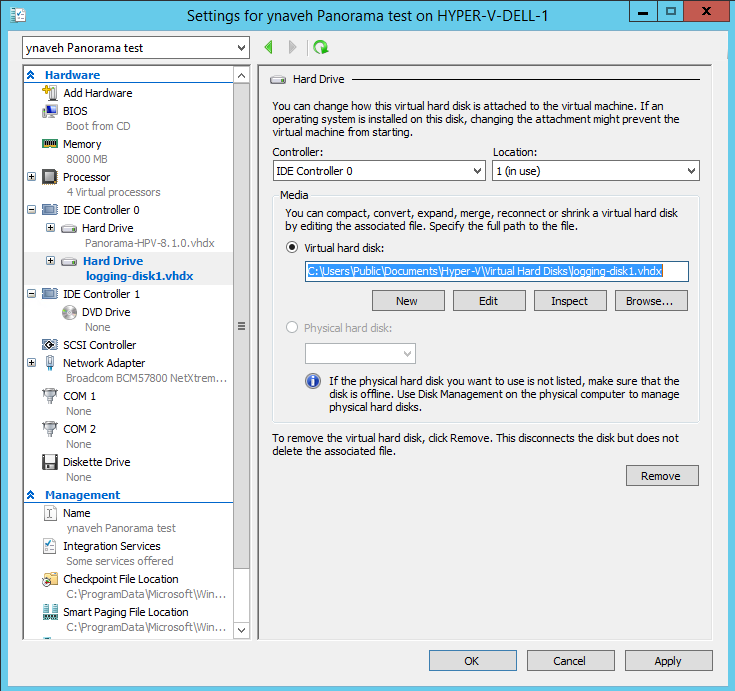
- Configure the new virtual logging disk.
- If you see the Before You Begin prompt, click Next to begin adding the virtual logging disk
- For the Disk Format, select VHDX. Click Next to continue
- For the Disk Type, select Fixed Size or Dynamically Expanding based on your needs. Click Next to continue.
- Specify the Name and Location for the virtual logging disk file. Click Next to continue.
- To configure the disk, select Create a new virtual hard disk and enter the disk size. Click Next to continue.
- Review the Summary and Finish adding the virtual hard logging disk.
- Apply the new hard disk addition.
![]()
- Power on
the Panorama virtual appliance.
- Select the Panorama virtual appliance instance from the list of Virtual Machines.
- Select to power on the Panorama virtual appliance.
- Configure each disk.The following example uses the sdc virtual disk.
- Log in to the Panorama CLI.
- Enter the following command to view the disks on the
Panorama virtual appliance:show system disk detailsThe user will see the following response:
Name : sdb State : Present Size : 2048000 MB Status : Available Reason : Admin enabled Name : sdc State : Present Size : 2048000 MB Status : Available Reason : Admin disabled - Enter the following command and confirm the request
when prompted for all disks with the Reason : Admin disabled response:request system disk add sdcThe request system disk add command is not available on a Panorama management server in Management Only mode because logging is not supported in this mode. If you do not see the command, Set up a Panorama Virtual Appliance in Panorama Mode to enable the logging disks. Once in Panorama mode, Log in to the Panorama CLI and continue to Step 4 to verify the disk addition.
- Enter the show system disk details command to verify the status of the disk addition. Continue to the next step when all newly added disk responses display Reason : Admin enabled.
- Make disks available for logging.
- Log in to the Panorama web interface.
- Edit a Log Collector ().
- Select Disks and Add each newly added disk.
- Click OK.
- Select .For Panorama in an Active/Passive high availability (HA) configuration, wait for HA sync to complete before continuing.
- Select and push the changes to the Collector Group the Log Collector belongs to.
- (New Panorama deployments in Panorama mode only)
Configure Panorama to receive logs.If you are adding logging disks to an existing Panorama virtual appliance, skip to Step 8.
- Verify that the Panorama Log Storage
capacity is increased.
- Log in to the Panorama web interface.
- Select the Collector Group to which the Panorama virtual appliance belongs ().
- Verify that the Log Storage capacity accurately displays the disk capacity.