Configure SAML Authentication for Panorama Administrators
Table of Contents
Configure SAML Authentication for Panorama Administrators
You can use Security Assertion Markup Language (SAML) 2.0 for
administrative access to the Panorama web interface (but not the
CLI). You can also use SAML attributes to manage administrator authorization.
SAML attributes enable you to quickly change the roles, access domains,
and user groups of administrators through your directory service
instead of reconfiguring settings on Panorama.
To configure
SAML single sign-on (SSO) and single logout (SLO), you must register
Panorama and the identity provider (IdP) with each other to enable
communication between them. If the IdP provides a metadata file containing
registration information, you can import it onto Panorama to register
the IdP and to create an IdP server profile. The server profile
defines how to connect to the IdP and specifies the certificate
that the IdP uses to sign SAML messages. You can also use a certificate
for Panorama to sign SAML messages. Using certificates is optional
but recommended to secure communications between Panorama and the
IdP.
- (Recommended) Obtain the certificates
that the IdP and Panorama will use to sign SAML messages.If the certificates don’t specify key usage attributes, all usages are allowed by default, including signing messages. In this case, you can obtain certificates by any method.If the certificates do specify key usage attributes, one of the attributes must be Digital Signature, which is not available on certificates that you generate on Panorama. In this case, you must import the certificates:
- Certificate Panorama uses to sign SAML messages—Import the certificate from your enterprise certificate authority (CA) or a third-party CA.
- Certificate the IdP uses to sign SAML messages—Import
a metadata file containing the certificate from the IdP (see the
next step). The IdP certificate is limited to the following algorithms:
- Public key algorithms—RSA (1,024 bits or larger) and ECDSA (all sizes).
- Signature algorithms—SHA1, SHA256, SHA384, and SHA512.
- Add a SAML
IdP server profile.The server profile registers the IdP with Panorama and defines how they connect.In this example, you import a SAML metadata file from the IdP so that Panorama can automatically create a server profile and populate the connection, registration, and IdP certificate information.If the IdP doesn’t provide a metadata file, select , Add the server profile, and manually enter the information (consult your IdP administrator for the values).
- Export the SAML metadata file from the IdP
to a client system that Panorama can access.The certificate specified in the file must meet the requirements listed in the preceding step. Refer to your IdP documentation for instructions on exporting the file.
- Select and Import the metadata file onto Panorama.
- Enter a Profile Name to identify the server profile.
- Browse to the Identity Provider Metadata file.
- (Recommended) Select Validate
Identity Provider Certificate (default) to have Panorama
validate the Identity Provider Certificate.Validation occurs only after you assign the server profile to an authentication profile and Commit. Panorama uses the Certificate Profile in the authentication profile to validate the certificate.Validating the certificate is a best practice for improved security.
- Enter the Maximum Clock Skew, which is the allowed difference in seconds between the system times of the IdP and Panorama at the moment when Panorama validates IdP messages (default is 60; range is 1 to 900). If the difference exceeds this value, authentication fails.
- Click OK to save the server profile.
- Click the server profile Name to display the profile settings. Verify that the imported information is correct and edit it if necessary.
- Export the SAML metadata file from the IdP
to a client system that Panorama can access.
- Configure an authentication profile.The authentication profile specifies a SAML IdP server profile and defines options for the authentication process, such as SLO.
- Select and Add a profile.
- Enter a Name to identify the profile.
- Set the Type to SAML.
- Select the IdP Server Profile you configured.
- Select the Certificate for Signing Requests.Panorama uses this certificate to sign messages it sends to the IdP.
- (Optional) Enable Single Logout (disabled by default).
- Select the Certificate Profile that Panorama will use to validate the Identity Provider Certificate.
- Enter the Username Attribute that
IdP messages use to identify users (default username).When you predefine dynamic administrator roles for users, use lower-case to specify the role (for example, enter superuser, not SuperUser). If you manage administrator authorization through the IdP identity store, specify the Admin Role Attribute and Access Domain Attribute also.
- Select Advanced and Add the administrators who are allowed to authenticate with this authentication profile.
- Click OK to save the authentication profile.
- Configure Panorama to use the authentication profile
for all administrators.
- Select , edit the Authentication Settings, and select the Authentication Profile you configured.
- Select to activate your changes on Panorama and to validate the Identity Provider Certificate that you assigned to the SAML IdP server profile.
- Create a SAML metadata file to register Panorama on the
IdP.
- Select and, in the Authentication column for the authentication profile you configured, click Metadata.
- Set the Management Choice to Interface (default is selected) and select the management (MGT) interface.
- Click OK and save the metadata file to your client system.
- Import the metadata file into the IdP server to register Panorama. Refer to your IdP documentation for instructions.
- Verify that administrators can authenticate using SAML
SSO.
- Go to the URL of the Panorama web interface.
- Click Use Single Sign-On.
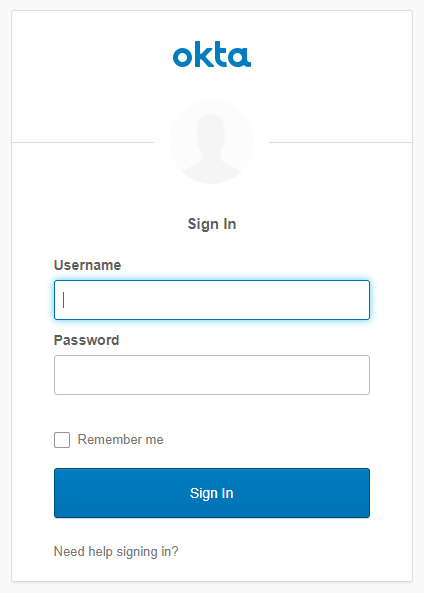
- Click Continue.Panorama redirects you to authenticate to the IdP, which displays a login page. For example:
![]()
- Log in using your SSO username and password.After you successfully authenticate on the IdP, it redirects you back to Panorama, which displays the web interface.
- Use your Panorama administrator account to request
access to another SSO application.Successful access indicates SAML SSO authentication succeeded.