Working with the Built-in CA
Table of Contents
Working with the Built-in CA
In addition to integrations with various public certificate authorities (CA),
Next-Gen Trust Security provides a Built-In CA. The primary use case for the Built-in CA is to
rapidly issue certificates that are generally short-lived.
This is especially useful in development or DevOps environments where internal
machines, virtual machines, and applications need to trust each other, yet the
environment must remain flexible and responsive.
The Built-in CA certificate chain can be signed either by Next-Gen Trust Security or by a
public CA.
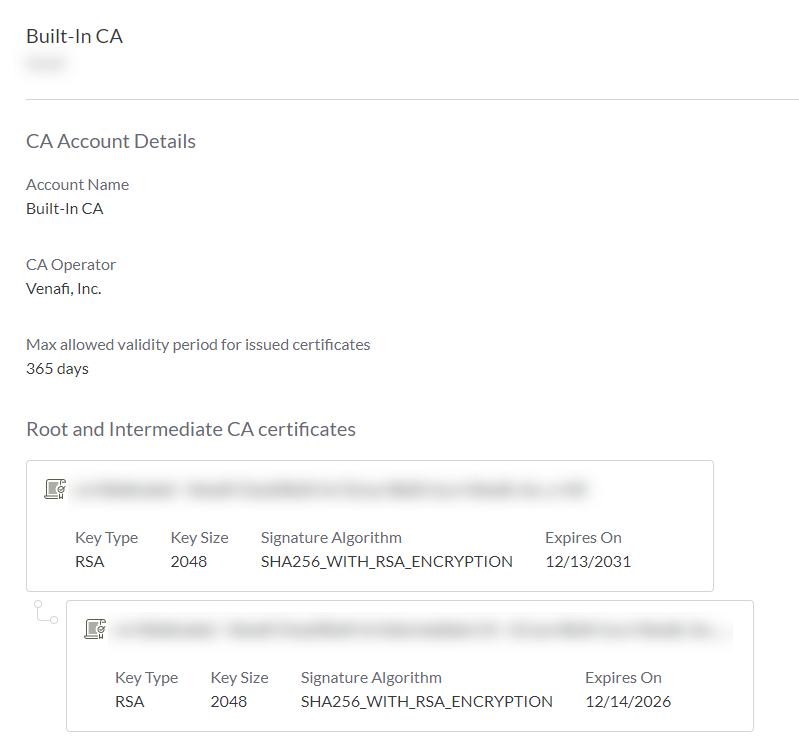
View Details about the Built-in CA Account
- Sign in to Next-Gen Trust Security.
- Click Configuration > Certificate Integrations > Certificate Authorities.
- Click Built-In CA to see details.
Issue New Venafi Root and Intermediate Certificates
Performed by: Superuser
This option generates both a root and an intermediate certificate. The root
certificate is self-signed, and the intermediate certificate is then signed
by the root certificate.
- Click Configuration > Certificate Integrations > Certificate Authorities.
- Click Built-in CA.
- In the Certificate Authorities local menu bar, click Change issuer > Venafi.
- Complete the fields for Root certificate based on your organization's requirements. Click Next.The values you entered for the Root certificate are copied to the Intermediate certificate form.
- Modify fields for Intermediate certificate as necessary.
- Click Done.
After a few moments, the new root and intermediate CA certificates appear on the Built-In CA page.
What's Next
Your Built-in CA is now ready to issue certificates. See What's Next below for next steps.
Issue a New CA-Signed Intermediate Certificate
Performed by: Superuser
This option creates a new Certificate Signing Request (CSR), which you'll then
submit to a CA. After the CA returns the certificate, you can upload the
certificate to Next-Gen Trust Security.
Generate CSR
- Click Configuration > Certificate Integrations > Certificate Authorities.
- Click Built-in CA.
- In the Certificate Authorities local menu bar, click Change issuer > Custom.
- Complete the fields based on your organization's requirements. These values become part of the CSR. Click Next. The Sign & Upload section of the wizard opens.
Sign & Upload
The Sign & Upload screen contains a CSR. Copy this CSR, and submit it to
your CA. After your CA returns a certificate, you can upload it.
At this point, you have several certificate upload options:
| Upload Option | Description |
|---|---|
| Paste Base64 encoded text | If you have the base 64 encoded text certificate, click this option and then paste the certificate in the text box. |
| Upload file | If you have a file containing your certificate, click this option and then select the file. |
| Upload later | If you don't have either of the above available, select this option. Next-Gen Trust Security saves your state, and you can upload your certificate when you have it. See Uploading a certificate below. |
After you make your selection, click Done.
Uploading a Certificate
If you selected Upload later in the previous step and now have your
certificate, follow these steps:
- Click Configuration > Certificate Integrations > Certificate Authorities.
- Click Built-in CA.
- Scroll to the bottom. Your previously-saved CSR shows, followed by the Paste Base64 encoded text and Upload file radio buttons. Select one, provide the necessary data, and then click Done.
Why do I see only one certificate in the Built-in CA summary?
The certificate that your CA provided is an intermediate certificate. It is
chained to the signing CA's own root certificate, even though the entire chain
isn't shown in Next-Gen Trust Security.
What's Next
Your built-in CA is now ready to issue certificates. See What's Next below for next steps.
Canceling a CSR
If you created a CSR and selected the Upload later option, that CSR is saved
in Next-Gen Trust Security. If you no longer need the CSR, and you don't plan to upload a
certificate based on the CSR, you can delete it.
- Click Configuration > Certificate Integrations > Certificate Authorities.
- Click Built-in CA.
- In the local menu bar, click Discard changes. Confirm your selection by clicking Discard on the confirmation modal.
Download the Certificate Chain
After the certificate chain certificates have been issued, you can download them
from Next-Gen Trust Security. You can then install the chain in OS or application certificate
stores as necessary so that certificates issued by the Built-in CA are trusted.
- Click Configuration > Certificate Integrations > Certificate Authorities.
- Click Built-in CA.
- In the local menu bar, click Download chain. Select whether you want the intermediate or the root listed first in the chain. The chain downloads in a .cer file.
What's Next
Issue new certificates
This CA is now ready to be added to one or more certificate issuing templates. To do this, select this CA when creating certificate issuing templates.
Download and install the certificate chain
The Built-in CA certificate chain will need to be installed on each machine or
application that must trust the certificates issued by the Built-in CA. You'll
first need to download the chain from Next-Gen Trust Security.
Installing the certificate chain varies by OS and application, so check your OS
or application vendor's documentation on how to install certificate chains.