Next-Generation Firewall
Install or Restore a Device Certificate
Table of Contents
Install or Restore a Device Certificate
Learn how to install a device certificate on your NGFW to authenticate and secure
communication with cloud services.
| Where Can I Use This? | What Do I Need? |
|---|---|
|
|
You must install the device certificate on your Next-Generation Firewall (NGFW) to
use one or more cloud services. You only need to install a
device certificate once. The device certificate has a 90-day lifetime. The firewall
reinstalls the device certificate 15 days before the certificate expires.
For successful installation, the firewall must have outbound internet access and the
following Fully Qualified Domain Names (FQDN) and ports must be allowed on your
network to reach to the Customer Support Portal.
For Panorama managed firewalls, you can install the device certificate for managed
firewalls from the Panorama management server. This enables you to
install the device certificate for multiple managed firewalls at once.
|
FQDN
|
Ports
|
|---|---|
|
TCP 80
|
|
TCP 443
|
|
TCP 444 and TCP 443
|
The following Palo Alto Networks NGFW models automatically install the device
certificate when they first connect to the Customer Support Portal during the
initial registration process. You don’t need to manually install the device
certificate for these models:
- PA-400 Series firewalls
- PA-500 Series firewalls
- PA-1400 Series firewalls
- PA-3400 Series firewalls
- PA-5400 Series firewalls
- PA-5450 firewall
- PA-5500 Series firewalls
- PA-7500 Series firewalls
- Generate a one-time password (OTP).An OTP lifetime is 60 minutes and expires if not used within the 60-minute lifetime.The firewall may only attempt to retrieve the OTP from the Customer Support Portal one time. If it fails to fetch the OTP for any reason, the OTP expires and you must generate a new OTP.
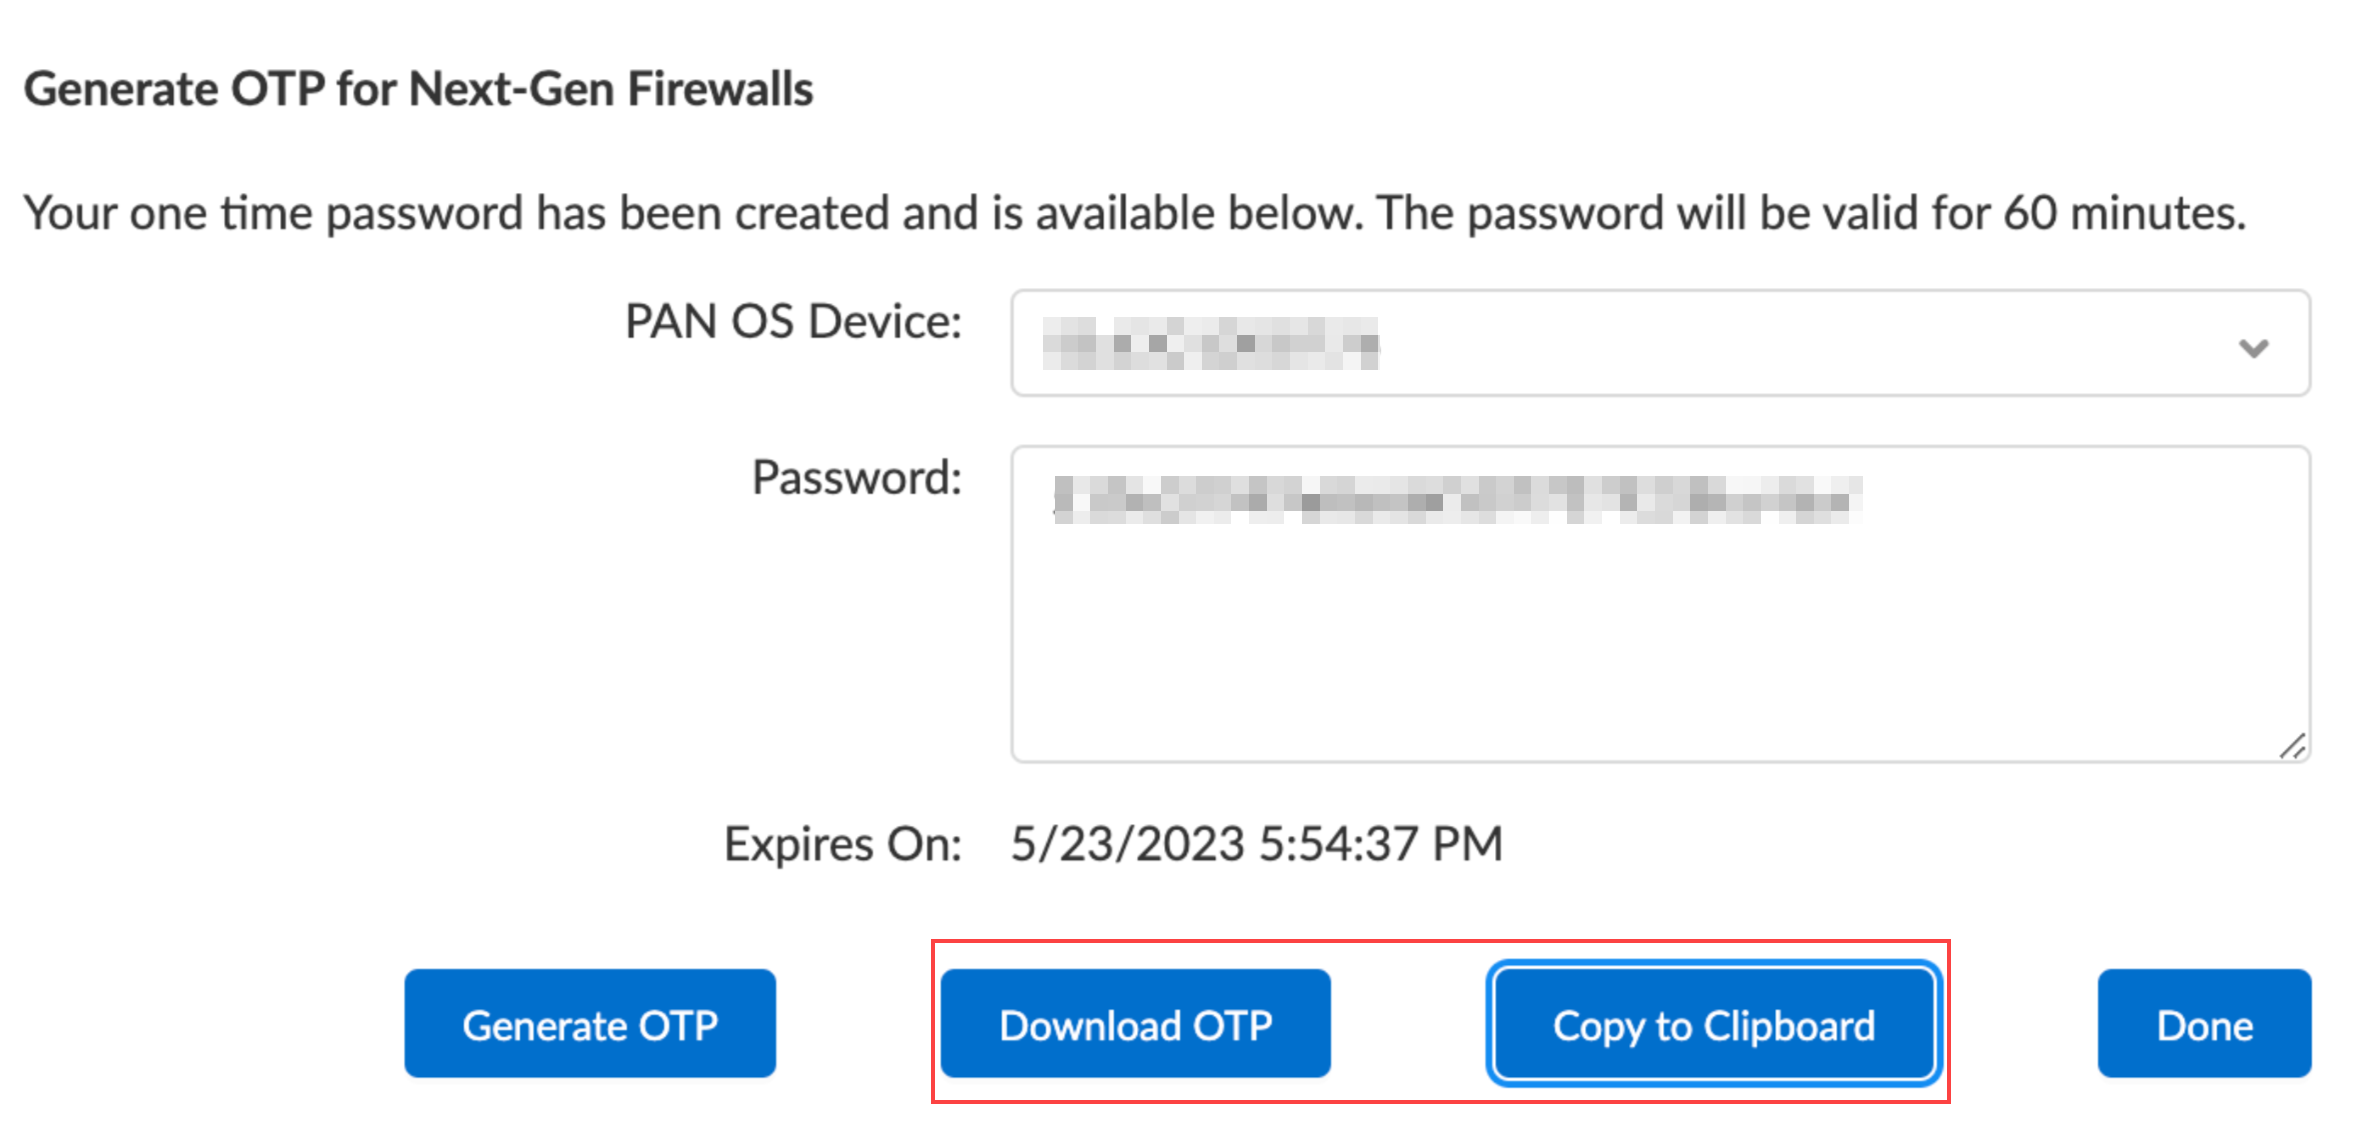
- Log in to the Customer Support Portal with a user role that has permission to generate an OTP.Select , and then click Generate OTP.For the Device Type, select Generate OTP for a Next-Gen Firewall (PanOS), and then click Next.Select your PAN-OS Device serial number, and then Generate OTP.Download OTP or Copy to Clipboard.
![]() Log in to the firewall web interface as a Superuser.An admin with Superuser access privileges is required to apply the OTP used to install the device certificate.Configure the Network Time Protocol (NTP) server.An NTP server is required to validate the device certification expiration date and ensure the device certificate does not expire early or become invalid.
Log in to the firewall web interface as a Superuser.An admin with Superuser access privileges is required to apply the OTP used to install the device certificate.Configure the Network Time Protocol (NTP) server.An NTP server is required to validate the device certification expiration date and ensure the device certificate does not expire early or become invalid.- Select and edit the Services section.Select NTP and enter the hostname or IP address of the Primary NTP Server.(Optional) Enter the hostname or IP address of the Secondary NTP Server.(Optional) To authenticate time updates from the NTP servers, for Authentication Type, select one of the following for each server:
- None (default)—Disables NTP authentication.
- Symmetric Key—Firewall uses symmetric key exchange (shared secrets) to authenticate time updates.
- Key ID—Enter the Key ID (1-65534)
- Algorithm—Select an algorithm to use for NTP authentication: MD5, SHA1, (PAN-OS 12.1.2 & later) SHA256, or SHA512.
- Autokey—Firewall uses autokey (public key cryptography) to authenticate time updates.
Click OK to save your changes.Commit your changes.Select and Get certificate.You can also install the device certificate from the firewall CLI using the command:admin>request certificate fetch otp <otp_value>![]() Paste the One-time Password you generated and click OK.Your next-generation firewall successfully retrieves and installs the certificate.You may need to refresh the page to verify that device certificate installation was successful.(WildFire and Advanced WildFire) Log in to the firewall CLI and refresh the firewall settings to establish a connection to the Advanced WildFire cloud with the updated device certificate.
Paste the One-time Password you generated and click OK.Your next-generation firewall successfully retrieves and installs the certificate.You may need to refresh the page to verify that device certificate installation was successful.(WildFire and Advanced WildFire) Log in to the firewall CLI and refresh the firewall settings to establish a connection to the Advanced WildFire cloud with the updated device certificate.admin>request wildfire registration channel publicRestore an Expired Device Certificate
The device certificate installed on your firewall has a 90-day lifetime. A firewall with the device certificate installed automatically attempts to reinstall the device certificate 15 days before the certificate expires. However, reinstallation can fail for multiple reasons, including network connectivity issues. When a device certificate expires, the Current Device Certificate Status displays Expired. If this happens, you can manually reinstall the device certificate.- Log in to the firewall web interface.Verify that the device certificate has expired.Select , and then check that the Current Device Certificate Status is Expired.
![]() Install a device certificate.If the request certificate fetch otp <otp_value> command isn’t available, it means the firewall is a Trusted Platform Module (TPM) device.To restore the device certificate for a TPM device, run the following command:request certificate fetch
Install a device certificate.If the request certificate fetch otp <otp_value> command isn’t available, it means the firewall is a Trusted Platform Module (TPM) device.To restore the device certificate for a TPM device, run the following command:request certificate fetch