Prisma SD-WAN
Add a VLAN or Switch Virtual Interface (SVI)
Table of Contents
Add a VLAN or Switch Virtual Interface (SVI)
Lets learn to add a VLAN (virtual LAN) or SVI ( switch virtual interface) in Prisma
SD-WAN.
| Where Can I Use This? | What Do I Need? |
|---|---|
|
|
To add virtual LAN or Switch Virtual
Interface:
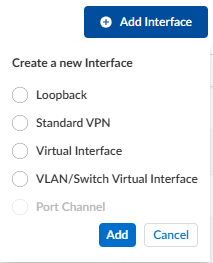
- Select .Select the device and then the Interface tab, select the Add Interface and select VLAN/Switch Virtual Interface and click Add.
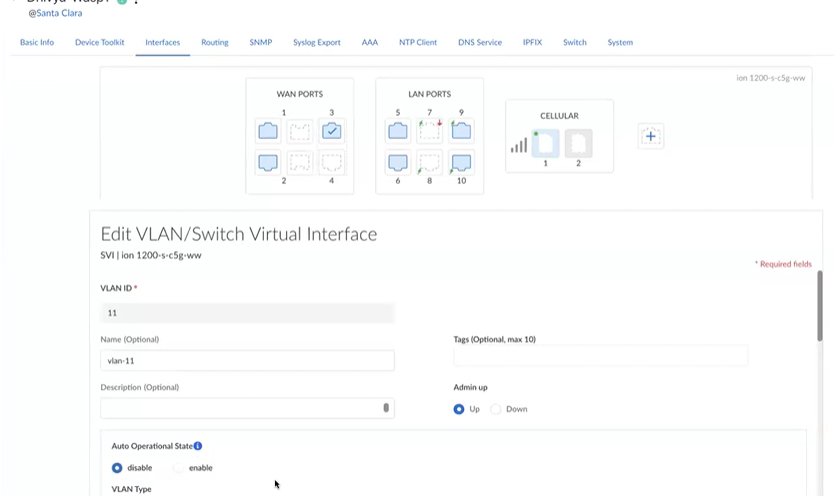
![]() Int the General section, enter the following VLAN information:
Int the General section, enter the following VLAN information:- Enter a valid VLAN ID, ranging from 1-4000. Enter a unique ID, else you get an error message that the ID is duplicate.
- (Optional) Enter a Name, Tags, and Description for the VLAN.
- Select Admin Up to use the switch virtual interface.Select Admin Up if you need the SVI (L3 routing). If you only need the L2 switching among the switch ports, Admin Down can be used.
In the Network Settings, Interface Type is auto-populated. Enter the following information:- Select the IPv4 Configuration for the
interface–None, Static, or DHCP. If you select static, provide the IP address, Default Gateway, and DNS Server.Default gateway and DNS server are optional.
- Enable or disable SVI Autostate.Starting with release 6.4.1, Prisma SD-WAN introduces a SVI state configuration Auto Operation State which can be configured to remain up, when all VLAN member ports are down, or, to be brought down if all member ports are down.By default, Auto Operational State is enabled and the SVI is up only when:
- SVI is configured Admin Up.
- At least one L2 switch port-access or trunk port-is a member of the SVI and has its link up.
When Auto Operational State is disabled, if the SVI is configured Admin Up, it will remain up.![]()
- Select the VLAN Type as Data or Voice LAN.
- Enter the Scope of the interface.
- Select Used this port for as LAN.
- Select the VRF option if the device supports VRF.
- Select Network Context, IPFIX Collector, and IPFIX Filter.
- (Optional) Add DHCP Relay.
- (Optional) Add NAT Configuration.
In the Advanced Settings, enter Static ARP Config information.You can add a maximum of 16 addresses.- Enter a valid IPv4 address.
- Enter a valid MAC Address.
Security Group Info is disabled by default.Save your changes.The VLAN is created with a system-generated name vlan-<id>. If you have specified a VLAN name in step 3, the given name is used.