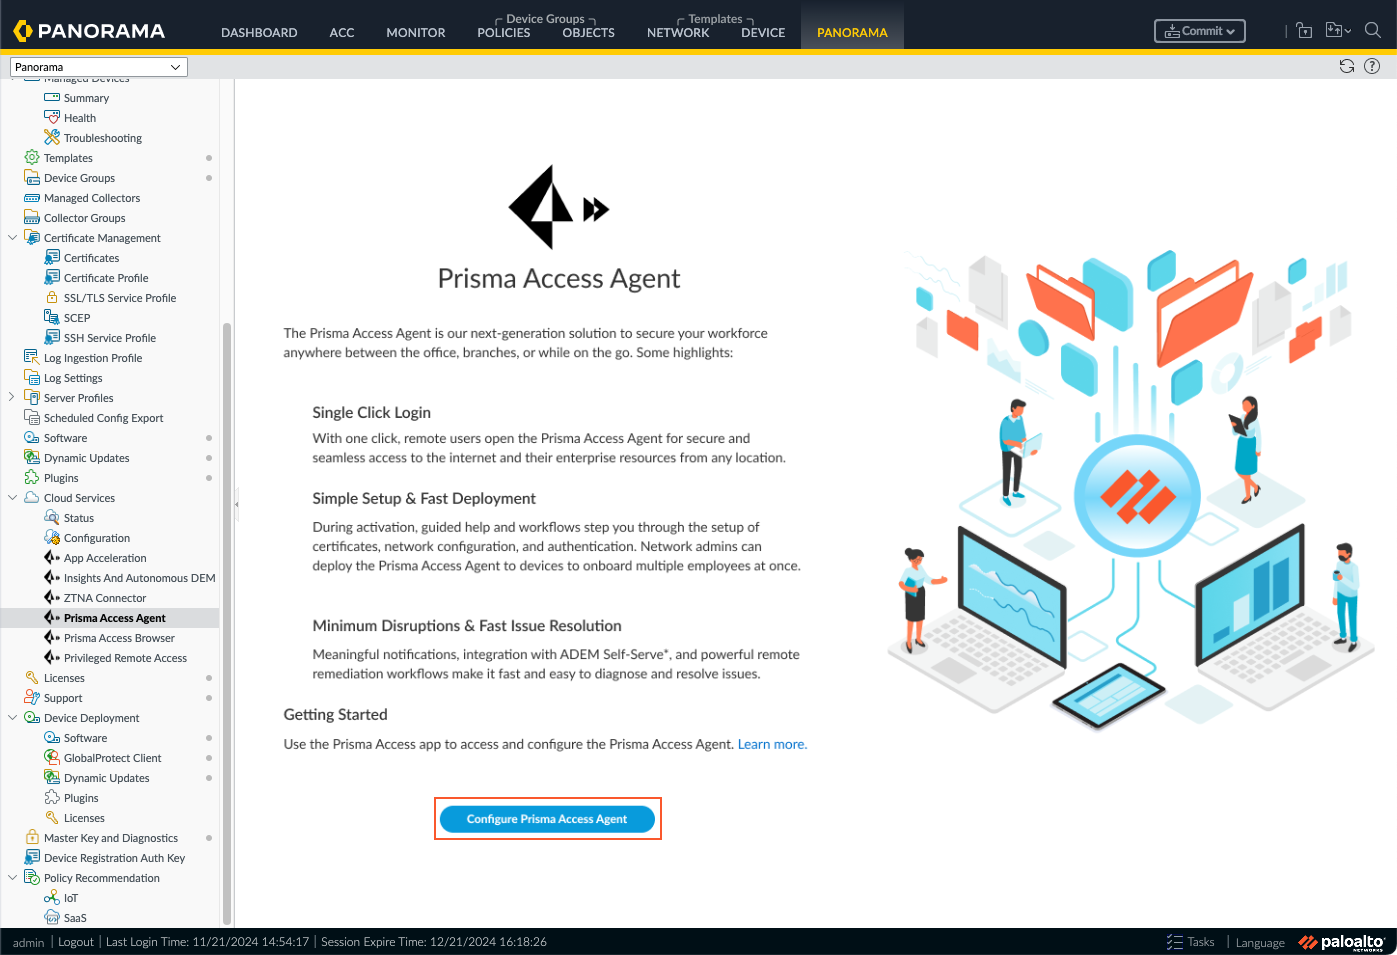
Prisma Access Agent
Set Up Prisma Access Agent User Authentication
Table of Contents
Set Up Prisma Access Agent User Authentication
Set up the authentication for Prisma Access Agent users.
| Where Can I Use This? | What Do I Need? |
|---|---|
|
|
Set up user authentication so that only legitimate Prisma Access Agent users
have access to your services and applications.
You can authenticate Prisma Access Agent users to Prisma Access using the
Cloud Identity Engine. Using client certificates or SAML 2.0 with Cloud Identity
Engine are the only supported authentication methods for the Prisma Access Agent. Authenticated users are associated with configuration rules that define how the
Prisma Access Agent is configured when the agent is deployed to the user
endpoints.
Be sure to set up user authentication before you complete
the first Push Config.
You can set up user authentication depending on the Prisma Access management
deployment that you're using.
Set Up Prisma Access Agent User Authentication (Prisma Access Deployment)
Learn how to set up the user authentication for Prisma Access Agent users in
Prisma Access deployments.
For Prisma Access deployments, you can use Strata Cloud Manager or Panorama
to set up user authentication so that only legitimate Prisma Access Agent
users have access to your services and applications.
Before you begin, Set Up Cloud Identity Engine for Prisma Access Agent User Authentication and
set up an authentication profile.
On Prisma Access Agent and GlobalProtect™ coexistence tenants, the Prisma Access Agent supports only SAML authentication with Cloud Identity Engine, while GlobalProtect supports authentication types such as
SAML, RADIUS, LDAP, TACACS+, and Kerberos.
You can set up user authentication depending on the management platform that you're
using.
Set Up Prisma Access Agent User Authentication (Prisma Access Deployment on Strata Cloud Manager)
Use Strata Cloud Manager to set up the authentication for Prisma Access Agent
users in Prisma Access deployments.
You can use Strata Cloud Manager to set up user authentication so that only
legitimate Prisma Access Agent users have access to your services and
applications.
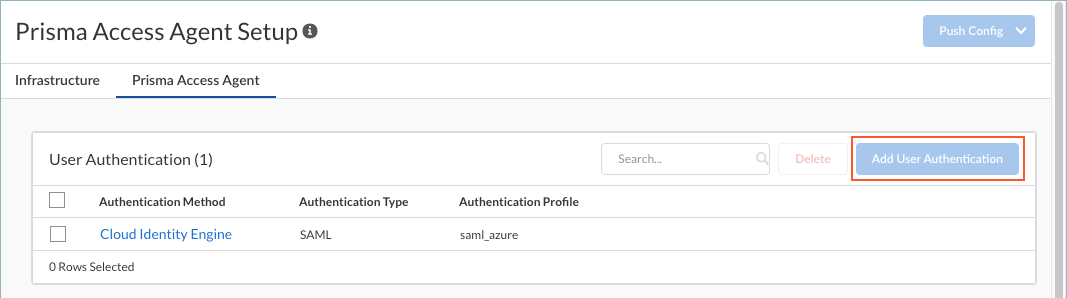
- In Strata Cloud Manager, select .
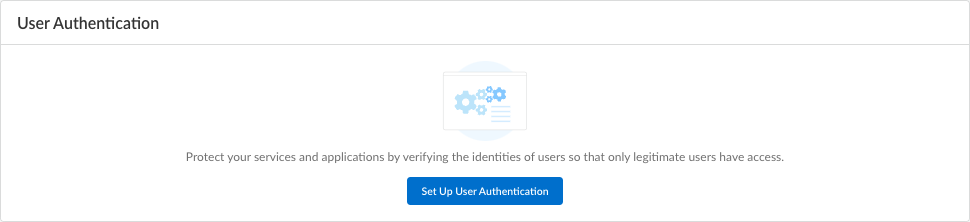
- If this is your first time setting up the Prisma Access Agent, click Set Up User Authentication.
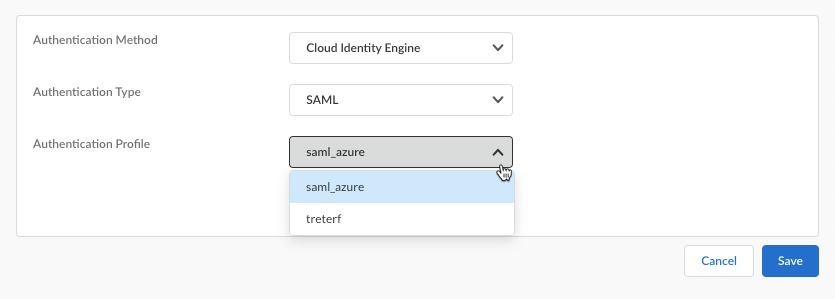
 Otherwise, select an authentication method to update it or Add User Authentication.
- Select the endpoint operating system to Authenticate Users From. Selecting Match Any will authenticate users from all supported operating systems. The default is Match Any.
- Save your user authentication settings.


Set Up Prisma Access Agent User Authentication (Prisma Access Deployment on Panorama)
Use Panorama to set up the authentication for Prisma Access Agent
users in Prisma Access deployments.
For Panorama managed Prisma Access deployments, you can set up user authentication so
that only legitimate Prisma Access Agent users have access to your services
and applications.
- From the Cloud Services plugin in Panorama, select .
- Select .
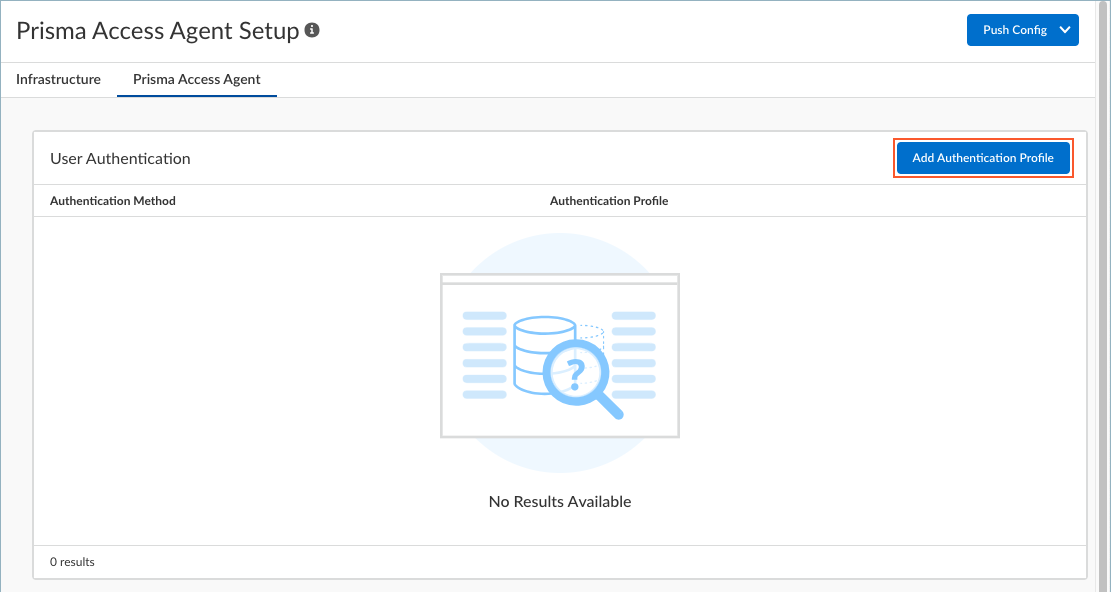
- Select Prisma Access Agent.
- If this is your first time setting up the Prisma Access Agent, click Add Authentication Profile.
Otherwise, select an Authentication Method to update it.
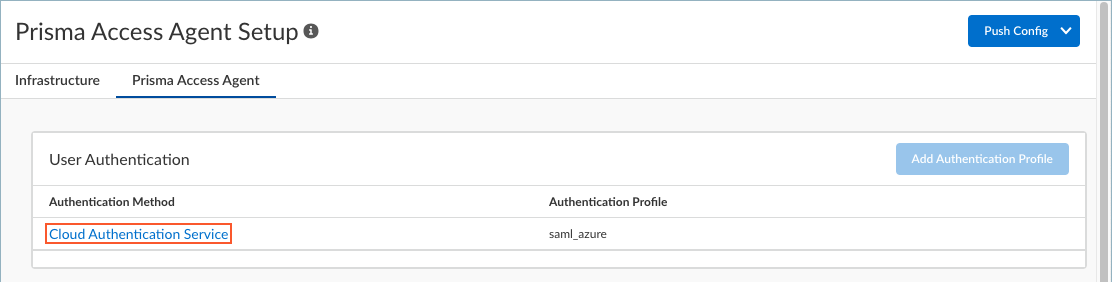
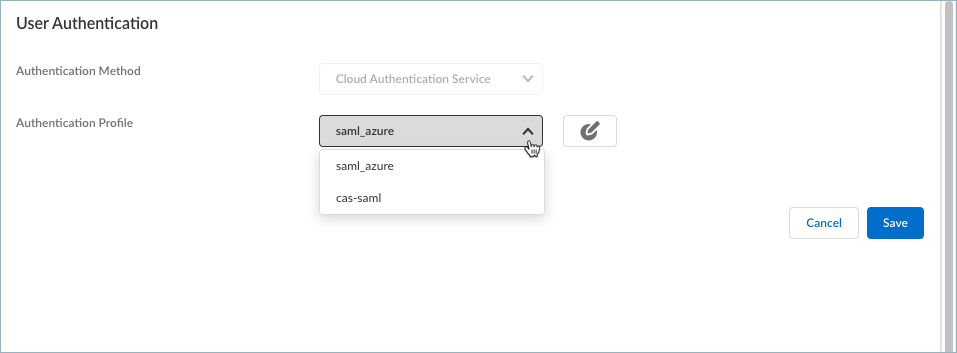
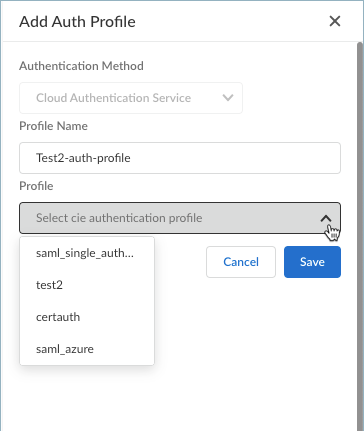
- Select an Authentication Profile or Create New. This authentication profile maps to the Cloud Identity Engine authentication profile that validates the login credentials of end users who access applications and resources using the Prisma Access Agent.
If you are creating a new profile:
- Click Create New.
- Enter a Profile Name and select an available Cloud Identity Engine Profile.
- Save your new profile. The profile is added to the list of authentication profiles.
- Select the profile you created if you want to use it to authenticate your users.
- Save your user authentication settings.

Set Up Prisma Access Agent User Authentication (NGFW Deployment)
Learn how to set up the user authentication for Prisma Access Agent users in
NGFW deployments.
For Panorama managed NGFW deployments, you can set up user authentication so that
only legitimate Prisma Access Agent users have access to your services and
applications.
Before you begin:
On Prisma Access Agent and GlobalProtect™ coexistence tenants, the Prisma Access Agent supports only SAML authentication with Cloud Identity Engine, while GlobalProtect supports authentication types such as
SAML, RADIUS, LDAP, TACACS+, and Kerberos.
- Log in to Strata Cloud Manager as the administrator.
- Select .
- Select Prisma Access Agent.
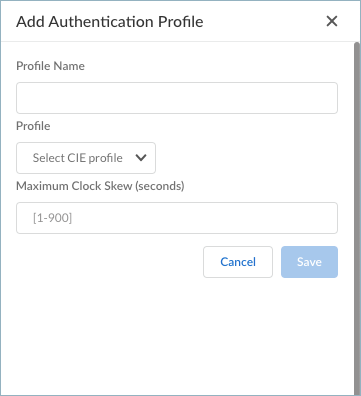
- Click Add User Authentication.
- Select an Authentication Profile. The authentication profile is the same one that you set up in Cloud Identity Engine.
- To select an existing profile, select an Authentication Profile from the list.
- If no authentication profile exists or you want to add a new one, click Create New.
- Enter the Profile Name.
- Select a CIE profile from the drop-down.
- Enter the Maximum Clock Skew (seconds),
which is the allowed system time difference (in seconds) between
the IdP and gateway when the gateway validates IdP messages. If
the difference exceeds this value, authentication fails. The range is 1-900 seconds. There is no default value.
- Save the authentication profile
settings.
- Select the authentication profile that you just added.
- Save your user authentication settings.