Prisma SD-WAN
Create Security Zone and Security Policy for GRE Tunnels Creation
Table of Contents
Expand All
|
Collapse All
Prisma SD-WAN Docs
-
-
- Prisma SD-WAN Controller
-
- CloudBlade Integrations
- CloudBlades Integration with Prisma Access
-
-
-
-
- 6.5
- 6.4
- 6.3
- 6.1
- 5.6
- Prisma SD-WAN Controller
- Prisma SD-WAN On-Premises Controller
- Prisma SD-WAN CloudBlades
- Prisma Access CloudBlade Cloud Managed
- Prisma Access CloudBlade Panorama Managed
Create Security Zone and Security Policy for GRE Tunnels Creation
Learn to configure and install the Zscaler Integration CloudBlade and perform the
steps required for the integration.
| Where Can I Use This? | What Do I Need? |
|---|---|
|
|
GRE tunnels created by the Zscaler Cloudblade must require a security policy (v1) or
security policy set(v2) to be applied to the site for tunnel creation. The security
policy and zone must be created and mapped to the site. The Cloudblade automatically
places the servicelink GRE tunnel into the security zone. The CloudBlade typically
creates two GRE tunnels, a Primary tunnel to Data center one and a Secondary GRE
tunnel to Data center two.
If a policy or zone is removed later, the CloudBlade ignores all GRE operations
performed on that site. This includes creating, updating or re-querying.
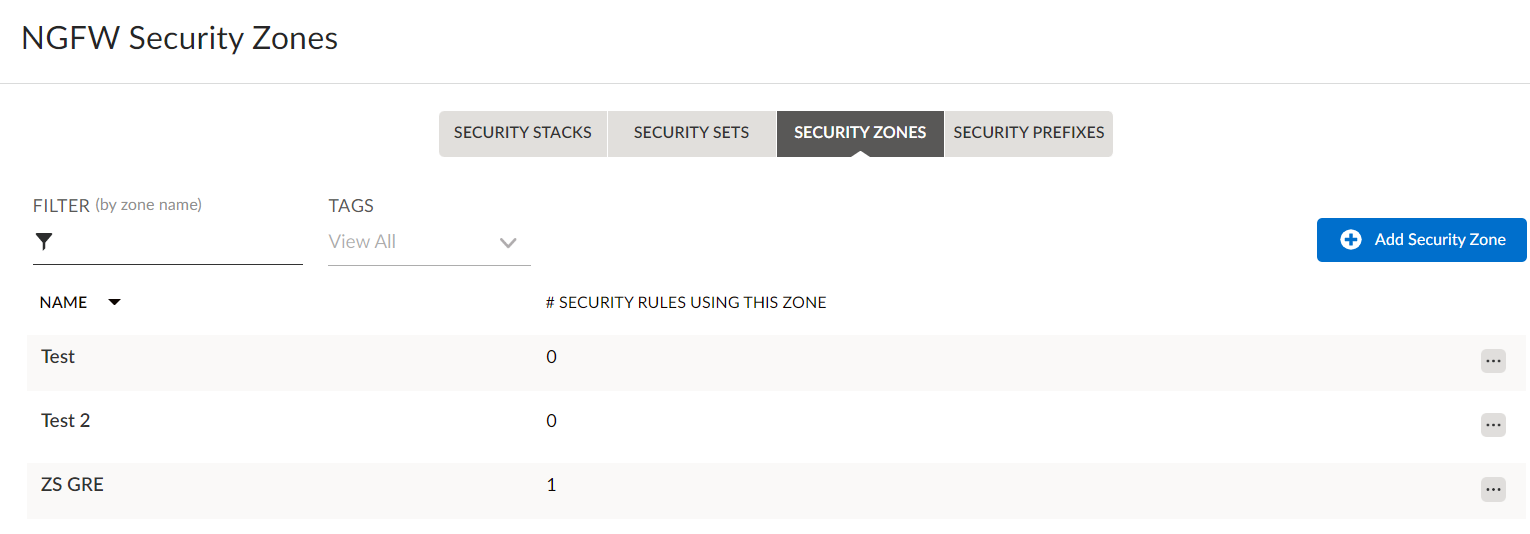
- Add a security zone.
- In Strata Cloud Manager, go to ConfigurationPrisma SD-WANPoliciesSecurity.Select Security Zones and add a Security Zone.
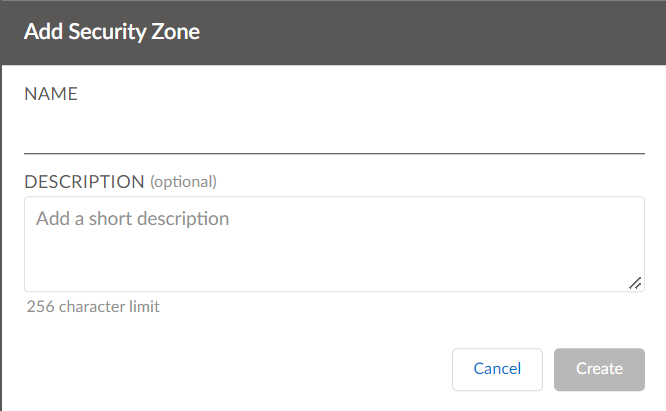
![]() On the next screen, enter a name for the security zone and an optional description.Click Create.
On the next screen, enter a name for the security zone and an optional description.Click Create.![]() Add a security policy stack.
Add a security policy stack.- Select PoliciesSecurity and add a Stack.
![]() Enter a name for the Security stack, select the security policy zone created previously and Save the changes.
Enter a name for the Security stack, select the security policy zone created previously and Save the changes.![]() Bind the security policy to the site.
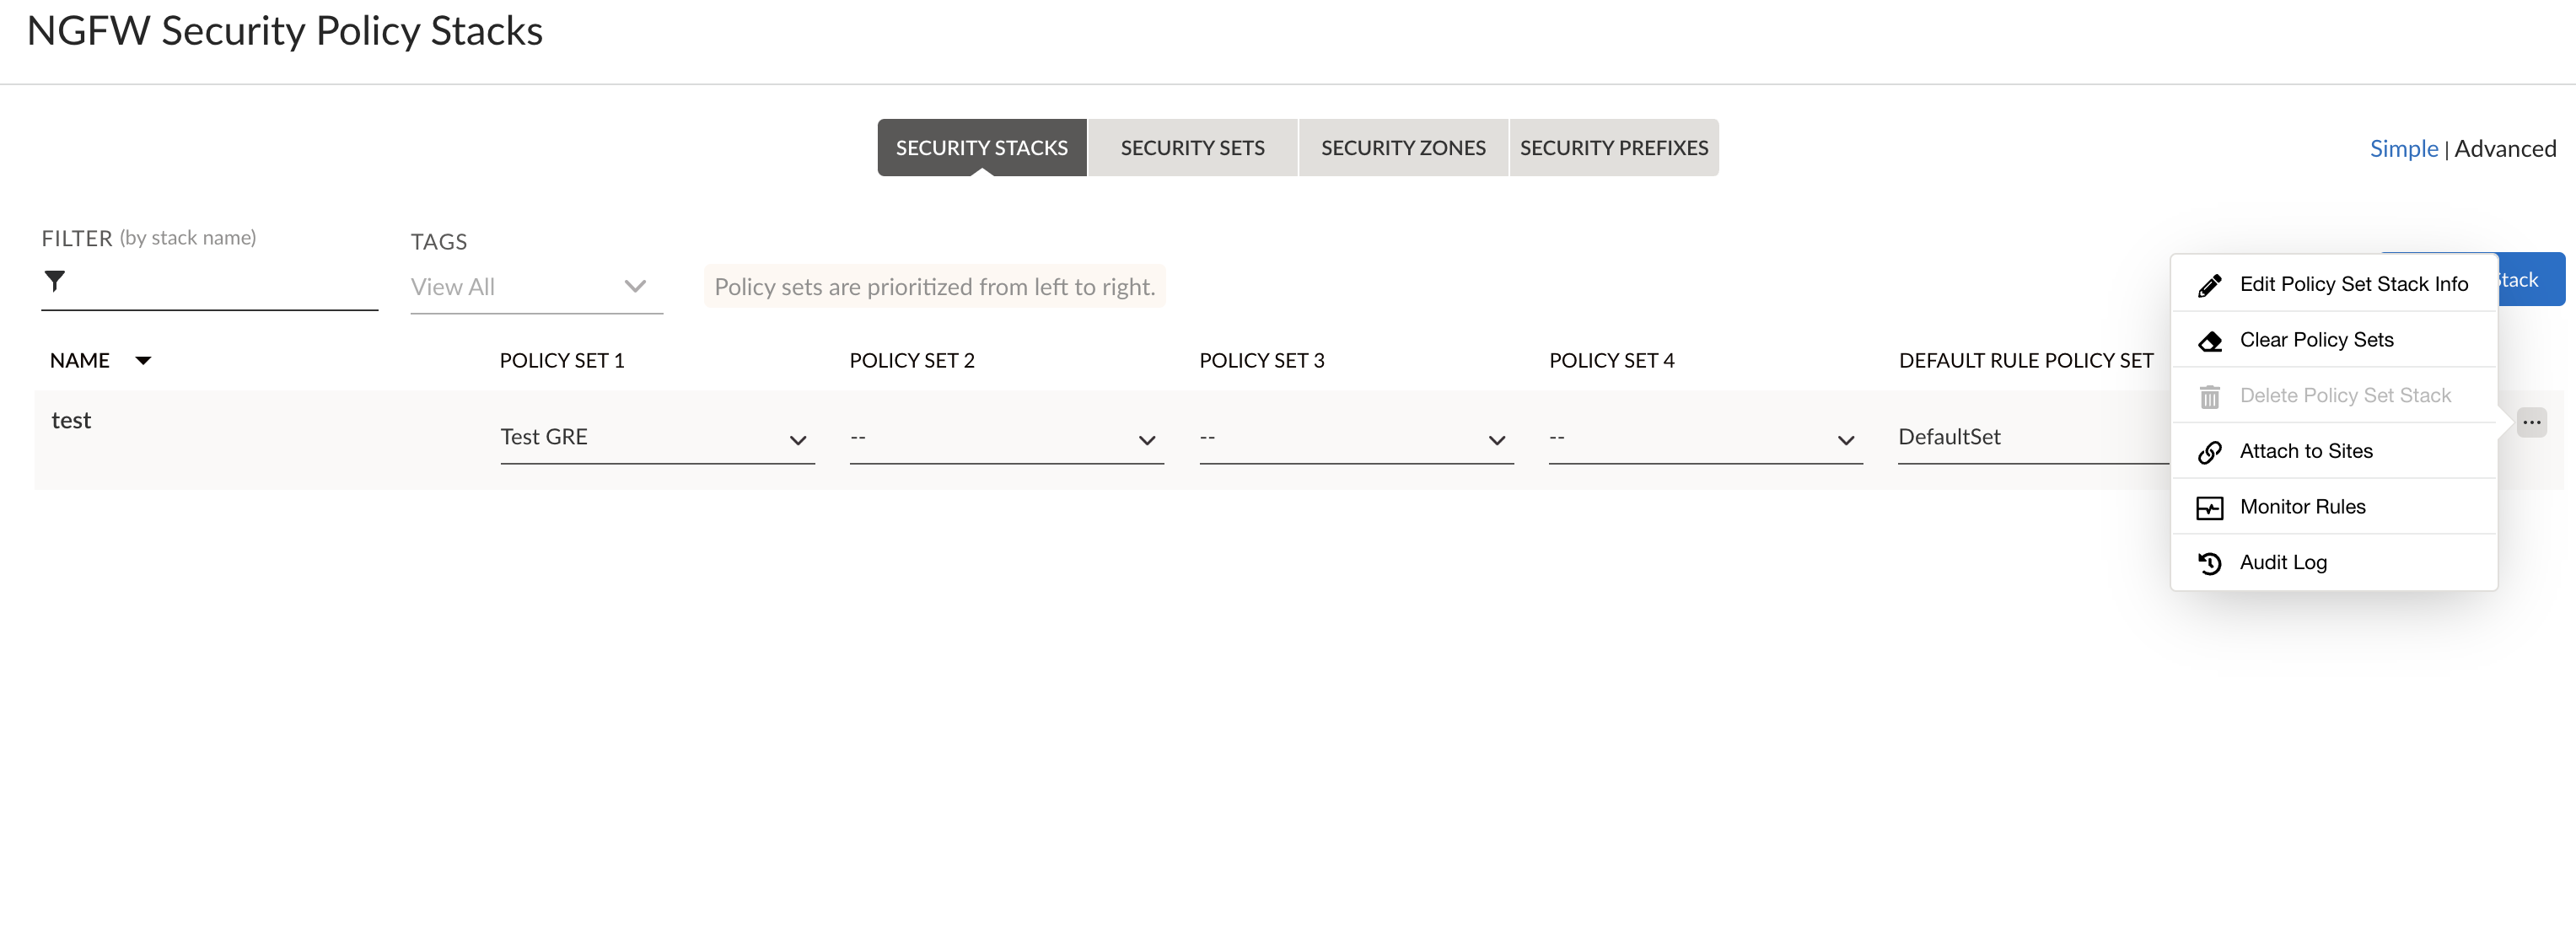
Bind the security policy to the site.- Select the Security Stack.From the ellipsis menu for a security policy, select Attach to Sites.
![]() Select the site and click Edit Selected.Review or edit your security policies and select Save.
Select the site and click Edit Selected.Review or edit your security policies and select Save.Configure and Install the Zscaler Integration
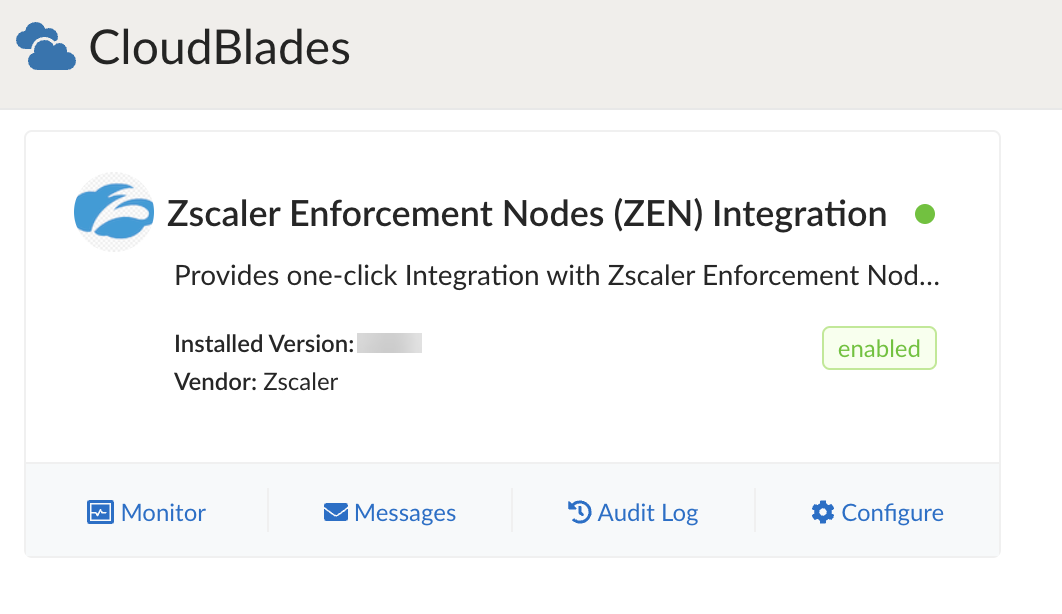
Configure the Prisma SD-WAN CloudBlade to prepare the Prisma SD-WAN controller for integration.- In Strata Cloud Manager, go to ConfigurationPrisma SD-WANCloudBlades.Locate the Zscaler Enforcement Nodes (ZEN) Integration CloudBlade tile in the CloudBlades page and click Configure. If this CloudBlade does not appear, contact Palo Alto support team.
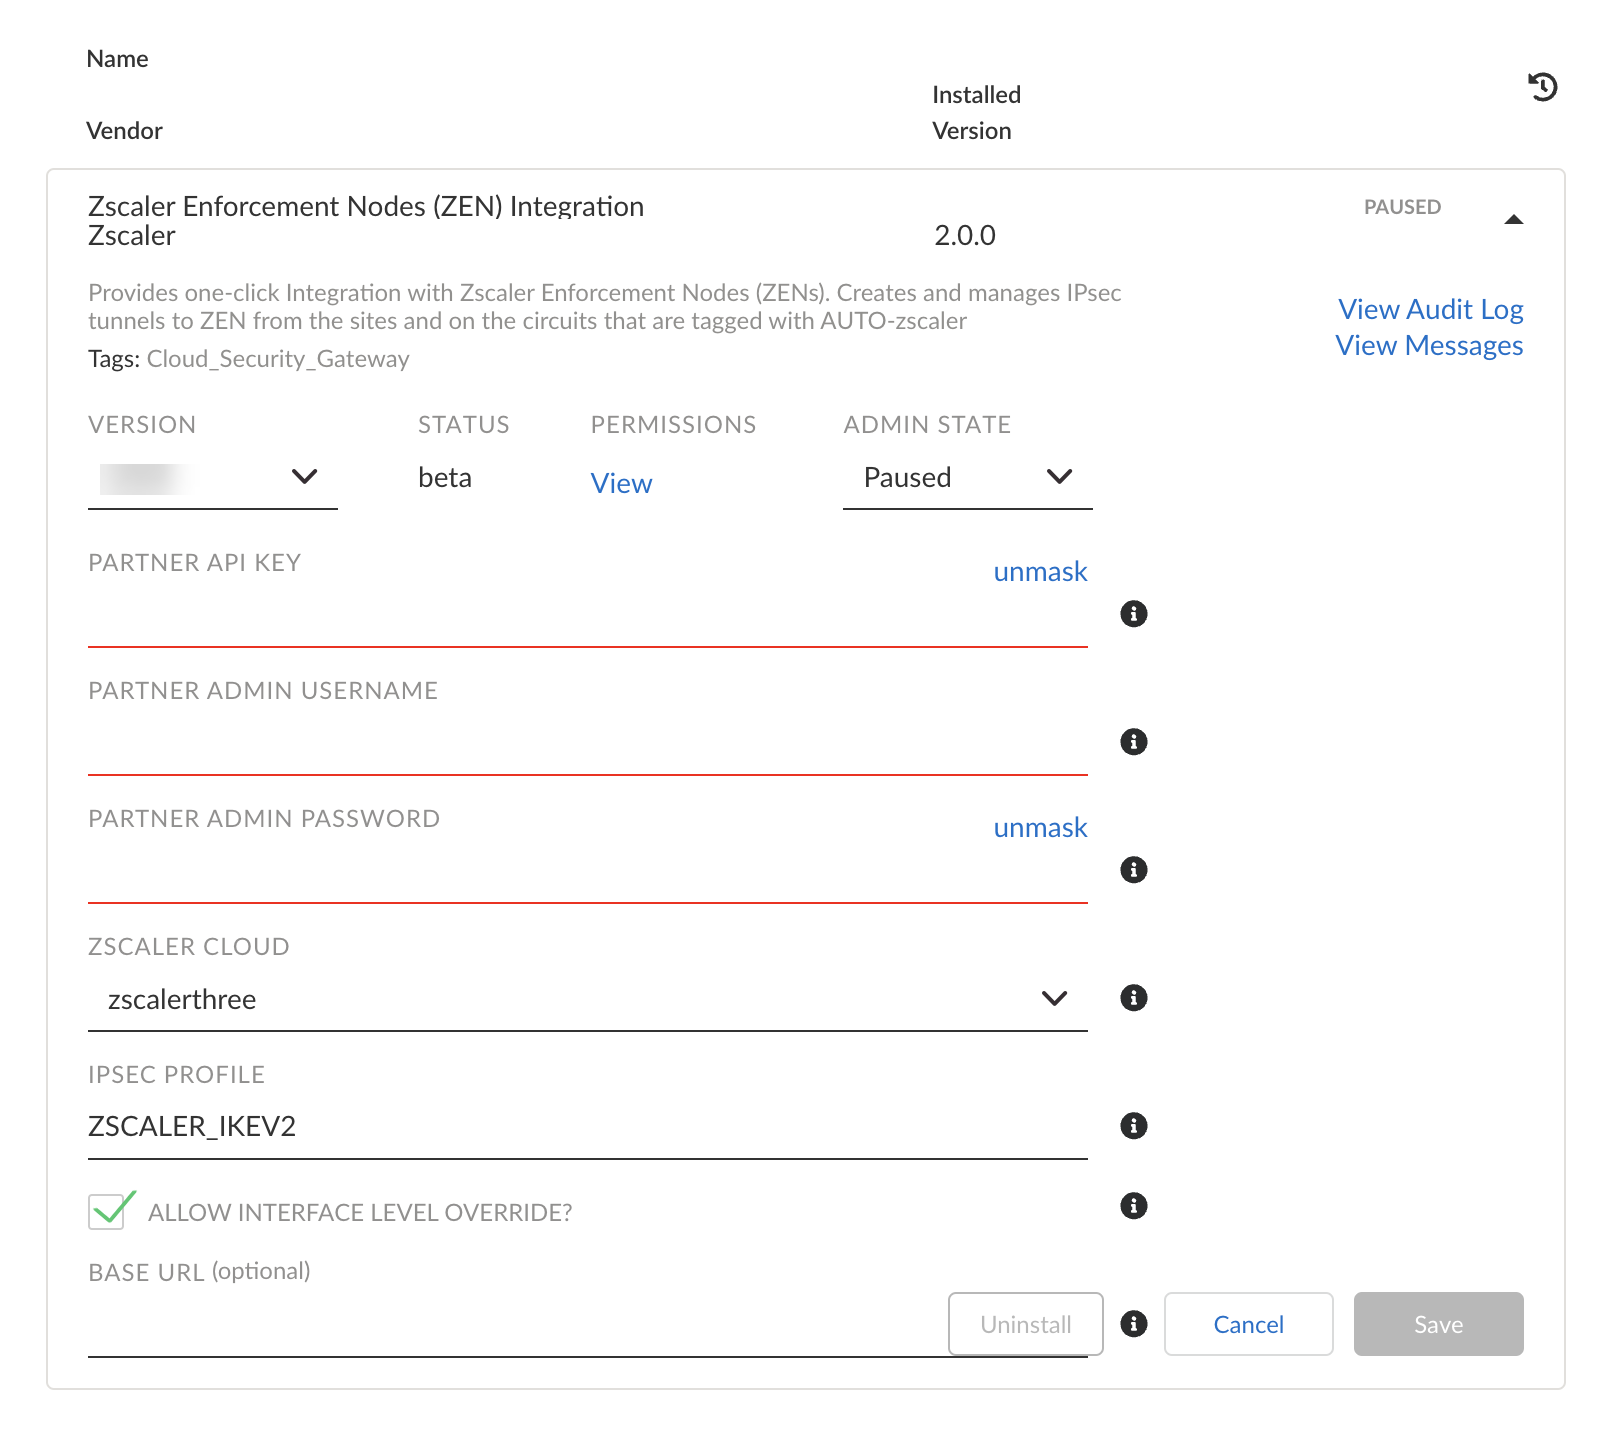
![]() Enter the following information in the CloudBlade installation page.
Enter the following information in the CloudBlade installation page.- From the Version list, select the required version.For Admin State, retain Enabled, which is the default value.For API Key, provide the SD-WAN key generated in the previous section.For Partner Admin Username and Partner Admin Password, provide the partner administrator account details created in the previous section.For Zscaler cloud, select the Zscaler cloud to which your subscription is attached (zscalerthree in the example below).From version 2.1.0 onwards, the CloudBlade supports govcloud which supports only IPsec tunnels.Specify the IPsec Profile name (case sensitive). The default is ZSCALER_IKEV2, which should be pre-provisioned along with the CloudBlade allocation. The tunnels to be created will be identified based on the tags created (AUTO-zscaler for IPSec and AUTO-zscaler-GRE for GRE; version 2.0.0 onwards).If you select Allow Interface Level Override for the IPsec profile, it will allow administrators to change the IPsec profile referenced at the Standard VPN tunnel level without the CloudBlade overriding this change. This is typically useful in case of troubleshooting scenarios.(Optional) Provide the base URL. If left blank, the base URL will be derived from the admin username domain.After you configure the settings, click Install (or Save, if the CloudBlade was previously installed).
![]()

