GlobalProtect
Test the App Installation
Table of Contents
Test the App Installation
Test the GlobalProtect app installation by creating an agent configuration, logging
in to the portal, downloading and installing the app, and logging in to
GlobalProtect.
| Where Can I Use This? | What Do I Need? |
|---|---|
|
|
Use the following procedure to test the GlobalProtect
app installation.
- Create an agent configuration for testing the app installation.When initially installing the GlobalProtect app software on the endpoint, the end user must be logged in to the system using an account that has administrative privileges. Subsequent app software updates do not require administrative privileges.As a best practice, create an agent configuration that is limited to a small group of users, such as administrators in the IT department responsible for administering the firewall:
- To add a new portal or modify an existing portal, do one of the following:
- On Panorama, select . Select an existing portal configuration that you want to modify or Add a new one to deploy to the test users/group.
- On Strata Cloud Manager (Prisma Access), select .
- On Strata Cloud Manager (NGFW), select and then Add Portal.
On the Agent tab, select an existing configuration or Add a new one to deploy to the test users/group.Add the User/User Group who will be testing the app.- On Panorama, on the User/User Group tab, Add the User/User Group.
- On Strata Cloud Manager (Prisma Access), select .
- On Strata Cloud Manager (NGFW), select .
On the App tab, set Allow User to Upgrade GlobalProtect App to Allow with Prompt. Click OK to save the configuration.(Optional) On the Agent tab, select the agent configuration that you just created or modified, and then click Move Up so that it is higher on the list than the more generic configurations you have created.When a GlobalProtect app connects, the portal compares the source information in the packet against the agent configurations you have defined. As with security rule evaluation, the portals looks for a match starting from the top of the list. When it finds a match, it delivers the corresponding configuration to the app.Commit the changes.Log in to the GlobalProtect portal.- Launch your web browser and go to the following URL:
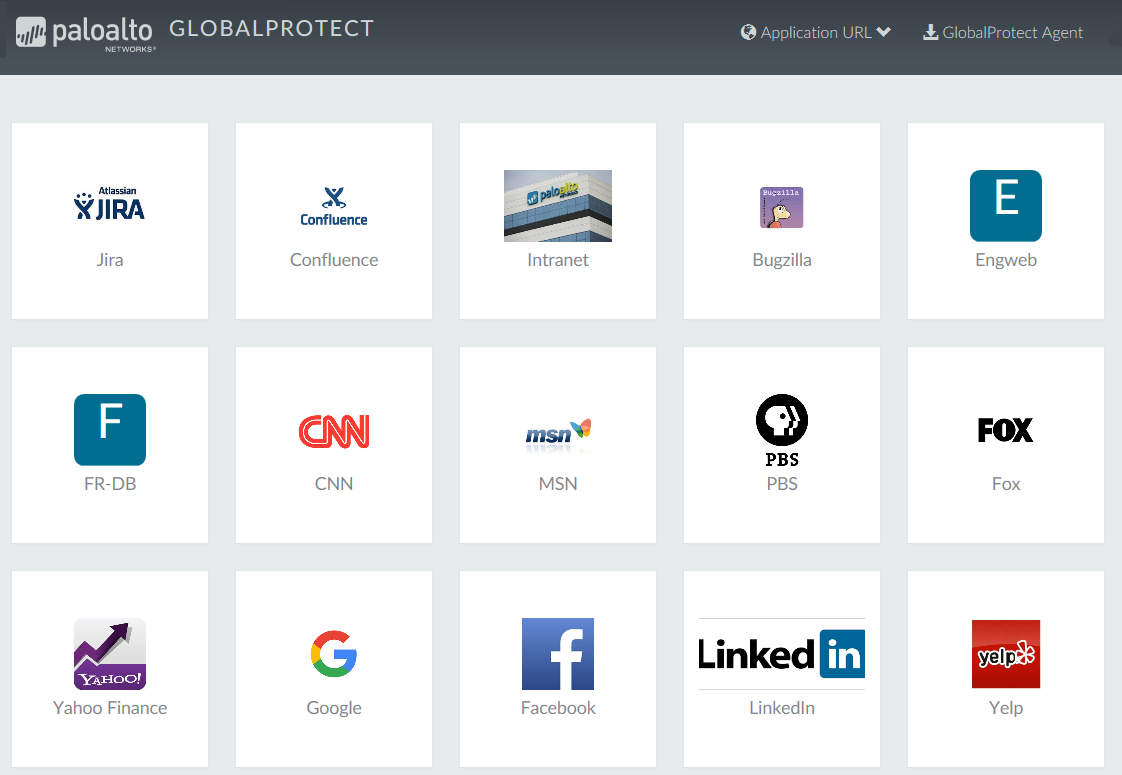
https://<portal address or name>For example, https://gp.acme.com.On the portal login page, enter your user Name and Password, and then click LOG IN.![]() Navigate to the app download page.In most cases, the app download page appears immediately after you log in to the portal. Use this page to download the latest app software package.If you have enabled GlobalProtect Clientless VPN access, the applications page opens after you log in to the portal (instead of the agent download page) when you log in to the portal. Select GlobalProtect Agent to open the download page.
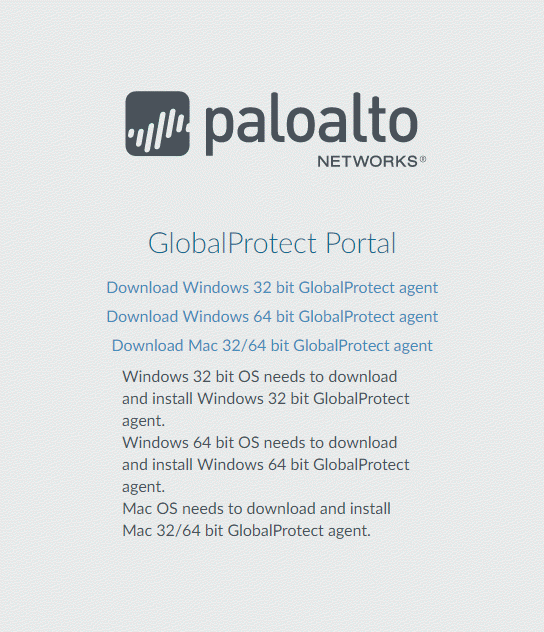
Navigate to the app download page.In most cases, the app download page appears immediately after you log in to the portal. Use this page to download the latest app software package.If you have enabled GlobalProtect Clientless VPN access, the applications page opens after you log in to the portal (instead of the agent download page) when you log in to the portal. Select GlobalProtect Agent to open the download page.![]() Download the app.
Download the app.- To begin the download, click the link that corresponds to the operating system running on your computer.
![]() Open the software installation file.When prompted to run or save the software, click Run.When prompted, click Run to launch the GlobalProtect Setup Wizard.When initially installing the GlobalProtect app software on the endpoint, the end user must be logged in to the system using an account that has administrative privileges. Subsequent app software updates do not require administrative privileges.Complete the GlobalProtect app setup.
Open the software installation file.When prompted to run or save the software, click Run.When prompted, click Run to launch the GlobalProtect Setup Wizard.When initially installing the GlobalProtect app software on the endpoint, the end user must be logged in to the system using an account that has administrative privileges. Subsequent app software updates do not require administrative privileges.Complete the GlobalProtect app setup.- From the GlobalProtect Setup Wizard, click Next.Click Next to accept the default installation folder (C:\Program Files\Palo Alto Networks\GlobalProtect) and then click Next twice.Although you can Browse to select a different location in which to install the GlobalProtect app, the best practice is to install it in the default location. The default installation location is read-only for non-privileged users and therefore installing to this location protects against malicious access to the app.After the installation is complete, Close the wizard.Log in to GlobalProtect.
- Launch the GlobalProtect app by clicking the system tray icon. The status panel opens.Enter the FQDN or IP address of the portal, and then click Connect.(Optional) By default, you are automatically connected to the Best Available gateway, based on the configuration that the administrator defines and the response times of the available gateways. To connect to a different gateway, select the gateway from the Gateway drop-down (for external gateways only).This option is only available if you enable manual gateway selection.(Optional) Depending on the connection mode, click Connect to initiate the connection.(Optional) If prompted, enter your Username and Password, and then click Sign In.If authentication is successful, you are connected to your corporate network, and the status panel displays the Connected or Connected - Internal status. If you set up a GlobalProtect welcome page, it displays after you log in successfully.