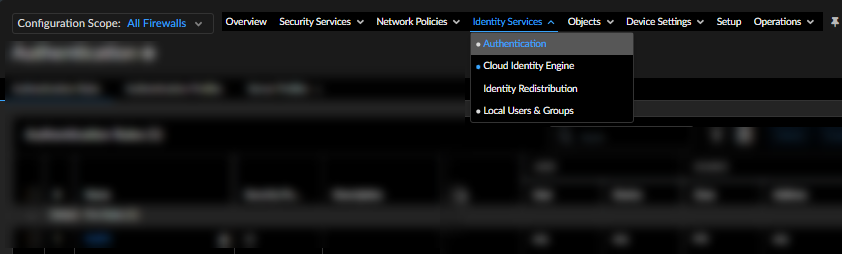
Manage: Authentication Setup
Focus
Focus
Strata Cloud Manager

Manage: Authentication Setup

Table of Contents

Manage: Authentication Setup

Learn to setup and configure Authentication Rules and Profiles.
Where Can I Use This?What Do I Need?
  • Prisma Access (Managed by Strata Cloud Manager)
  • Prisma Access license
To set up authentication with Prisma Access in Strata Cloud Manager, first add your authentication service(s) to Prisma Access. Then specify the traffic for which you want to require authentication. Build on these settings to add more authentication features, like MFA, authentication sequences, or enable Prisma Access to create and update IP address to username mappings.
Here’s how to get started—all the settings you need to enable authentication with Prisma Access are in one place: ManageIdentity ServicesAuthentication.
  • Authentication Rules Here’s where you specify the traffic for which you want to require authentication
    Part of setting up an Authentication Rule includes adding an authentication profile to the rule. When Prisma Access detects traffic that matching an authentication rule, it applies the authentication methods and settings defined in the authentication profile to the matching traffic. The profile is what defines how the users will be required to authenticate.
    1. Go to ManageIdentity and Access ServicesAuthenticationAuthentication Rule and Add Authentication Rule.
    2. Define the users, services, and URL categories that require authentication.
    3. Set the rule action to Authenticate and choose the Profile that defines the authentication method you want to use for traffic that matches this rule.
  • Authentication Profile Add your authentication services here, and define authentication settings
    Connect Prisma Access to the services you want to use to authenticate users—SAML, TACACS+, RADIUS, LDAP, or Kerberos—and define authentication settings (for example, set a limit for failed login attempts).
    If you are using an on-premise authentication service, you must first create a service connection to connect the on-premise authentication service to Prisma Access. Then, return here to set up your authentication profile.
    Go to ManageIdentity and Access ServicesAuthenticationAuthentication ProfileAdd Profile and start by setting the profile Auth Type:
    You’ll be prompted to add details about the authentication service you chose that will enable Prisma Access to connect to the service, and read user credentials and role permissions. Additional settings to customize authentication are provided in the profile, and might vary depending on the type of authentication you’re setting up.
  • MFA Servers Specify the MFA vendor you’re using
    To use multiple methods to authenticate users to sensitive applications, start by adding the MFA vendors you want to use (Add MFA Server). Prisma Access provides a list of MFA vendors for you to choose from.
  • Authentication Portal Set up the authentication portal (also known as Captive Portal) for users at remote network sites, and enable Prisma Access to create IP address to username mappings
    For first-factor authentication (login and password), users at remote network sites must authenticate through the authentication portal. If the authentication succeeds, Prisma Access displays an MFA login page for each additional authentication factor that’s required. Prisma Access uses the credentials users submit to create and update IP address to username mappings. This means that you’ll always know who at a remote network site is accessing web content and enterprise applications.
  • Authentication Sequence Rank authentication profiles in the order you want Prisma Access to try them
    Select ManageIdentity and Access ServicesAuthenticationAuthentication Profile and Add Authentication Sequence to rank your authentication profiles. Prisma Access checks each of them in sequence until one successfully authenticates the user.