Install the Windows-Based User-ID Agent
Table of Contents
Install the Windows-Based User-ID Agent
The following procedure shows how to install the
User-ID agent on a member server in the domain and set up the service
account with the required permissions. If you are upgrading, the installer
will automatically remove the older version; however, it is a good idea
to back up the config.xml file before running the installer.
For
information about the system requirements for installing the Windows-based
User-ID agent and for information on supported server OS versions,
refer to the User-ID agent release notes and
the Palo Alto Networks Compatibility Matrix.
- Create a dedicated Active Directory service account for the User-ID agent to access the services and hosts it will monitor to collect user mappings.Create a Dedicated Service Account for the User-ID Agent and grant the necessary permissions for the Windows User-ID agent.
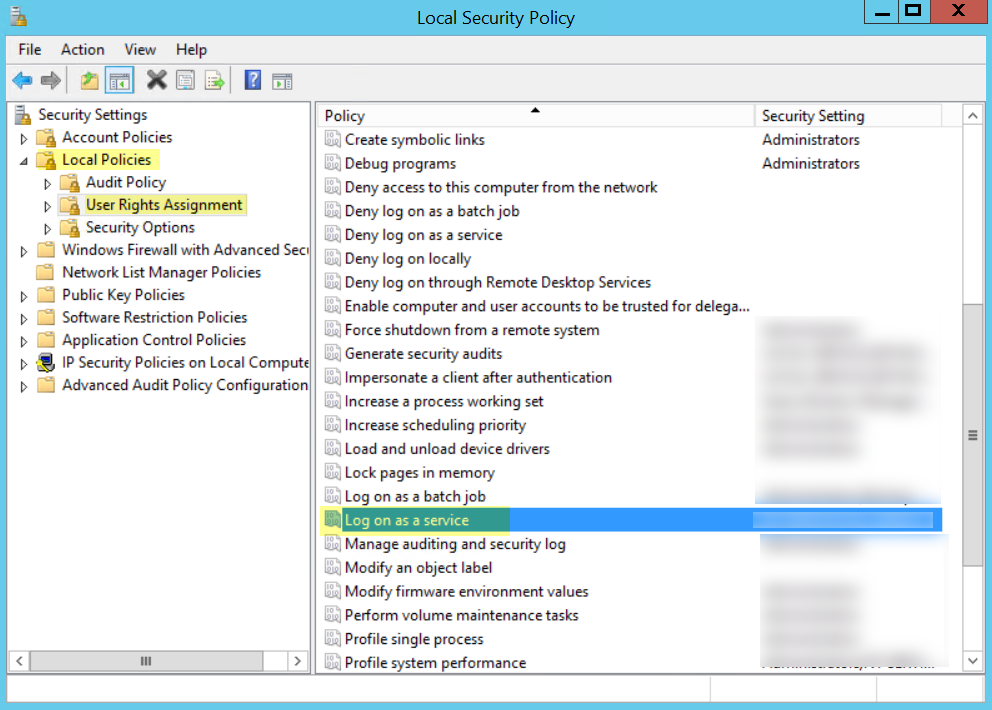
- Enable the service account to log on as a service by configuring either local or group policy.
- To configure the group policy if you are installing Windows-based User-ID agents on multiple servers, select for the Windows server that is the agent host.
- Right-click Log on as a service, then select Properties.
- Add the service account username or builtin group (Administrators have this privilege by default).
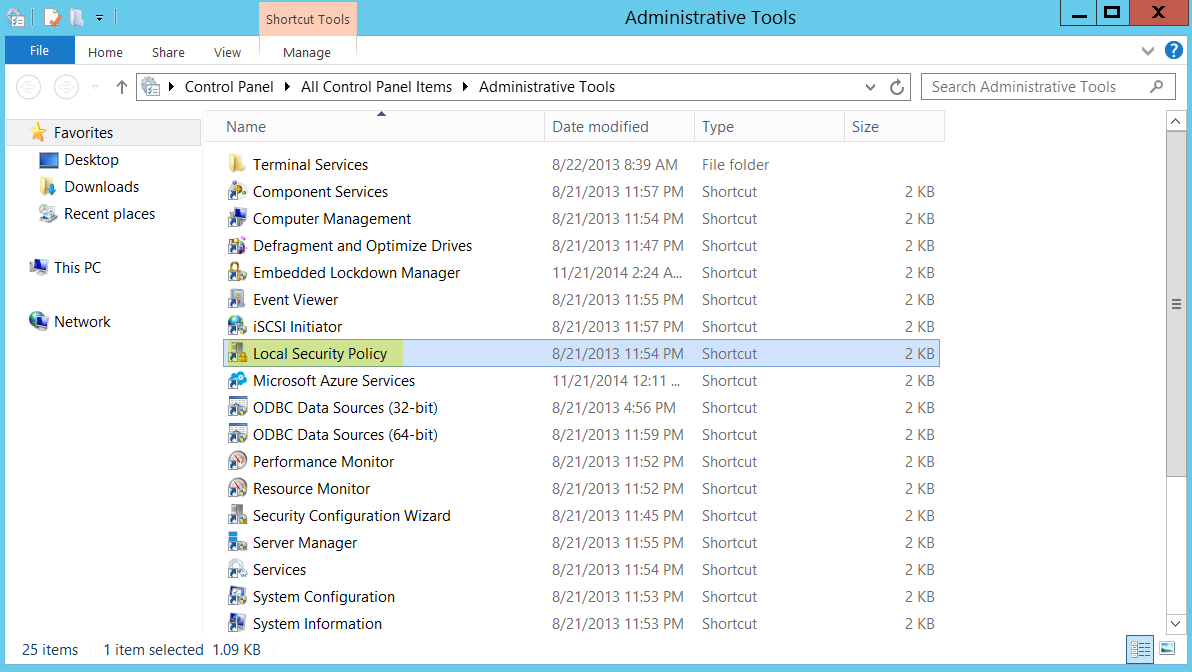
The permission to log on as a service is only needed locally on the Windows server that is the agent host. If you are using only one User-ID agent, you can grant the permissions locally on the agent host using the following instructions.- To assign permissions locally, select .
![]()
- Select .
![]()
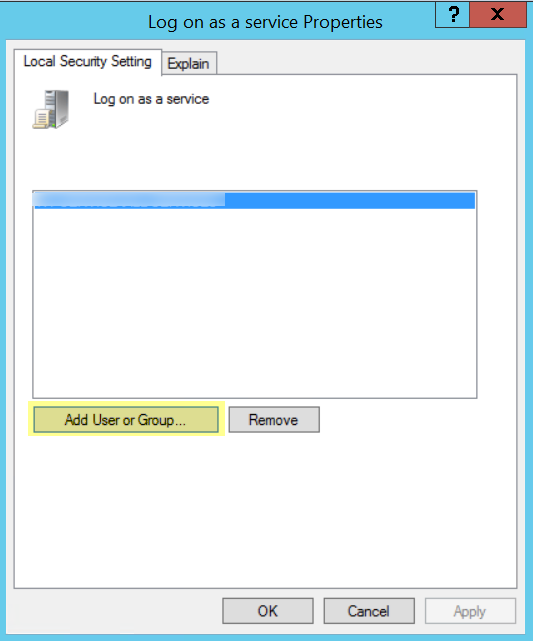
- Add User or Group to add the service account.
![]()
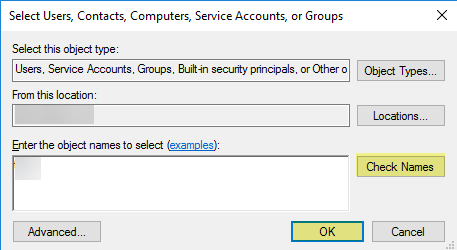
- Enter the service account name in domain\username format in the Enter the object names to select entry field and click OK.
![]()
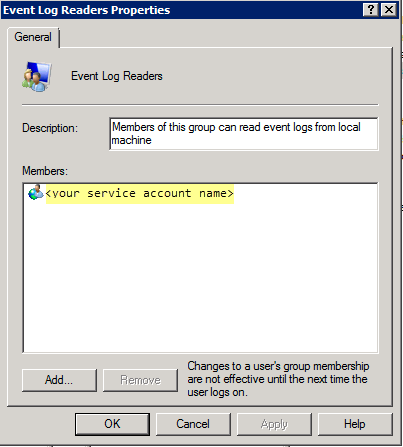
If you want to use server monitoring to identify users, add the service account to the Event Log Reader builtin group to enable privileges for reading the security log events.- On the domain controller or Exchange server that contains the logs you want the User-ID agent to read, or on the member server that receives events from Windows log forwarding, run the MMC and launch the Active Directory Users and Computers snap-in.
- Navigate to the Builtin folder for the domain, right-click the Event Log Reader group and select Add to Group to open the properties dialog.
- Click Add and enter the name of the service account that you configured the User-ID service to use and then click Check Names to validate that you have the proper object name.
- Click OK twice to save the settings.
- Confirm that the builtin Event Log Reader group lists the service account as a member.
![]() Assign account permissions to the installation folder to allow the service account to access the agent’s installation folder to read the configuration and write logs.You only need to perform this step if the service account you configured for the User-ID agent is not either a domain administrator or a local administrator on the User-ID agent server host.
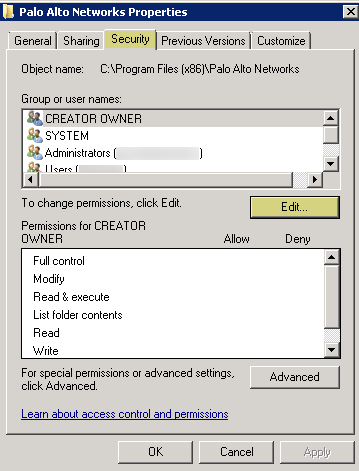
Assign account permissions to the installation folder to allow the service account to access the agent’s installation folder to read the configuration and write logs.You only need to perform this step if the service account you configured for the User-ID agent is not either a domain administrator or a local administrator on the User-ID agent server host.- From the Windows Explorer, navigate to C:\Program Files(x86)\Palo Alto Networks, right-click the folder, and select Properties.
- On the Security tab, click Edit.
![]()
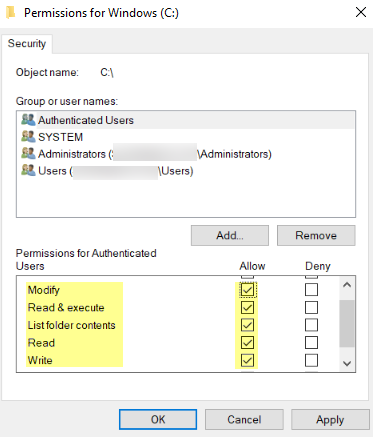
- Add the User-ID agent service account and assign it permissions to Modify, Read & execute, List folder contents, Read, and Write, and then click OK to save the account settings.
![]() If you want to allow the service account to access the User-ID agent’s registry keys, Allow the Full Control permission.Give the service account permissions to the User-ID Agent registry sub-tree:
If you want to allow the service account to access the User-ID agent’s registry keys, Allow the Full Control permission.Give the service account permissions to the User-ID Agent registry sub-tree:- Run regedt32 and navigate to the Palo Alto Networks sub-tree in the following location: HKEY_LOCAL_MACHINE\Software\Palo Alto Networks.
- Right-click the Palo Alto Networks node and select Permissions.
- Assign the User-ID service account Full Control and then click OK to save the setting.
Decide where to install the User-ID agent.The User-ID agent queries the Domain Controller and Exchange server logs using Microsoft Remote Procedure Calls (MSRPCs). During the initial connection, the agent transfers the most recent 50,000 events from the log to map users. On each subsequent connection, the agent transfers events with a timestamp later than the last communication with the domain controller. Therefore, always install one or more User-ID agents at each site that has servers to be monitored.- You must install the User-ID agent on a system running one of the supported OS versions: see “Operating System (OS) Compatibility User-ID Agent” in the Compatibility Matrix. The system must also meet the minimum requirements (see the User-ID agent release notes).
- Make sure the system that will host the User-ID agent is a member of the same domain as the servers it will monitor.
- As a best practice, install the User-ID agent close to the servers it will be monitoring: there is more traffic between the User-ID agent and the monitored servers than there is between the User-ID agent and the firewall, so locating the agent close to the monitored servers optimizes bandwidth usage.
- To ensure the most comprehensive mapping of users, you must monitor all domain controllers that process authentication for users you want to map. You might need to install multiple User-ID agents to efficiently monitor all of your resources.
- If you are using the User-ID agent for credential detection, you must install it on the read-only domain controller (RODC). As a best practice deploy a separate agent for this purpose. Do not use the User-ID agent installed on the RODC to map IP addresses to users. The User-ID agent installer for credential detection is named UaCredInstall64-x.x.x.msi.
Download the User-ID agent installer.Install the User-ID agent version that is the same as the PAN-OS version running on the firewalls. If there is not a User-ID agent version that matches the PAN-OS version, install the latest version that is closest to the PAN-OS version.- Log in to the Palo Alto Networks Customer Support Portal.Select .Set Filter By to User Identification Agent and select the version of the User-ID agent you want to install from the corresponding Download column. The file name uses the following format: UaInstall-x.x.x.msi (where x represents the version number). For example, to download the 10.0 version of the User-ID agent, select UaInstall-10.0.0-0.msi.If you are using the User-ID agent for credential detection, make sure you download the UaCredInstall64-x.x.x.msi file instead. Only download and install the UaCredInstall64-x.x.x.msi if you are using the User-ID agent for credential detection.Save the file on the systems where you plan to install the agent.
![]() Run the installer as an administrator.
Run the installer as an administrator.- Open the Windows Start menu, right-click the Command Prompt program, and select Run as administrator.From the command line, run the .msi file you downloaded. For example, if you saved the .msi file to the Desktop, enter the following:
C:\Users\administrator.acme>cd Desktop
C:\Users\administrator.acme\Desktop>UaInstall-6.0.0-1.msi
Follow the setup prompts to install the agent using the default settings. By default, the agent gets installed to C:\Program Files(x86)\Palo Alto Networks, but you can Browse to a different location.When the installation completes, Close the setup window.Launch the User-ID Agent application as an administrator.Open the Windows Start menu, right-click the User-ID Agent program, and select Run as administrator.You must run the User-ID Agent application as an administrator to install the application, commit configuration changes, or uninstall the application.(Optional) Change the service account that the User-ID agent uses to log in.By default, the agent uses the administrator account used to install the .msi file. To change the account to a restricted account:- Select and click Edit.Select the Authentication tab and enter the service account name that you want the User-ID agent to use in the User name for Active Directory field.Enter the Password for the specified account.Commit the changes to the User-ID agent configuration to restart the service using the service account credentials.(Optional) Assign your own certificates for mutual authentication between the Windows User-ID agent and the firewall.
- Obtain your certificate for the Windows User-ID agent using one of the following methods. Upload the server certificate in Privacy Enhanced Mail (PEM) format and the server certificate’s encrypted key.
- Generate a Certificate and export it for upload to the Windows User-ID agent.
- Export a certificate from your enterprise certificate authority (CA) and the upload it to the Windows User-ID agent.
Add a server certificate to Windows User-ID agent.- On the Windows User-ID agent, select Server Certificate and click Add.
- Enter the path and name of the certificate file received from the CA or browse to the certificate file.
- Enter the private key passphrase.
- Click OK and then Commit.
Upload a certificate to the firewall to validate the Windows User-ID agent’s identity.Configure the certificate profile for the client device (firewall or Panorama).- Select .
- You can only assign one certificate profile for Windows User-ID agents and Terminal Server (TS) agents. Therefore, your certificate profile must include all certificate authorities that issued certificates uploaded to connected User-ID and TS agents.
Assign the certificate profile on the firewall.- Select and click the edit button.
- Select the User-ID Certificate Profile you configured in the previous step.
- Click OK.
Commit your changes.Configure Credential Detection with the Windows-based User-ID Agent.To use the Windows-based User-ID agent to detect credential submissions and Prevent Credential Phishing, you must install the User-ID credential service on the Windows-based User-ID agent. You can only install this add-on on a read-only domain controller (RODC).