SaaS Security
Begin Scanning a ServiceNow App
Table of Contents
Expand All
|
Collapse All
SaaS Security Docs
Begin Scanning a ServiceNow App
Learn how to add a ServiceNow app so that Data Security can protect your assets against data exfiltration and malware
propagation.
| Where Can I Use This? | What Do I Need? |
|---|---|
|
Or any of the following licenses that include the Data Security license:
|
To connect ServiceNow to Data Security
and begin scanning files and folders, you need to:
- Ensure that you have a ServiceNow account which has sufficient privileges.
- Grant Data Security access to ServiceNow.
- Add the ServiceNow app to Data Security, providing Data Security information about your ServiceNow.
When you upgrade ServiceNow to a different version, you have to reauthenticate to
resume scanning.
Support for automated remediation capabilities varies by SaaS application.
Supported Content
|
Support For
|
Details
|
|---|---|
|
Scan Content
| Tables, Attachments |
|
Backward Scan
|
Yes
|
|
Forward Scan
|
Yes
|
|
Rescan
|
No
|
|
Selective Scan
|
No
|
|
Exposure
|
All
|
|
Remediation Actions
|
|
|
Post-Remediation Actions (Actions after Admin
Quarantine):
You can delete, restore, or download a quarantined file
after performing a remediation action (for example
quarantine or incident generation).
|
|
|
Notifications
|
|
|
User Activities
|
|
|
Snippet Support
|
Yes
|
|
Known License/Version restrictions
|
None
|
|
Caveats/Notes
|
None
|
Add ServiceNow App
- (Recommended) Add your ServiceNow app domain as an internal domain.Register Data Security in the ServiceNow management console.
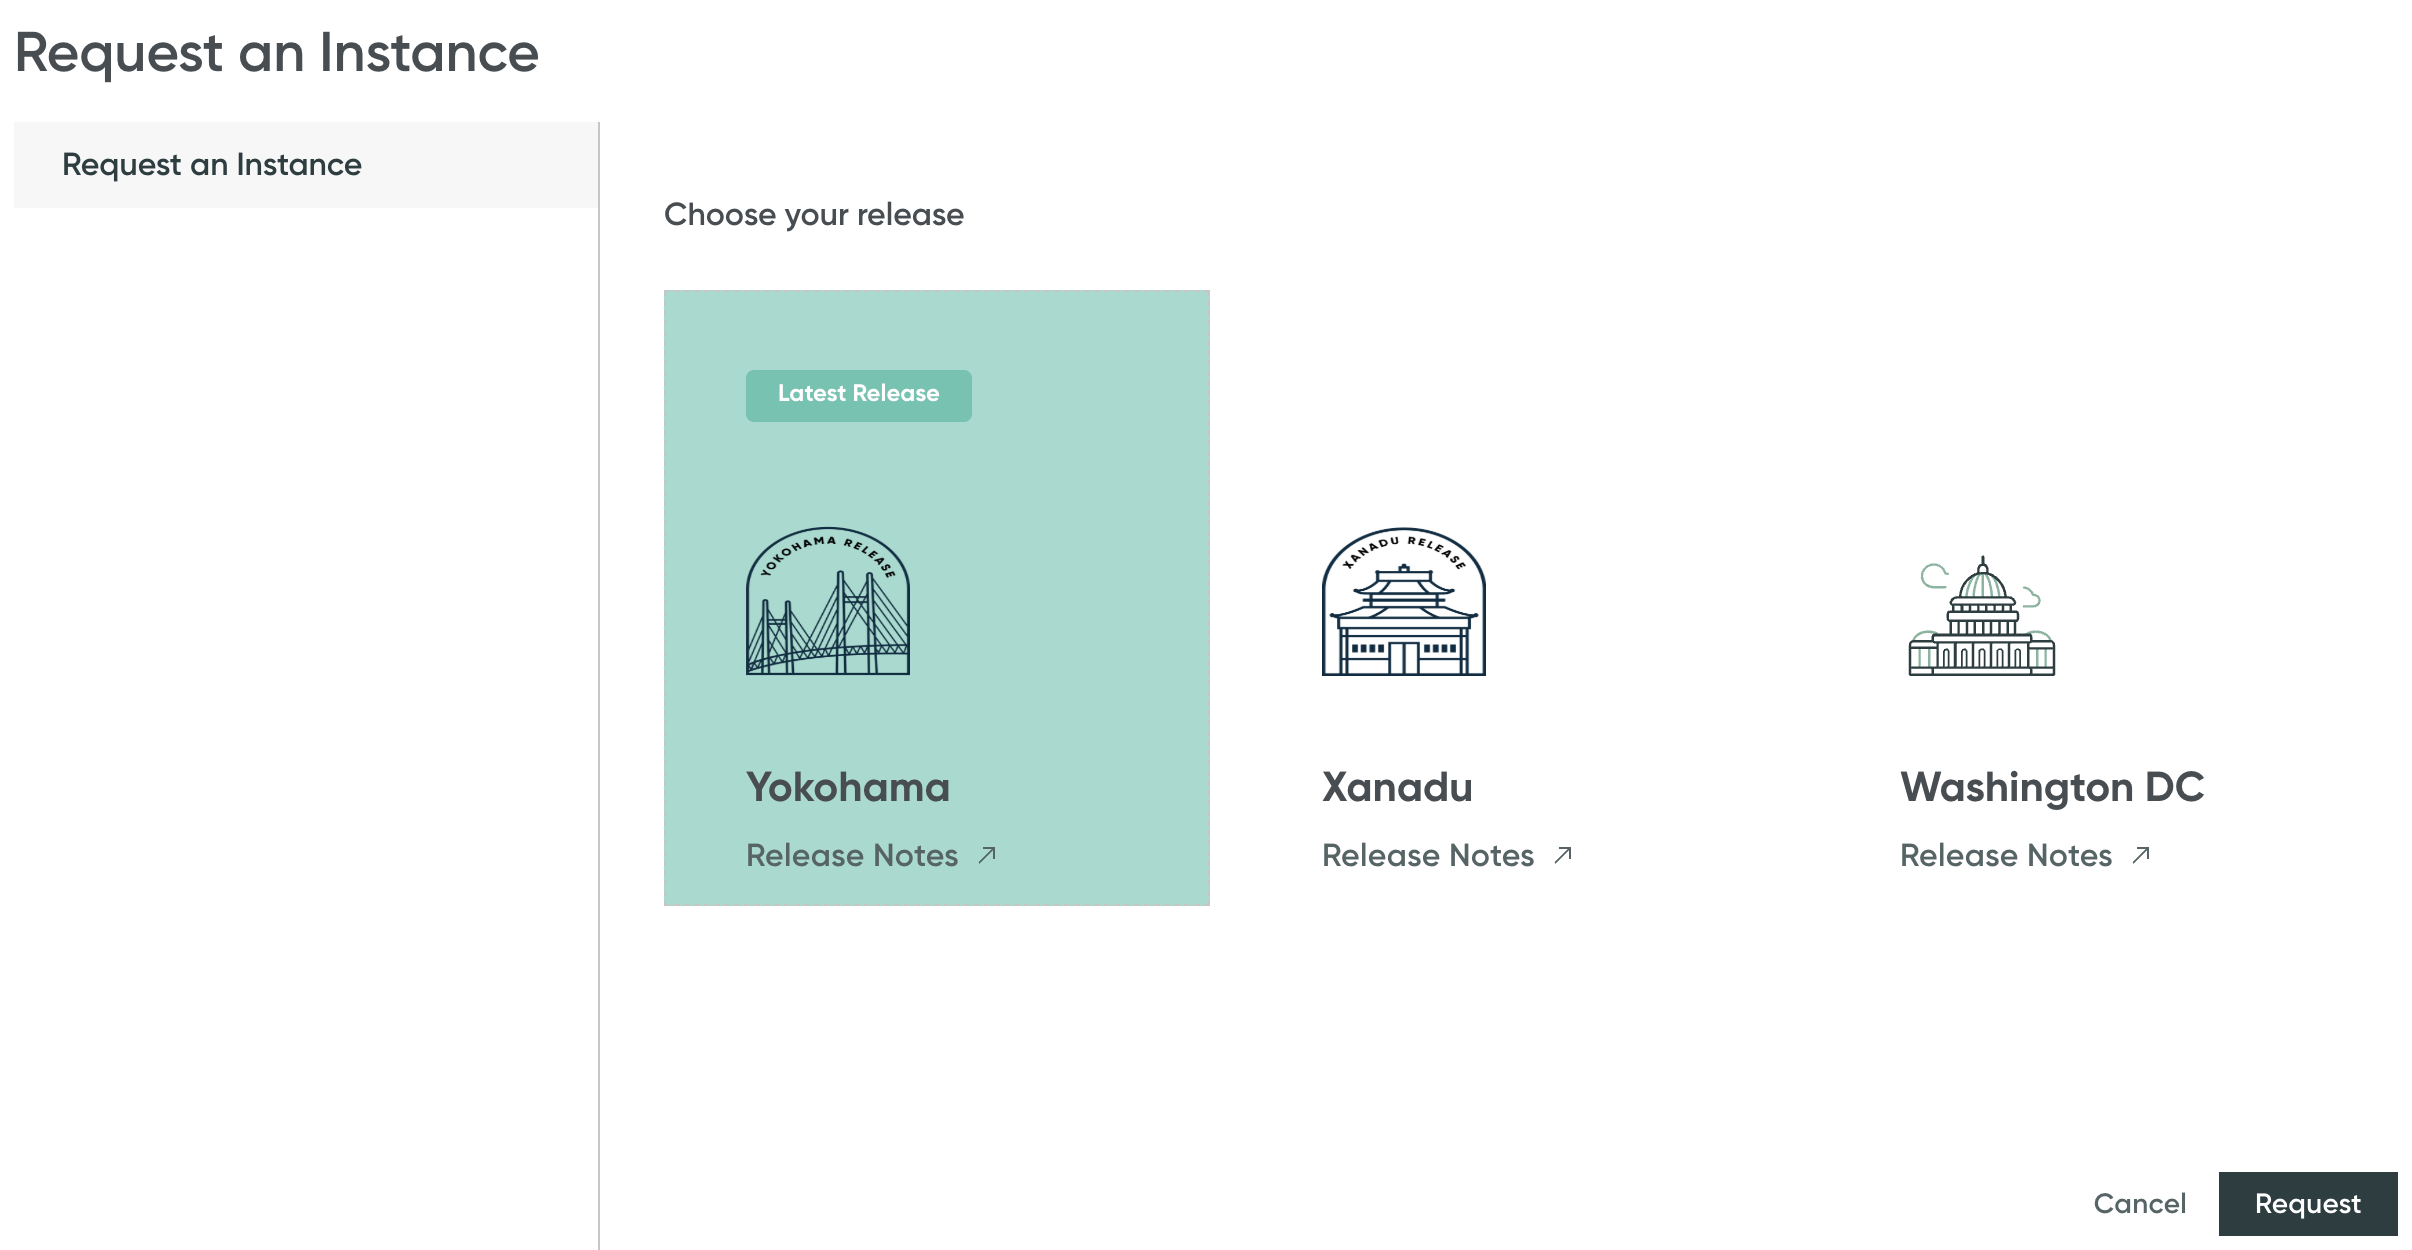
- Log in to the ServiceNow management console as admin.Click Start Building.In the Request an Instance section, choose your release (for example, Yokohama) and click Request.
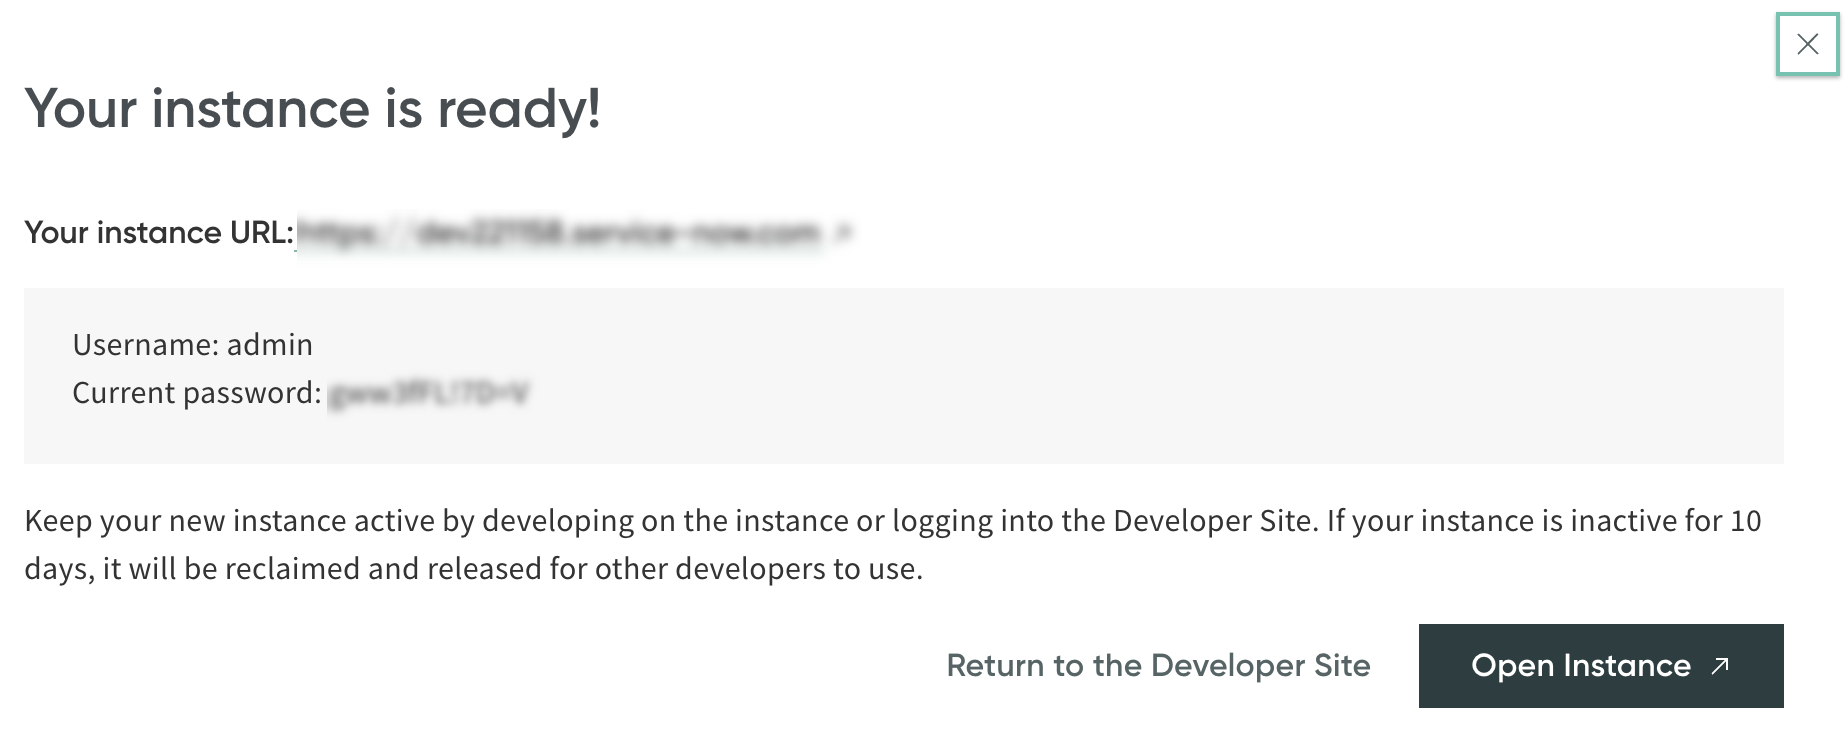
![]() It may take a few moments for the instance to build. Please wait.After the instance build is ready, click Open Instance.
It may take a few moments for the instance to build. Please wait.After the instance build is ready, click Open Instance.![]() Select the ServiceNow menu AllSystem OAuthApplication Registry.Select NewCreate an OAuth API endpoint for external clients.Enter a unique Name for Data Security.If you're using the Istanbul and later releases, enter a Redirect URI or URL. The redirect you enter depends on the Data Security location:For North America, use:
Select the ServiceNow menu AllSystem OAuthApplication Registry.Select NewCreate an OAuth API endpoint for external clients.Enter a unique Name for Data Security.If you're using the Istanbul and later releases, enter a Redirect URI or URL. The redirect you enter depends on the Data Security location:For North America, use:https://app.aperture.paloaltonetworks.com/auth/servicenow/callback
For Europe, use:https://app.aperture-eu.paloaltonetworks.com/auth/servicenow/callback
For Asia-Pacific, use:https://app.aperture-apac.paloaltonetworks.com/auth/servicenow/callback
For India, use:https://app.in1.prisma-saas.paloaltonetworks.com/auth/servicenow/callback
For Japan, use:https://app.jp1.prisma-saas.paloaltonetworks.com/auth/servicenow/callback
For UK, use:https://app.uk2.prisma-saas.paloaltonetworks.com/auth/servicenow/callback
For Australia, use:https://app.au1.prisma-saas.paloaltonetworks.com/auth/servicenow/callback
Submit your changes.Log in to Strata Cloud Manager.Select ConfigurationSaaS SecurityData SecurityApplicationsAdd ApplicationServiceNow.![]()
- Log in to the ServiceNow app.
- For Istanbul and later releases, enter the ServiceNow URL (for example, https://acmecorp.service-now.com/), Client ID, and Client Secret.
- For earlier releases (Fuji, Geneva, or Helsinki) enter the ServiceNow URL (for example, https://acmecorp.service-now.com/), Client ID, and Client Secret. Also, enter the Username and Password for your ServiceNow account.
You can copy the client ID and client secret from the System OAuthApplication Registry page in the ServiceNow management console.Click OK.Allow Data Security access to the ServiceNow account.After authentication, the new ServiceNow app is added to the list of Cloud Apps as ServiceNow n, where n represents the number of ServiceNow app instances you have connected to Data Security. The instance displays a list of available tables.Next step: Proceed to Customize ServiceNow App.Customize ServiceNow App
Customizations include modifying your ServiceNow app name.- (Optional) Give a descriptive name to this app instance.
- Select Settings and select the ServiceNow instance listed.Enter a descriptive Name to differentiate this instance of ServiceNow from other instances.(Recommended) Enter an Admin UserName (for example, admin@servicenow.com).As a best practice, create a separate administrator account and use that email address for Data Security. If you opt to use an existing admin account instead of a new account, the administrator activities are not tracked on Data Security. Creating a separate account enables you to monitor events generated by ServiceNow administrators on ExploreActivities.Click Done to save your changes.Next step: Proceed to Identify Risks.
Identify Risks
When you add a new cloud app, then enable scanning, Data Security automatically scans the cloud app against the default data patterns and displays the match occurrences. You can take action now to improve your scan results and identify risks.- To start scanning the new ServiceNow app for risks, select ConfigurationSaaS SecurityData SecurityApplicationsServiceNowView Settings...Start Scanning.Monitor the scan results.During the discovery phase, as Data Security scans files and matches them against enabled policy rules, verify that your default policy rules are effective. If the results don’t capture all risks or you see false positives, proceed to next step to improve your results.(Optional) Modify match criteria for existing policy rules.(Optional) Add new policy rules.Consider the business use of your cloud app, then identify risks unique to your enterprise. As necessary, add new:(Optional) Configure or edit a data pattern.You can Configure Data Patterns to identify specific strings of text, characters, words, or patterns to make it possible to find all instances of text that match a data pattern you specify.
Tables Scanned by DLP
The DLP service scans the following database tables on ServiceNow. To enforce best practice, the SaaS Security web interface does not allow you to add or remove database tables from scans: SaaS administrators need to consult with the database administrator before adding or removing tables from scans. After consulting with your database administrator, contact Palo Alto Networks Customer Support to manually add or remove a table.If ServiceNow does not expose a given database table, the DLP service can't scan it.change_phasechange_requestchange_request_imacchange_taskcmdbincidentincident_taskkb_knowledgekb_submissionproblemproblem_taskrelease_phaserelease_tasktaskticketsc_req_itemsc_requestsc_tasksn_hr_core_beneficiarysn_hr_core_benefitsn_hr_core_benefit_providersn_hr_core_benefit_typesn_hr_core_bonussn_hr_core_casesn_hr_core_case_operationssn_hr_core_case_payrollsn_hr_core_case_relationssn_hr_core_case_talent_managementsn_hr_core_case_total_rewardssn_hr_core_case_workforce_adminsn_hr_core_direct_depositsn_hr_core_op_reportsn_hr_core_op_report_frequencysn_hr_core_op_report_typesn_hr_core_op_systemsn_hr_core_op_system_to_report_typesn_hr_core_profile_bank_accountsn_hr_core_retirement_benefitsn_hr_core_tasksn_hr_core_tuition_reimbursementsn_si_incidentsn_si_requestsn_si_tasksysapproval_group


