Manage Quarantined Files
Table of Contents
Manage Quarantined Files
Learn how to work with quarantined files.
SaaS Security web interface displays assets
that were automatically quarantined by
a policy rule or manually quarantined by
an administrator. Depending on the cloud app and your admin role permissions,
you can take actions on the quarantined file.
Specific
cloud apps support all quarantine features while
others do not.
- Filter Quarantined Files
- Take Action on Quarantined Files
- Verify Quarantine Permissions
- Files Unavailable To Data Security
- Customize Tombstone Messages
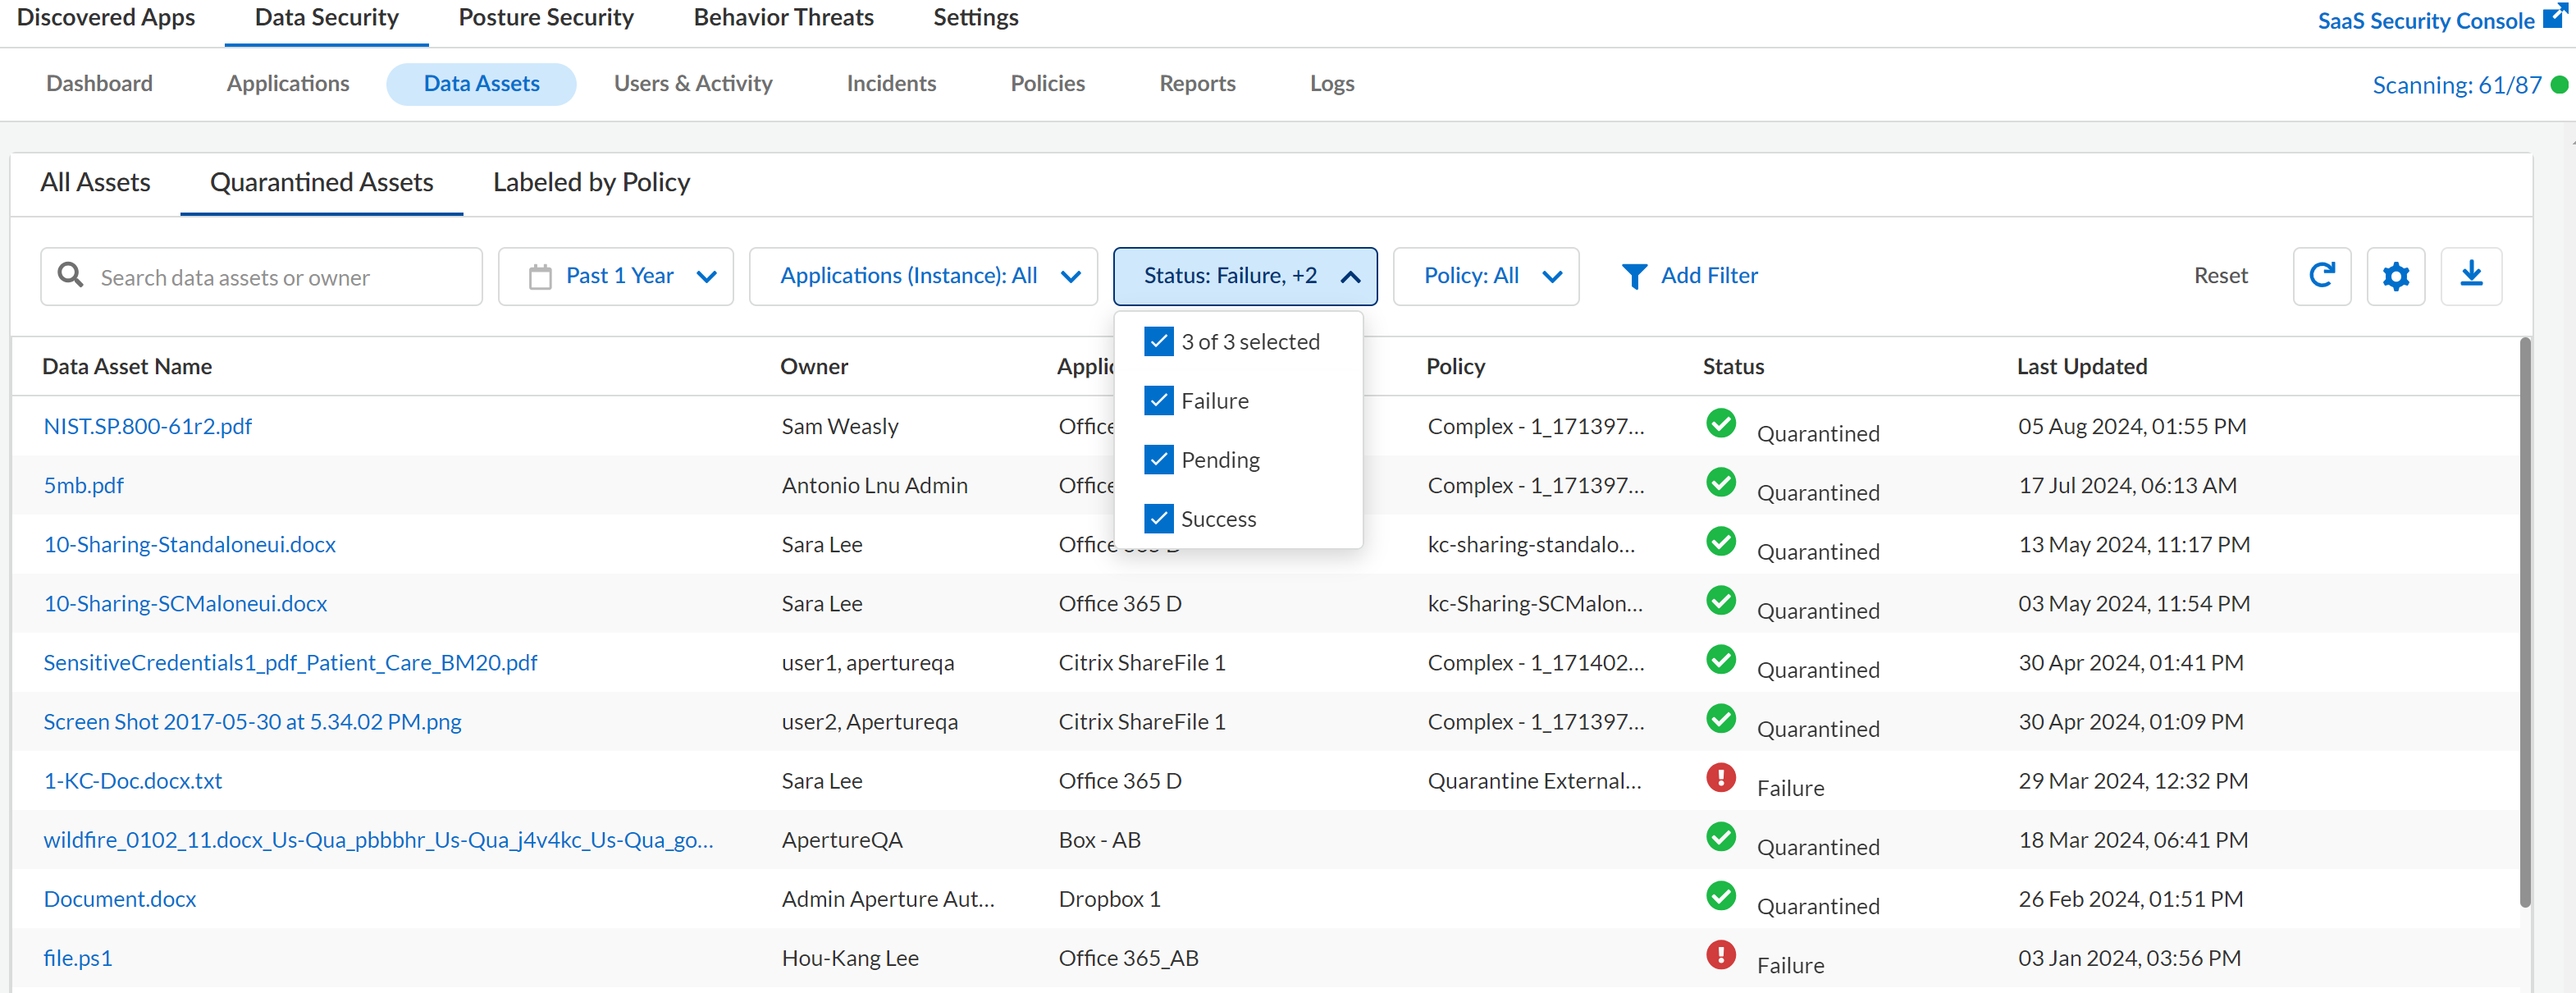
Filter Quarantined Files
When you view assets, you invariably need
to filter the list and narrow the results to meet your audit needs.
- Select to view a list of assets that have been quarantined.Use the search facets provided.
- Search—Tool to find an item using part of the filename, part of the asset owner’s name or email address, or part of a report name.
- Date—Time frame when the quarantine successfully occurred. For example: past week, past month, past year. You can also set a specific date or set a custom date range. Pending and Failed quarantines do not have timestamps; therefore, when sorted by date, failed quarantines displays at the bottom of the sort results.
- Cloud App—List of applications for which the quarantine occurred. For example, Box.
- Status—Tool to provide status on the asset throughout the quarantine process.
- Policy—Policy that caused the asset to be quarantined.
(Optional) Export this data to a CSV file to review the quarantined assets offline.Take Action on Quarantined Files
Depending on the cloud app and your admin role permissions, you can restore, delete, or download a quarantined file. These actions display for the quarantined asset, not the tombstone.- Select the quarantined asset from and perform the actions needed.The options available are:
- Open File
- Restore Quarantined Asset
- Delete Quarantined Asset
- Download Quarantined Asset
![]() Initiate actions on the file.
Initiate actions on the file.- Download—Immediately compresses the file (.zip), downloads the file to your local drive, then displays a decrypt password. Use the password to open and inspect the file.
- Restore—Moves (returns) the asset to the owner’s original location.
- Delete—Permanently deletes the asset. You cannot restore after deletion, and you will not be prompted to confirm your choice. Download the file to inspect the file before you delete it. When successful, returns a The File is Queued for Deletion message.
Verify Quarantine Permissions
See Common Services: Identity and Access if you are using the Cloud Management Console.Files Unavailable To Data Security
When a file on your cloud app is unavailable to Data Security, a message displays in the SaaS Security web interface for Malware Status: File Unavailable:This file is no longer accessible on the Cloud App.If your cloud app (for example, Office 365) quarantines a file, for example, that file becomes unavailable to third parties, including Data Security; as a result, Data Security is unable to perform some remediation (for example, Restore) and assessment actions (for example, View Snippets).Data Security needs the file to be available—from discovery to remediation. When Data Security discovers a file, it immediately adds the file’s metadata to the Assets page. Within a short period of time, Data Security begins to copy the file’s contents. Afterward, Data Security:- Downloads a copy of the file and sends it to WildFire for analysis, verdict, and incident creation if malware is detected.
- Performs DLP analysis and pattern matching.
- Manually or automatically quarantines the file based on policies, creating a tombstone.
For optimal performance, the initial copy of your file resides on Data Security for a specific period of time: the copy isn’t permanent. After the file expiration period, Data Security downloads a new copy from your cloud app as necessary to make it available for assessment and remediation. Throughout this process, the file needs to be available and unrestricted; when it isn’t, you must perform some remediation actions and assessment from the cloud app directly.![]()
Customize Tombstone Messages
When you quarantine an asset, Data Security creates a tombstone that contains a simple Quarantine Message to explain that the asset is quarantined. You can customize this quarantine message.![]()
- To change the message, go to .Change the message to meet your needs and Save.


