SaaS Security
Begin Scanning a Slack Enterprise App
Table of Contents
Expand All
|
Collapse All
SaaS Security Docs
Begin Scanning a Slack Enterprise App
Authorize Data Security to connect to Slack Enterprise to scan all content
shared within the app.
| Where Can I Use This? | What Do I Need? |
|---|---|
|
Or any of the following licenses that include the Data Security license:
|
In addition to the Grid license, Data Security also supports the Select license for Slack Enterprise.
If you have Slack Pro or Slack Business+ plan, you must
onboard using the Slack Pro and Business app
instead.
Delete any previously
installed Slack Enterprise Grid app of the same instance before onboarding Slack
Enterprise. If you use both versions at the same time, rate limits for Slack
will be shared between the two and might impact asset discovery.
To connect Slack Enterprise to Data Security and begin scanning assets, you need to:
- Ensure that you have a Slack Enterprise administrator account with Organization Owner permissions.
- Grant Data Security access to Slack.
- Add the Slack Enterprise app to Data Security, providing Data Security information about your Slack account.
Support for automated remediation capabilities varies by SaaS application.
Supported Content
|
Support For
|
Details
|
|---|---|
|
Scan Content
| Files (including Canvas), Messages |
|
Backward Scan
|
Yes
|
|
Forward Scan
|
Yes
|
|
Rescan
|
Yes
|
|
Selective Scan
|
No
|
|
Exposure
|
Internal, External
By default, the backward scan
limit is set to 1 year. If you wish to extend this limit
to more than 1 year, contact SaaS Security Technical
Support. |
|
Remediation Actions
|
Notifications are sent via Slack to the quarantine
administrator and the asset owner.
Supports deletion of messages
and files. |
|
Post-Remediation Actions (Actions after Admin
Quarantine):
You can delete, restore, or download a quarantined file
after performing a remediation action (for example
quarantine or incident generation).
|
|
|
Notifications
|
|
|
Manual Remediation
|
|
|
User Activities
|
|
|
Snippet Support
|
Yes
|
|
Known License/Version restrictions
|
Supported Versions
|
|
Caveats/Notes
|
The Open file in Slack Enterprise
option is available only for file assets and not message
assets.
|
Onboard Slack Enterprise App
- Prerequisites to be completed on Slack Enterprise.
- (Recommended) Add your Slack Enterprise domain as an internal domain.Sign out of all Slack workspaces.Doing so ensures that you sign in under the correct account and workspace.
![]() Enable the privileges required for communication between Data Security and the Slack app.The Organization Owner must contact exports@slack.com and request that Slack Support enables the Slack app for DLP API access and integration with Data Security. Slack Support requires over-the-phone enablement whereby you answer a series of security questions.DLP API access provides visibility into the assets in Slack and allows Data Security to monitor the sharing of assets.(Optional): Ensure you have added the region-specific IP addresses to the allowed list on your NGFW or Prisma Access tenant so that these IP addresses are not blocked.Add Slack Enterprise to Data Security.
Enable the privileges required for communication between Data Security and the Slack app.The Organization Owner must contact exports@slack.com and request that Slack Support enables the Slack app for DLP API access and integration with Data Security. Slack Support requires over-the-phone enablement whereby you answer a series of security questions.DLP API access provides visibility into the assets in Slack and allows Data Security to monitor the sharing of assets.(Optional): Ensure you have added the region-specific IP addresses to the allowed list on your NGFW or Prisma Access tenant so that these IP addresses are not blocked.Add Slack Enterprise to Data Security.- Log in to Strata Cloud Manager.Select ConfigurationSaaS SecurityData SecurityApplicationsAdd ApplicationSlack Enterprise.
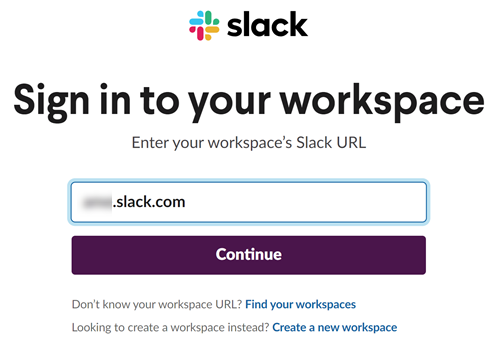
![]() Select Slack Enterprise.Select Connect to Slack Enterprise Account.Enter your team’s Slack domain or workspace (top-level enterprise organization), then Continue.
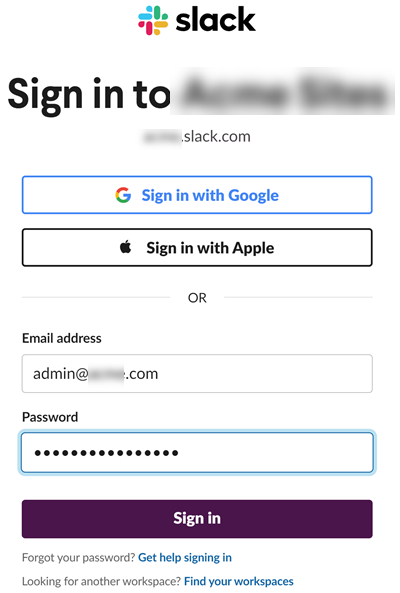
Select Slack Enterprise.Select Connect to Slack Enterprise Account.Enter your team’s Slack domain or workspace (top-level enterprise organization), then Continue.![]() Sign in with an administrator account that is an Organization Owner.If this account is deleted from Slack, the associated credentials or tokens will be revoked. Therefore, it is advisable to create a service account that remains unaffected by deletions, ensuring uninterrupted access to APIs.
Sign in with an administrator account that is an Organization Owner.If this account is deleted from Slack, the associated credentials or tokens will be revoked. Therefore, it is advisable to create a service account that remains unaffected by deletions, ensuring uninterrupted access to APIs.![]()
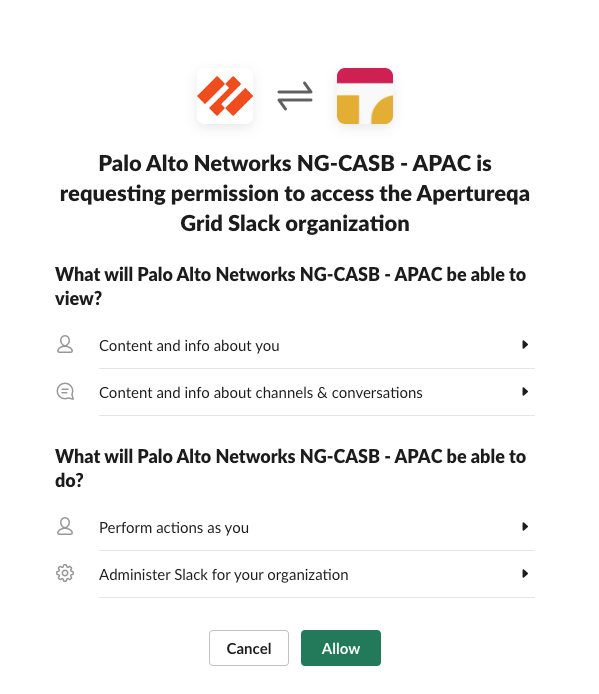
![]() Review and Allow the requested permissions.Data Security requires these permissions to scan your assets on Slack Enterprise.
Review and Allow the requested permissions.Data Security requires these permissions to scan your assets on Slack Enterprise.![]() After authentication, Data Security adds the new Slack app to the list of Cloud Apps as Slack n, where n is the number of Slack app instances that you have connected to Data Security. After successful onboarding, you’ll specify a descriptive name soon.
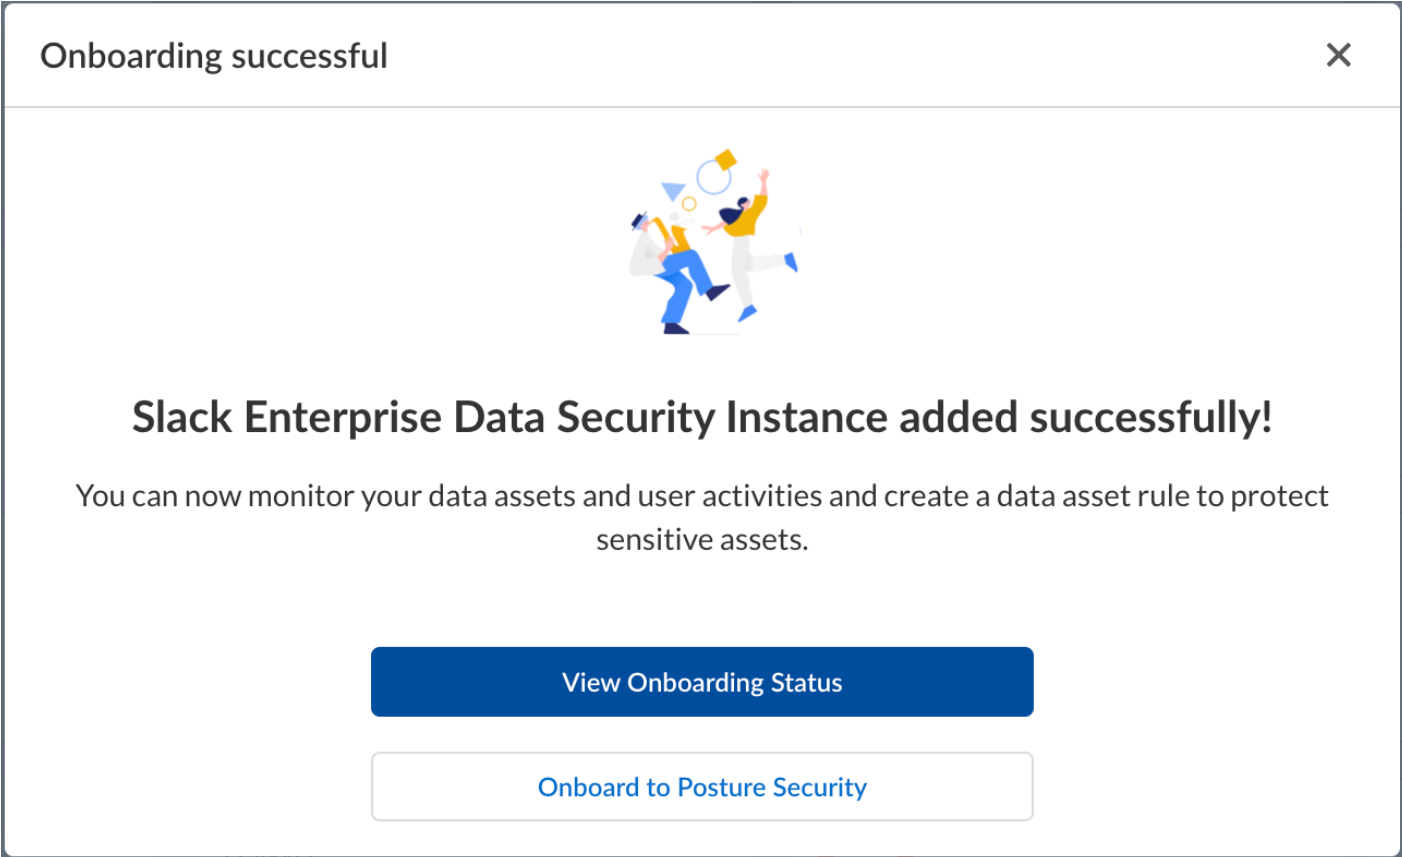
After authentication, Data Security adds the new Slack app to the list of Cloud Apps as Slack n, where n is the number of Slack app instances that you have connected to Data Security. After successful onboarding, you’ll specify a descriptive name soon.![]() Post onboarding steps.
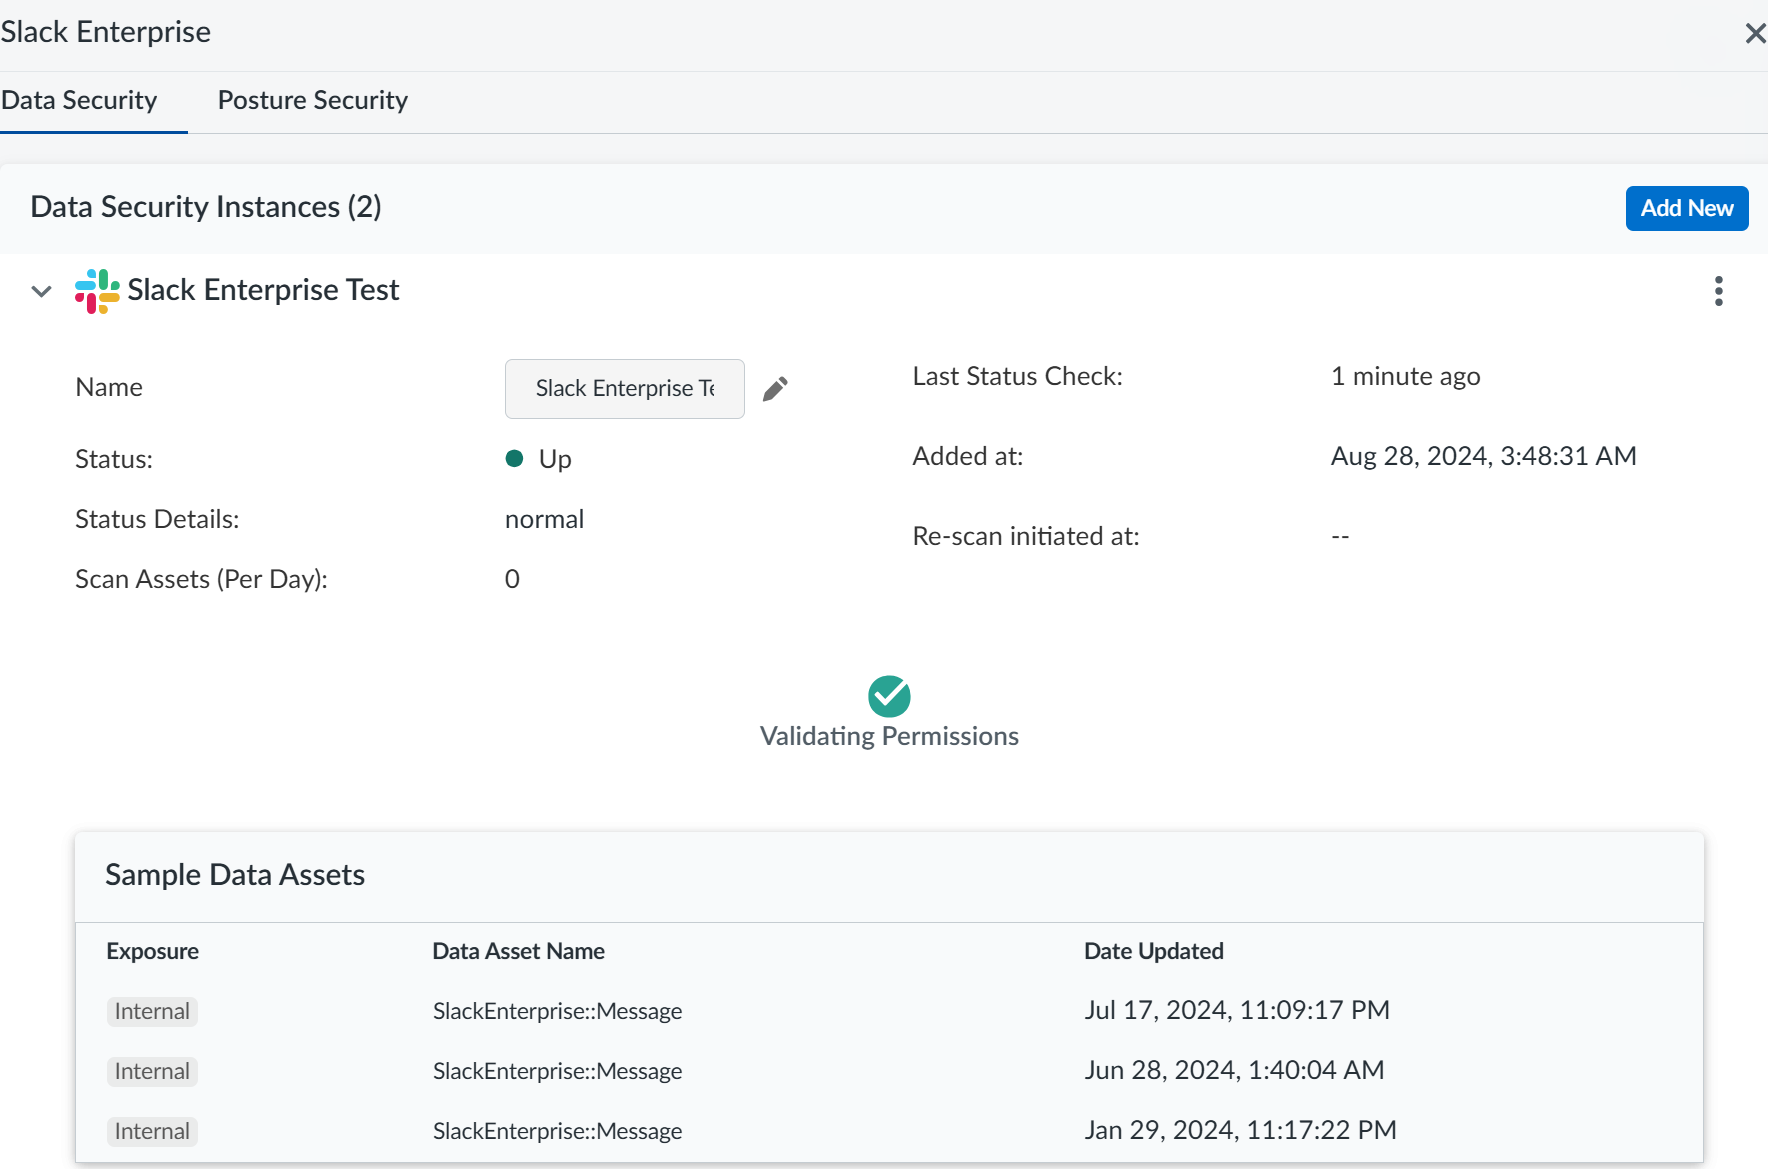
Post onboarding steps.- Click View Onboarding Status.The various details about the onboarded Slack Enterprise App are displayed.
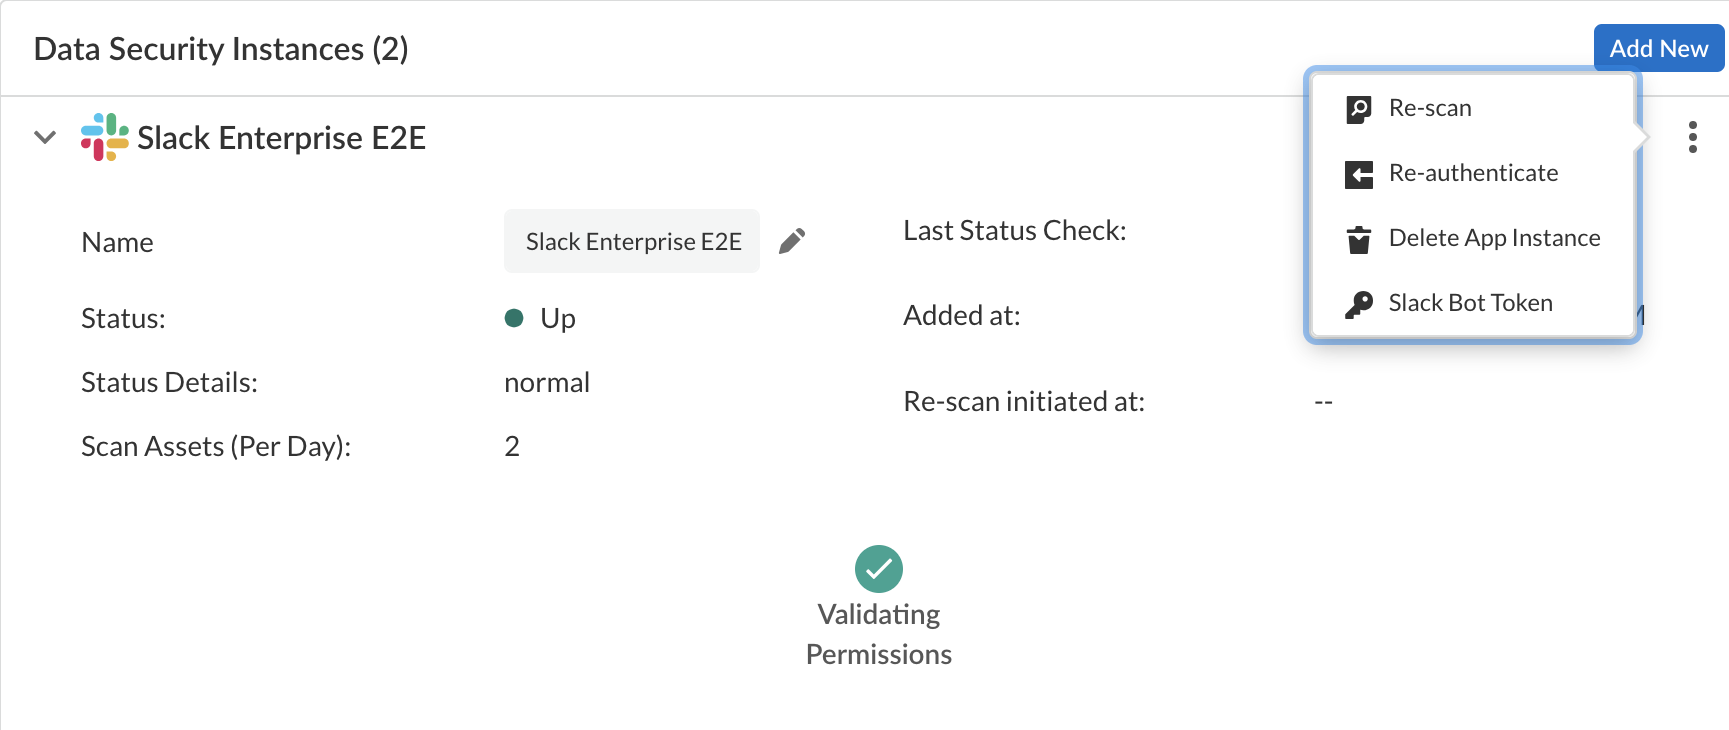
![]() Enable Slack notifications: Select Vertical Ellipsis (dots)Slack Bot Token and Configure Slack Notification Alerts.
Enable Slack notifications: Select Vertical Ellipsis (dots)Slack Bot Token and Configure Slack Notification Alerts.![]() (Optional) Customize your Slack instance.Give a descriptive name to the Slack Enterprise instance to differentiate this instance of Slack Enterprise from other instances.Add policy rules.When you add a cloud app, Data Security automatically scans the app against the default data patterns and displays any match occurrences. As a best practice, consider the business use of your app to determine whether you want to Add a New Data Asset Policy Rule to look for incidents unique to Slack Enterprise.Configure or edit a data pattern.You can Configure Data Patterns to identify specific strings of text, characters, words, or patterns to make it possible to find all instances of text that match a data pattern you specify.Start Scanning Slack Enterprise App.To start scanning the new Slack Enterprise app for risks, select ConfigurationSaaS SecurityData SecurityApplicationsSlack EnterpriseView Settings...Start Scanning.Data Security scans all assets in the associated Slack Enterprise App and identifies incidents. Depending on the number of Slack Enterprise users and assets, it might take some time for Data Security to complete the process. However, you can Monitor Scan Results on the Dashboard and begin to Assess Incidents. Monitoring the progress of the scan during the discovery phase enables you to Fine-Tune Policy rules to modify the match criteria and ensure better results.
(Optional) Customize your Slack instance.Give a descriptive name to the Slack Enterprise instance to differentiate this instance of Slack Enterprise from other instances.Add policy rules.When you add a cloud app, Data Security automatically scans the app against the default data patterns and displays any match occurrences. As a best practice, consider the business use of your app to determine whether you want to Add a New Data Asset Policy Rule to look for incidents unique to Slack Enterprise.Configure or edit a data pattern.You can Configure Data Patterns to identify specific strings of text, characters, words, or patterns to make it possible to find all instances of text that match a data pattern you specify.Start Scanning Slack Enterprise App.To start scanning the new Slack Enterprise app for risks, select ConfigurationSaaS SecurityData SecurityApplicationsSlack EnterpriseView Settings...Start Scanning.Data Security scans all assets in the associated Slack Enterprise App and identifies incidents. Depending on the number of Slack Enterprise users and assets, it might take some time for Data Security to complete the process. However, you can Monitor Scan Results on the Dashboard and begin to Assess Incidents. Monitoring the progress of the scan during the discovery phase enables you to Fine-Tune Policy rules to modify the match criteria and ensure better results.Troubleshooting Onboarding for Slack Enterprise App
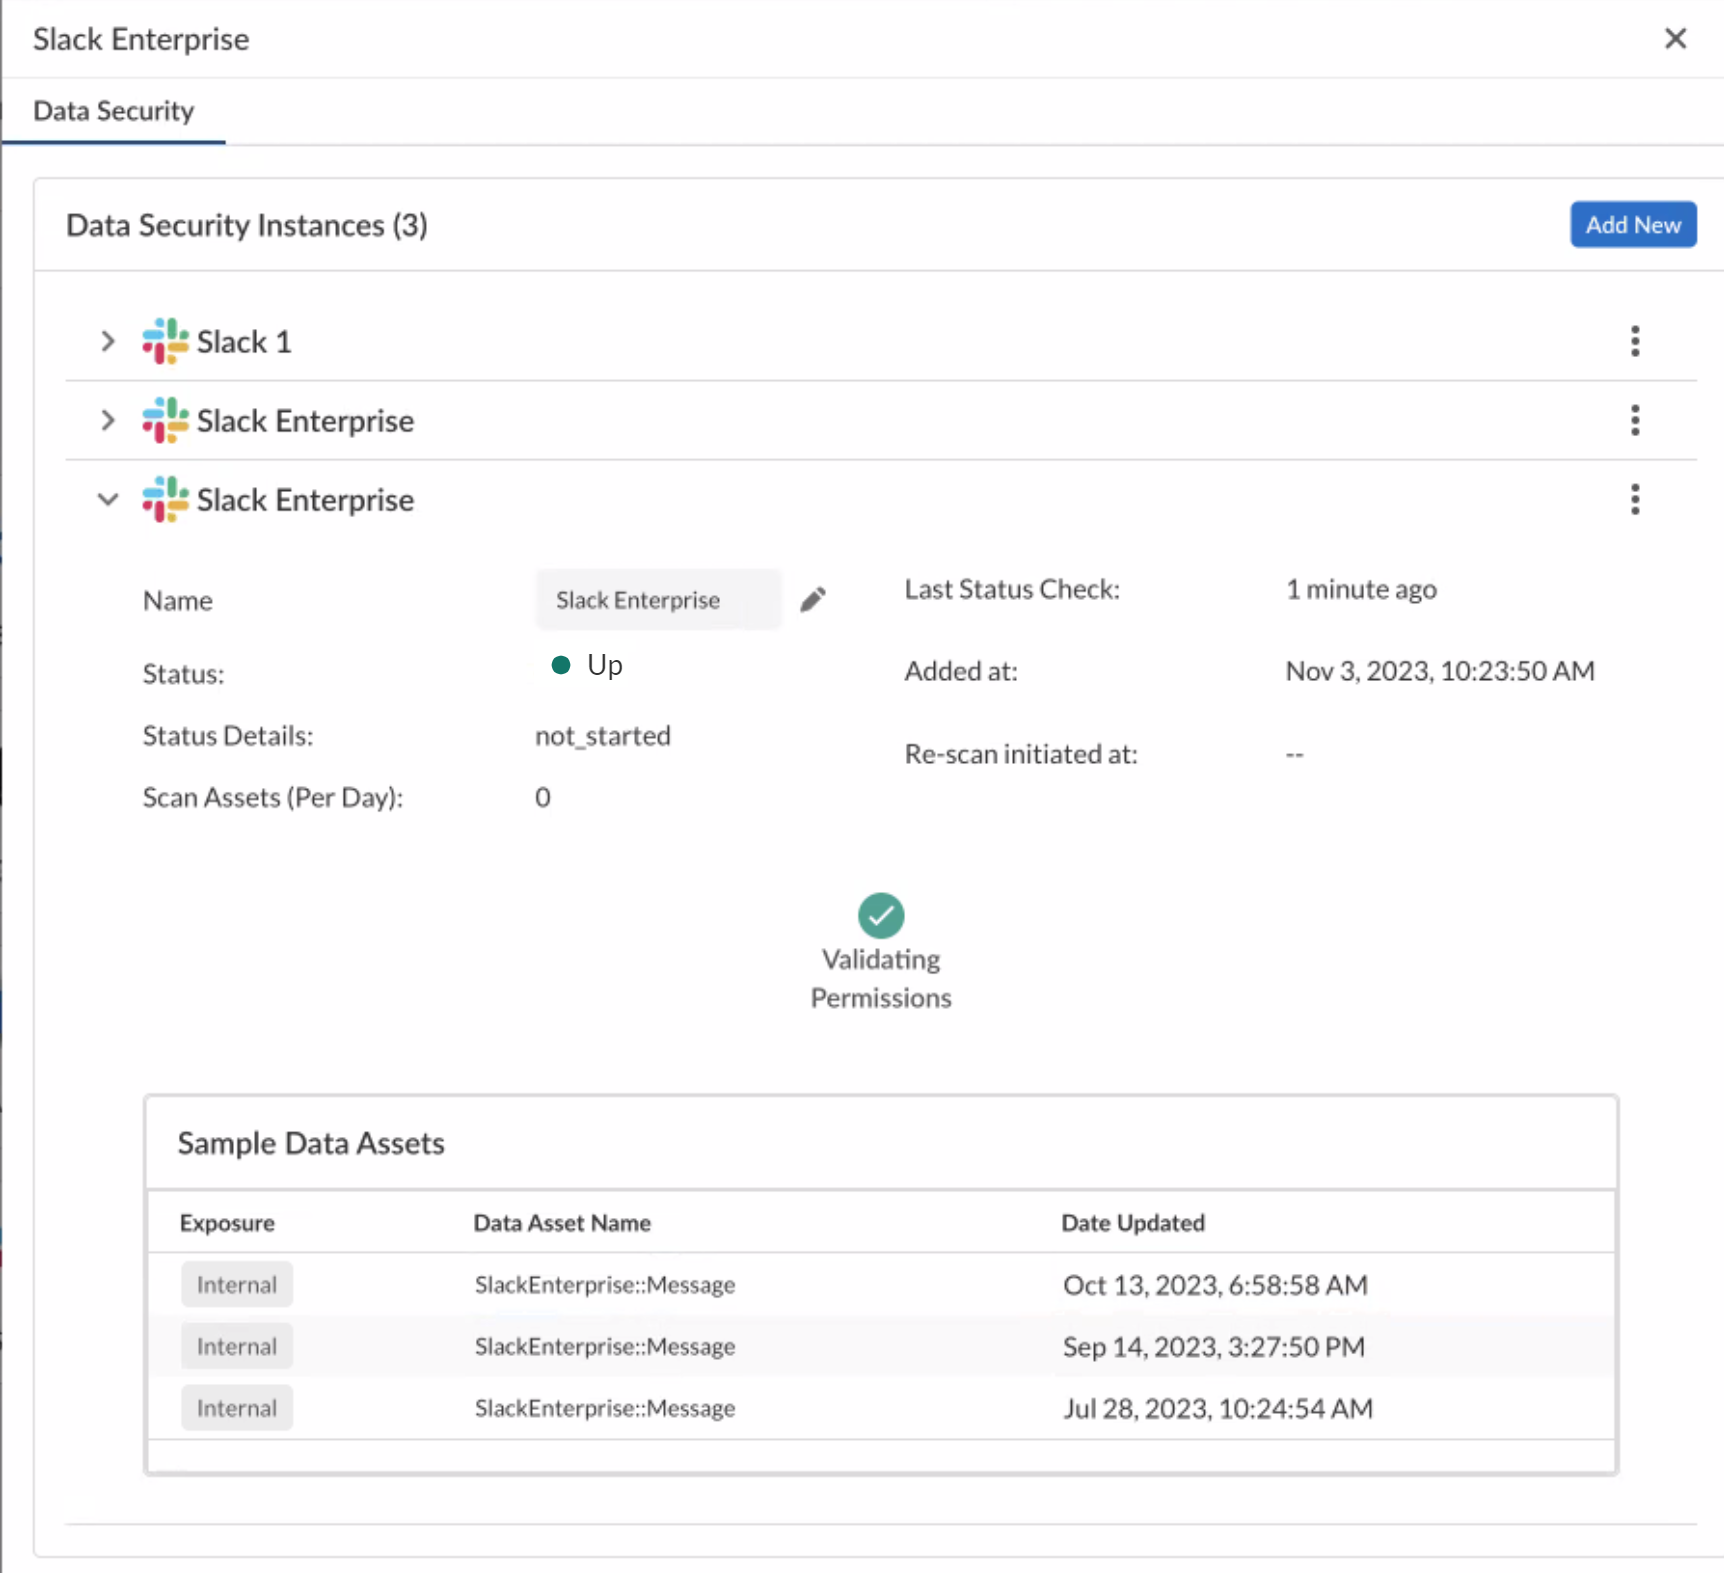
To ensure that your app has onboarded correctly without any issues in authentication or permissions, Data Security performs validation checks between the onboarding and scanning process. You can start scanning only after a successful validation. For Slack Enterprise, the following validation happens:- Validating Permissions
After the validation is successful, Data Security displays the sample data assets.![]() If the Validating Permissions check fails, ensure you have administrator permissions.If you are unable to configure Slack notifications, try the following:
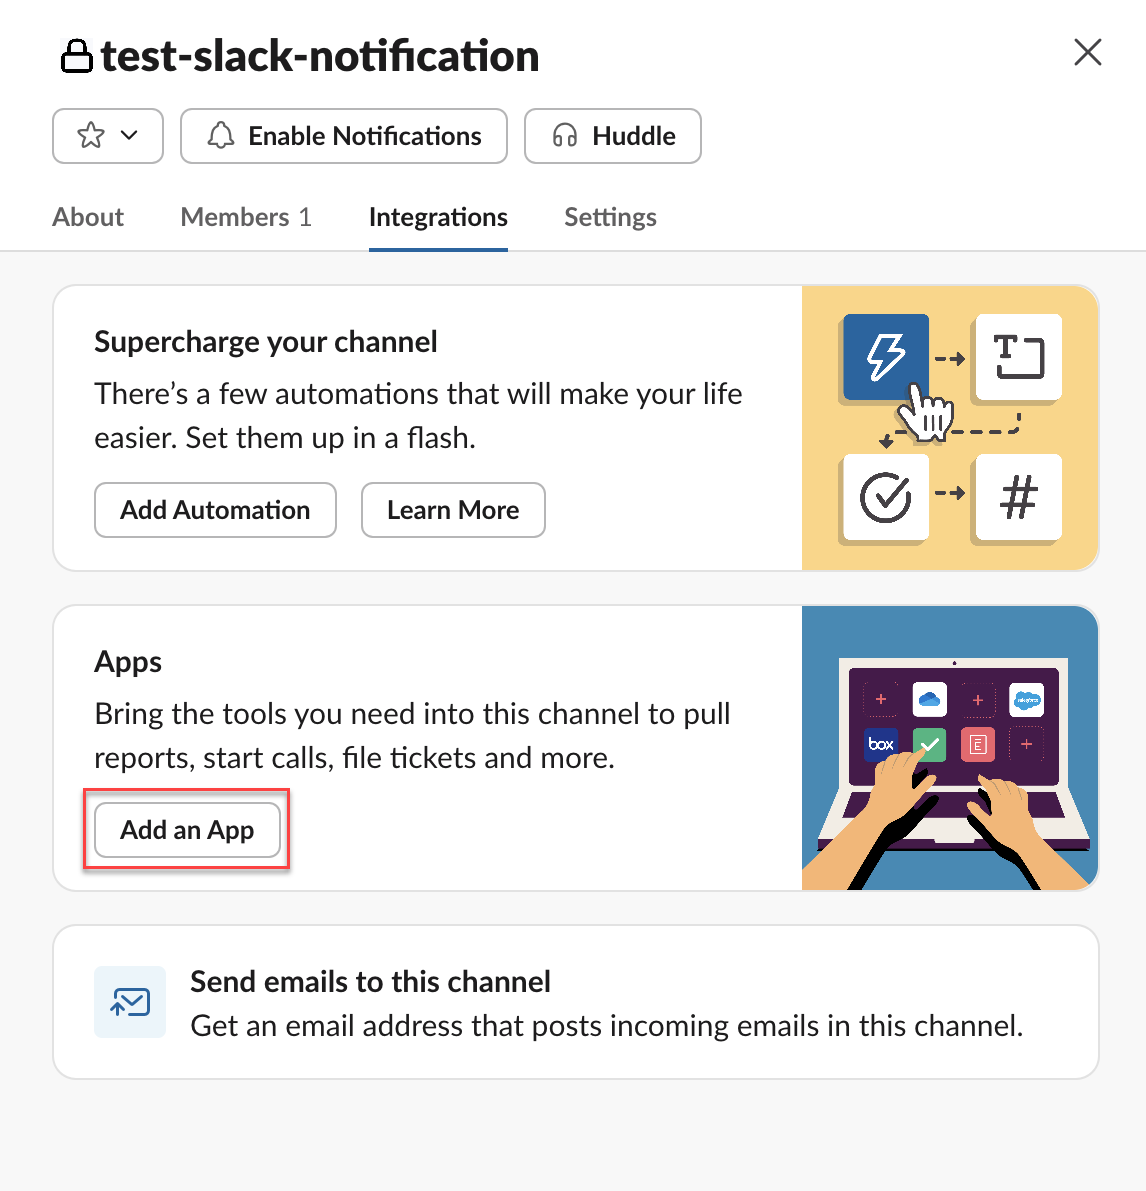
If the Validating Permissions check fails, ensure you have administrator permissions.If you are unable to configure Slack notifications, try the following:- Ensure you have added the Palo Alto app to your specific channel where you want
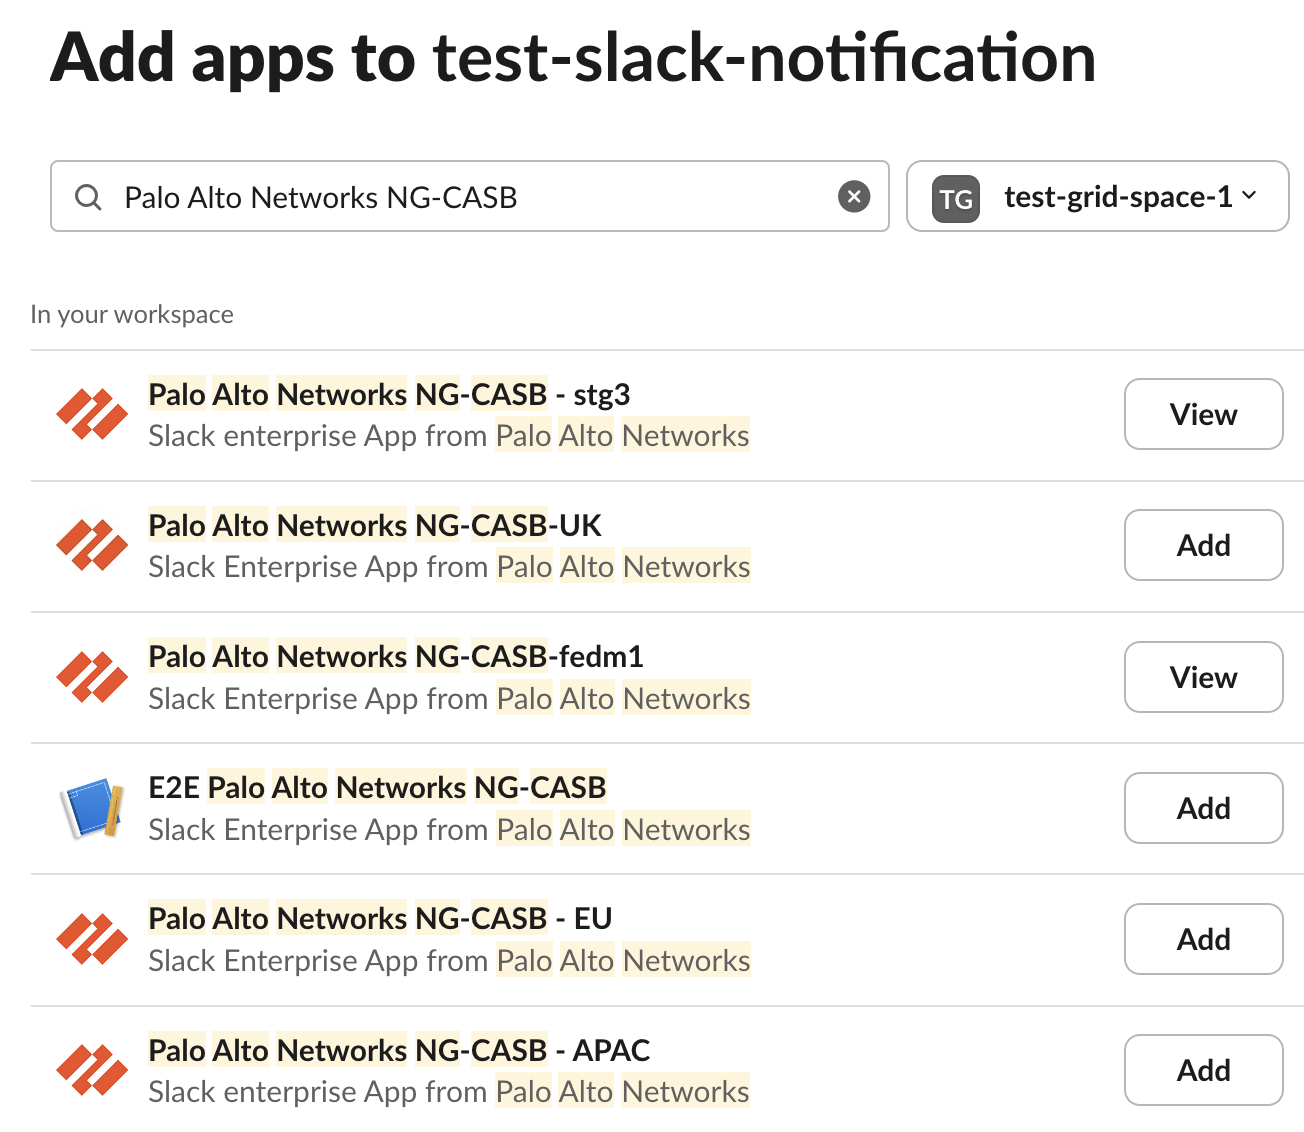
the notifications to be sent. To do this, select <Your Slack Channel>IntegrationsAdd an App<App Name of Your Region>. Following are the app names for specific regions:
- VPC region: Palo Alto Networks NG-CASB
- India region: Palo Alto Networks NG-CASB - India
- Australia region: Palo Alto Networks NG-CASB - AU
- Japan region: Palo Alto Networks NG-CASB - JP
- UK region: Palo Alto Networks NG-CASB - UK
- EU region: Palo Alto Networks NG-CASB - EU
- APAC region: Palo Alto Networks NG-CASB - APAC
![]()
![]()
Handling ErrorsTo understand your error messages and ways to resolve them, see:The other most common issues related to onboarding a Slack Enterprise app are as follows:SymptomExplanationSolutionWhen you attempt to log in to your Slack administrator account during the onboarding process, an authorization error is returned: Something went wrong when authorizing Palo Alto Networks NG-CASB for Slack.You have a Slack workspace open in your browser for a workspace other than the workspace associated with the administrator account that you’re using to onboard the Slack Enterprise app or the administrator account isn’t an Organization Owner.Log out of all Slack workspaces and verify that the administrator account is an Organization Owner.If the issue persists, contact SaaS Security Technical Support.

